Setting Up Your Virtual Machine (Windows 10) – The Final Steps
Well done! You’re almost there. The last crucial steps for setting up your Windows 10 virtual machine.
1. Launch virt-manager and Create a New VM
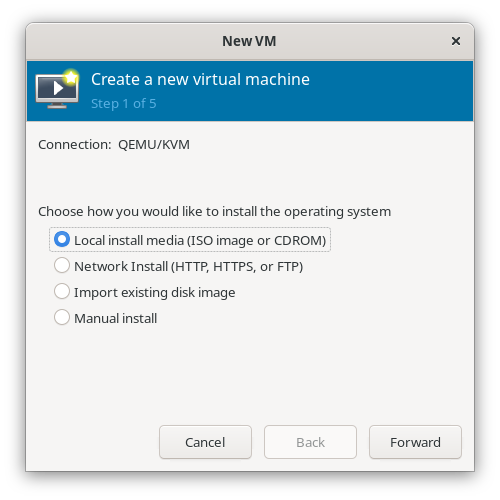
Open up virt-manager and start by creating a new virtual machine.
1.2 Select Your Windows 10 ISO
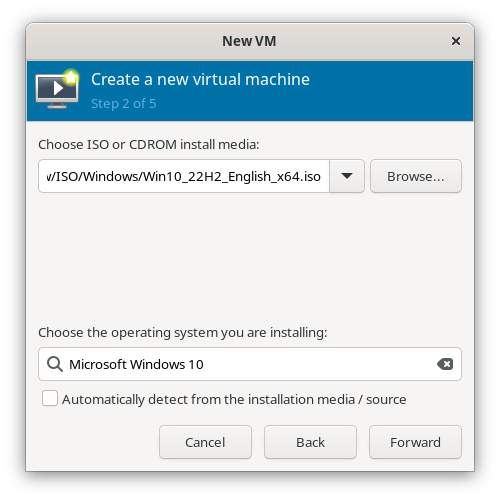
Choose your Windows 10 ISO file.
1.3 Choose Your RAM
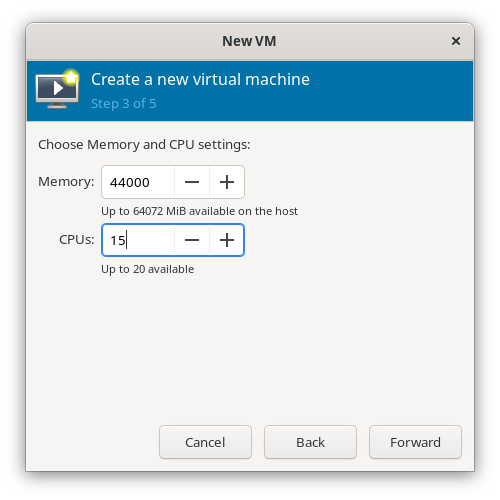
Decide on the amount of RAM you want to allocate to your VM.
1.4 Set Disk Image Size
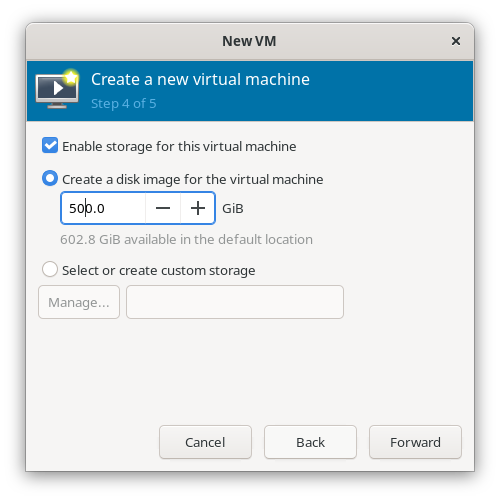
Set the size of your virtual machine’s disk. Make sure to check Enable storage for this virtual machine.
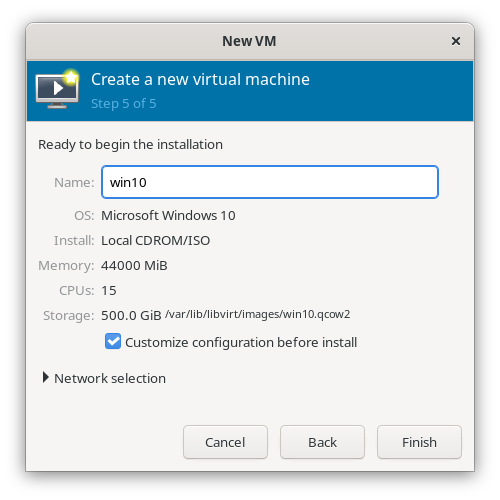
1.5 Configure VM Settings
Give your virtual machine a name and tick the box to Customize configuration before install.
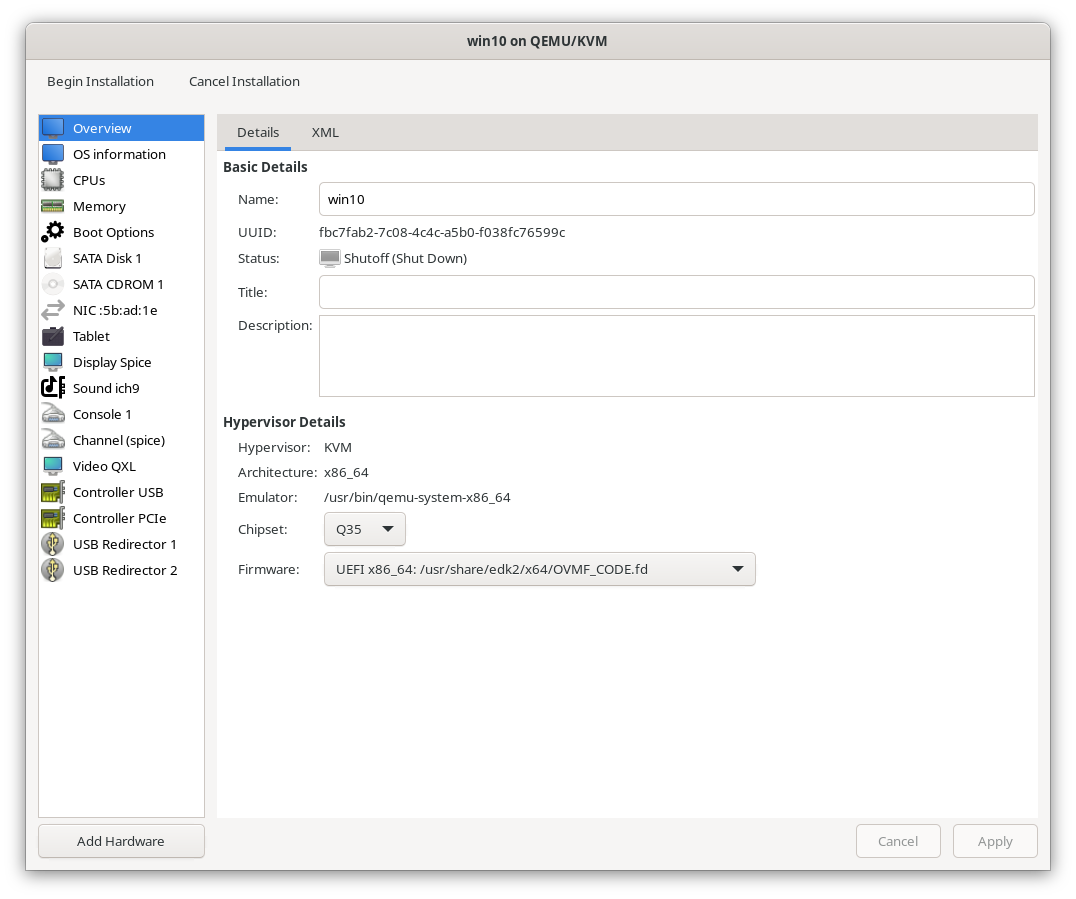
1.6 Select Firmware
Choose OVMF_CODE.fd for firmware.
IMPORTANT: This setting cannot be changed after you begin the installation, so double-check this choice.
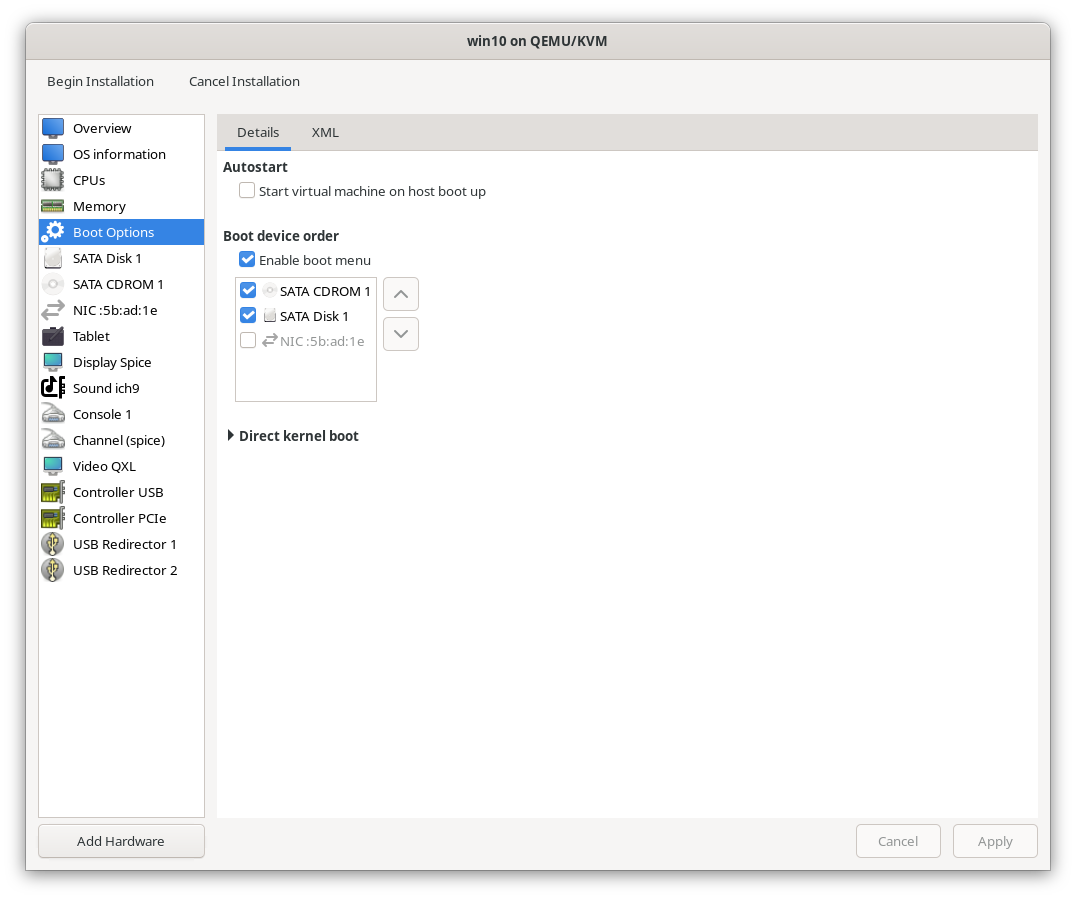
1.7 Set Boot Options
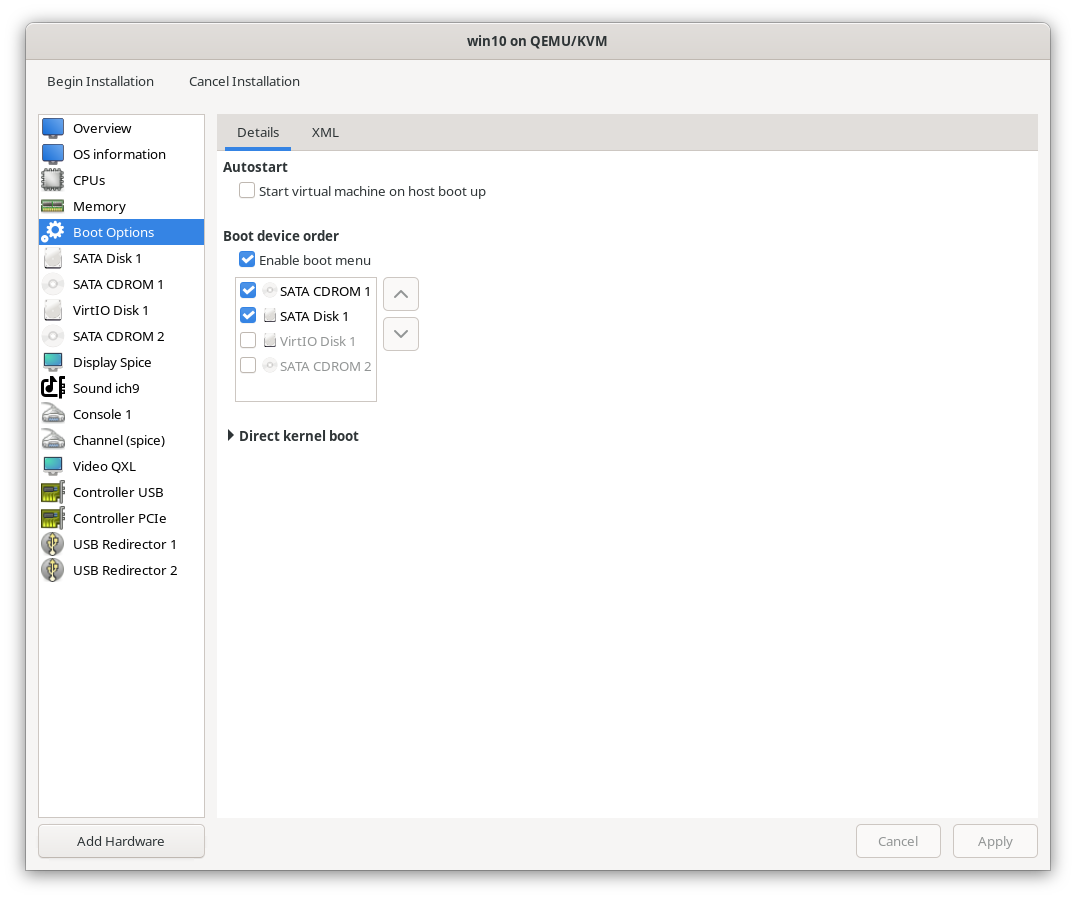
Enable the boot menu. Select SATA CDROM 1 and ensure it is checked. Set it as the first boot device to make sure it detects your Windows 10 installation ISO.
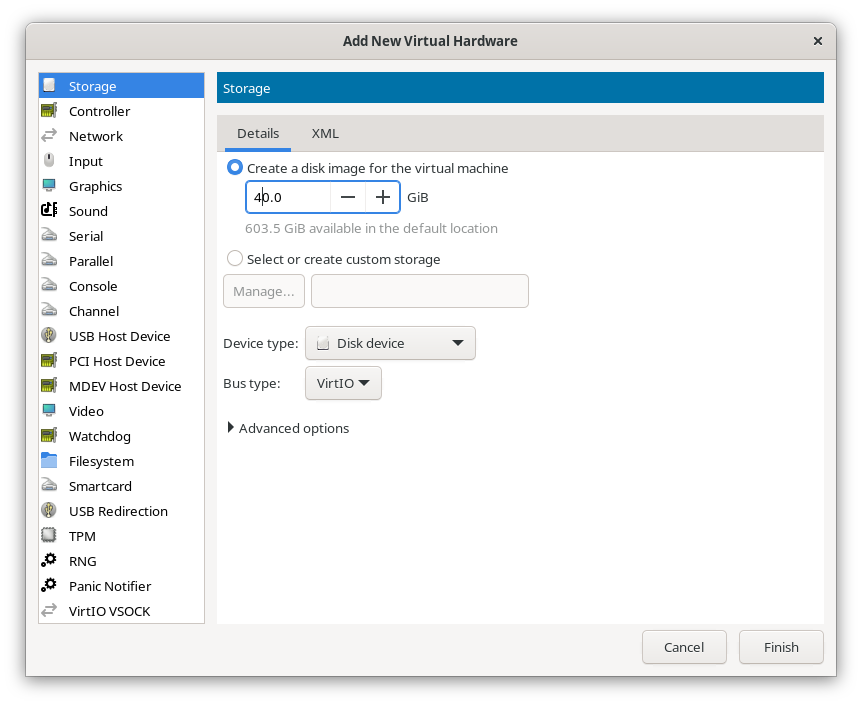
1.8 Add VirtIO Disk
After installing Windows, add a VirtIO Disk. we'll use for later.
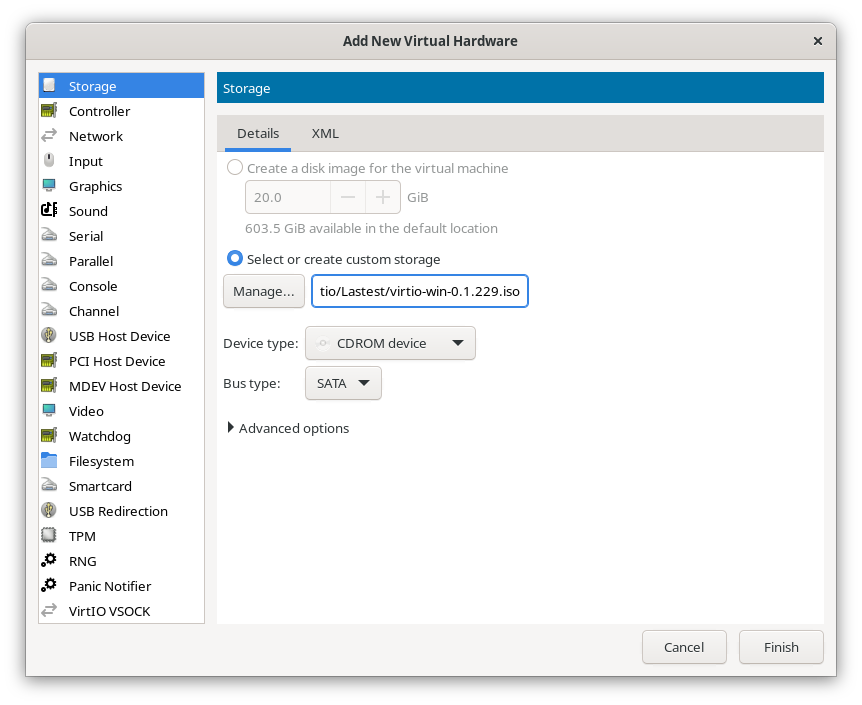
1.9 Add VirtIO ISO
add the VirtIO ISO. This will be essential for smooth operation once Windows is installed.
1.9.1 Confirm Boot Options
Verify that your boot options look like the example below.
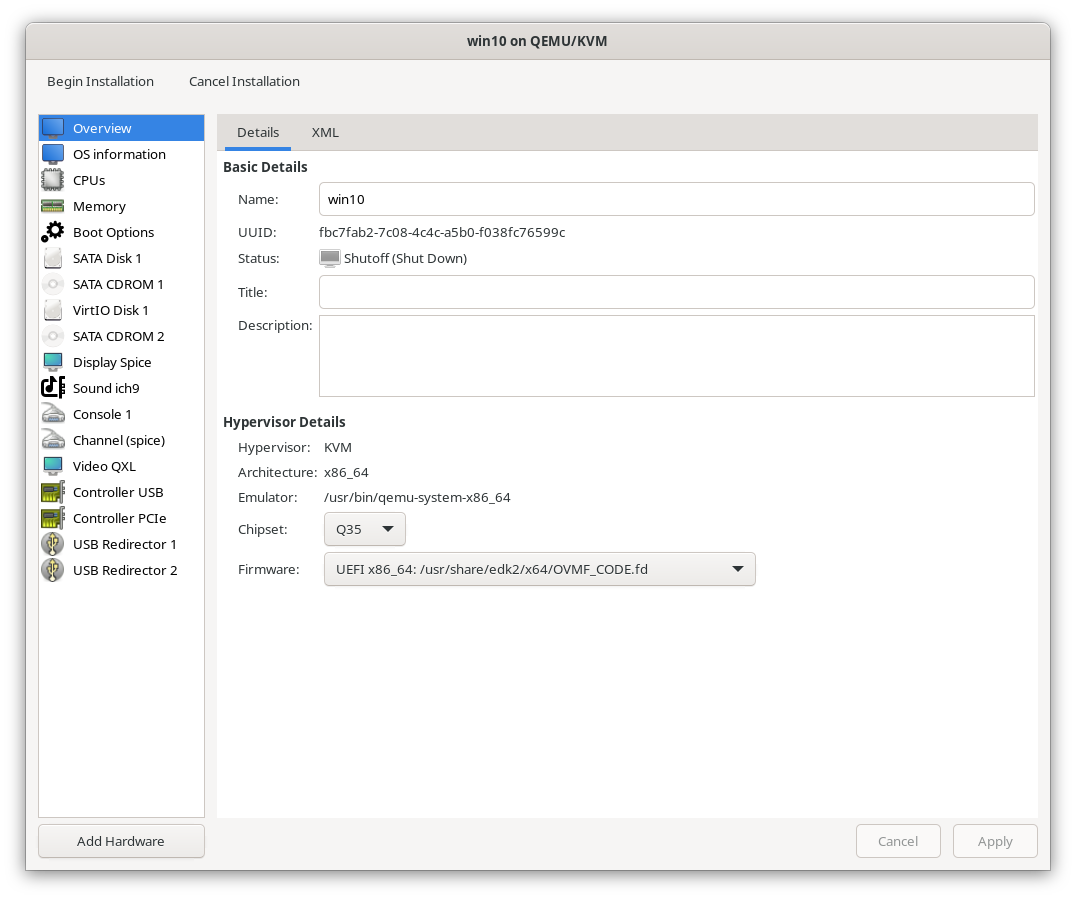
2. Begin Installation
Click the Begin Installation button to start the process.
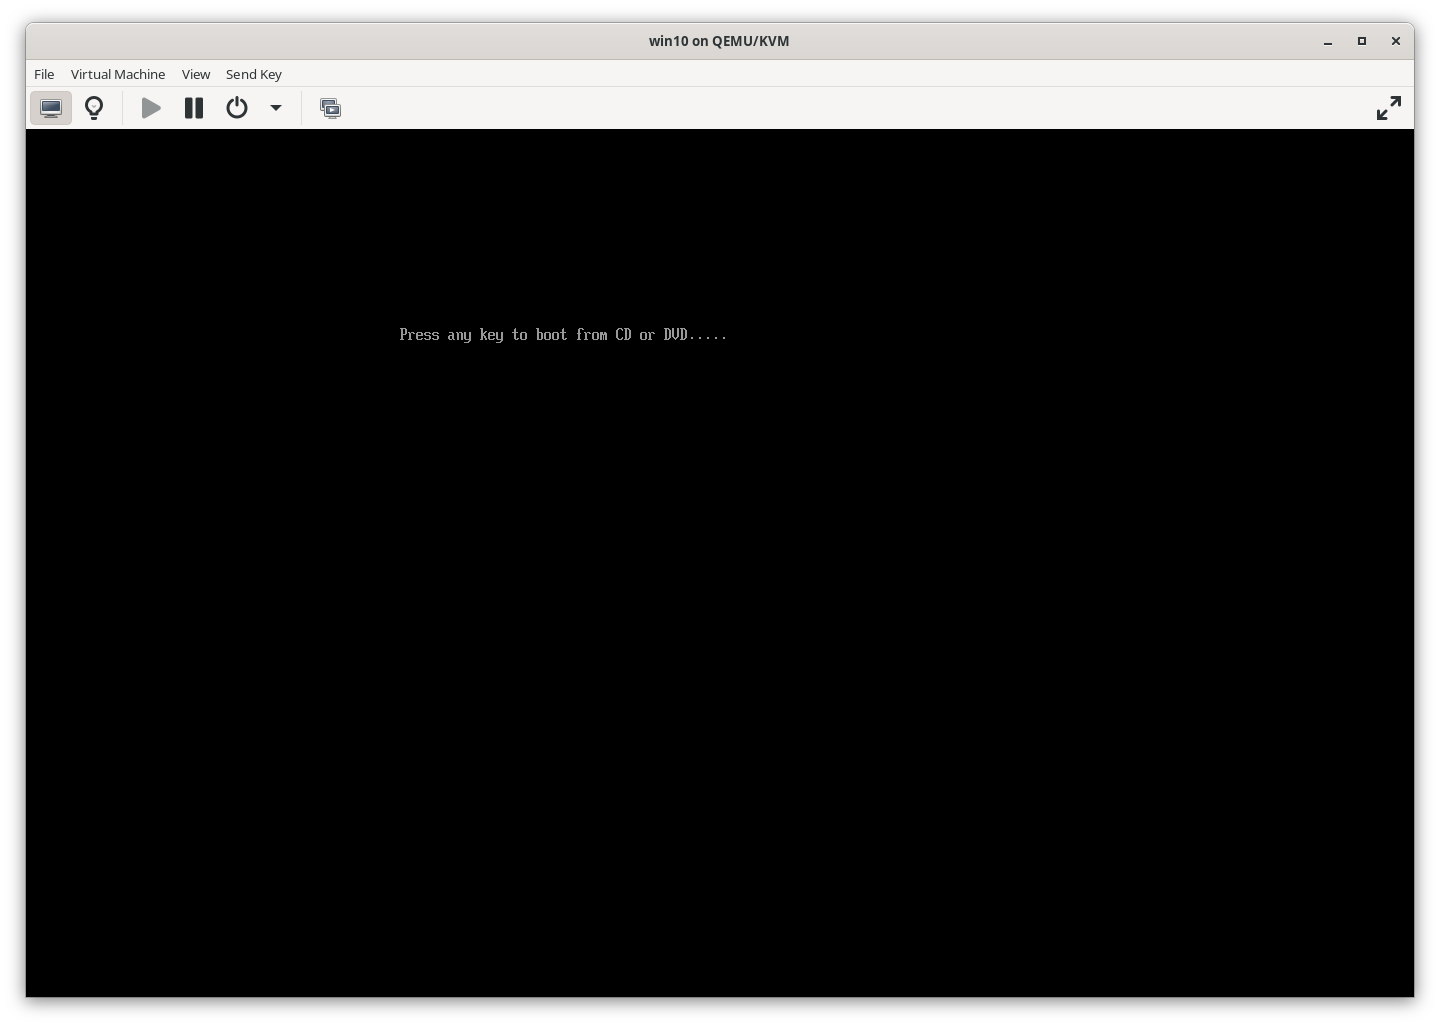
3. Boot Your System
When prompted, press any key to boot from your CD/DVD.
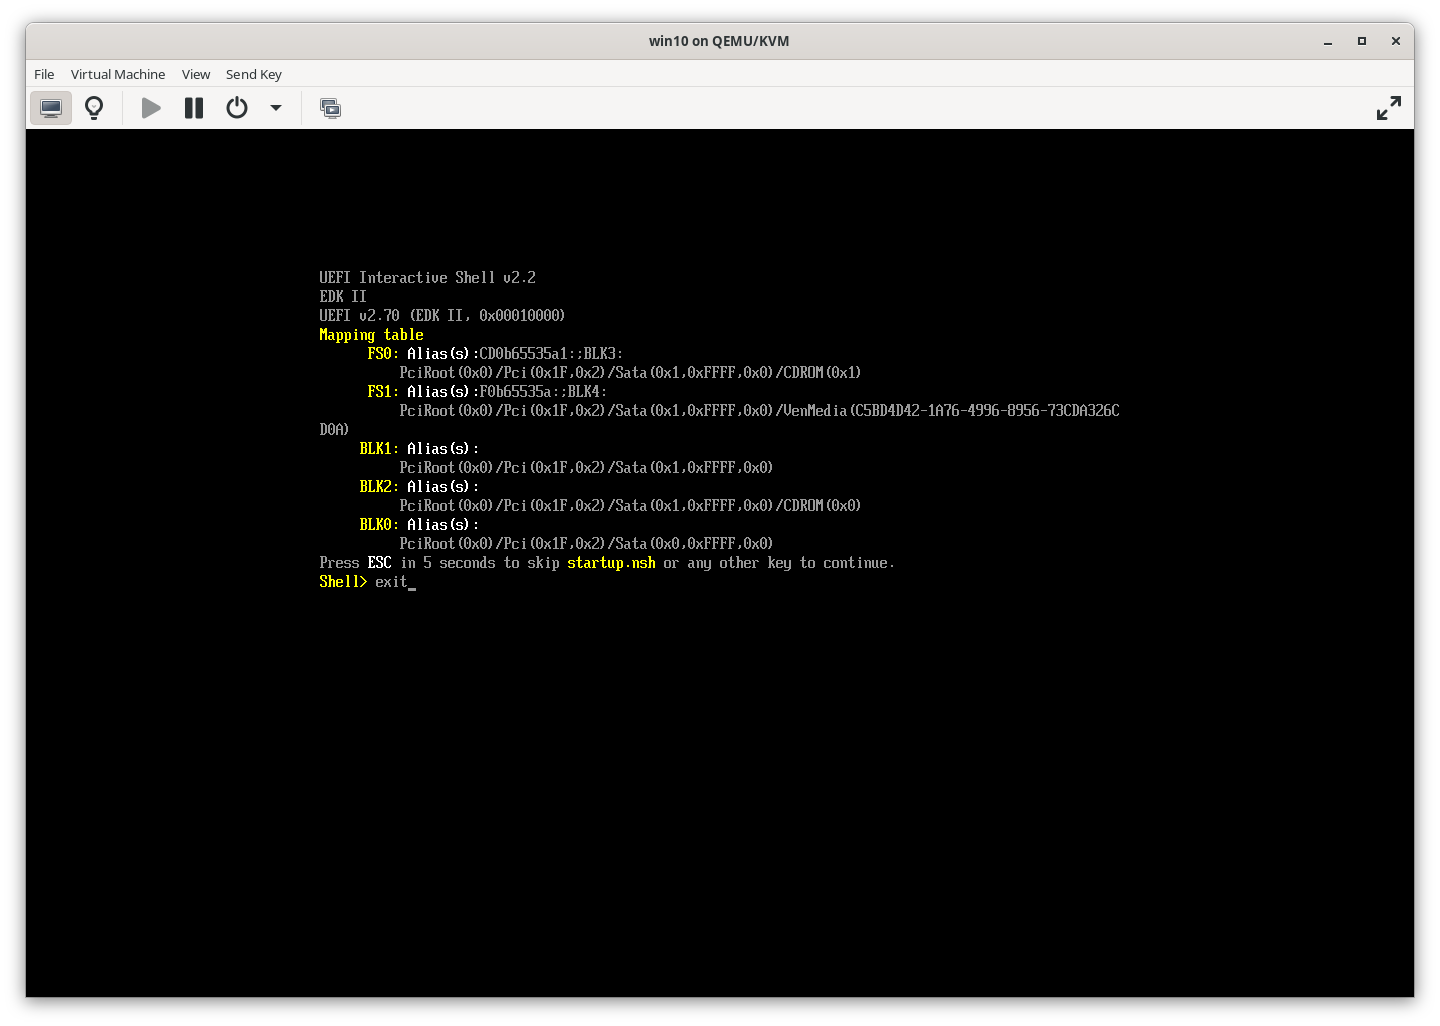
3.2 Exit the UEFI Shell
If you get stuck in the UEFI Shell, type exit and press Enter to move forward.
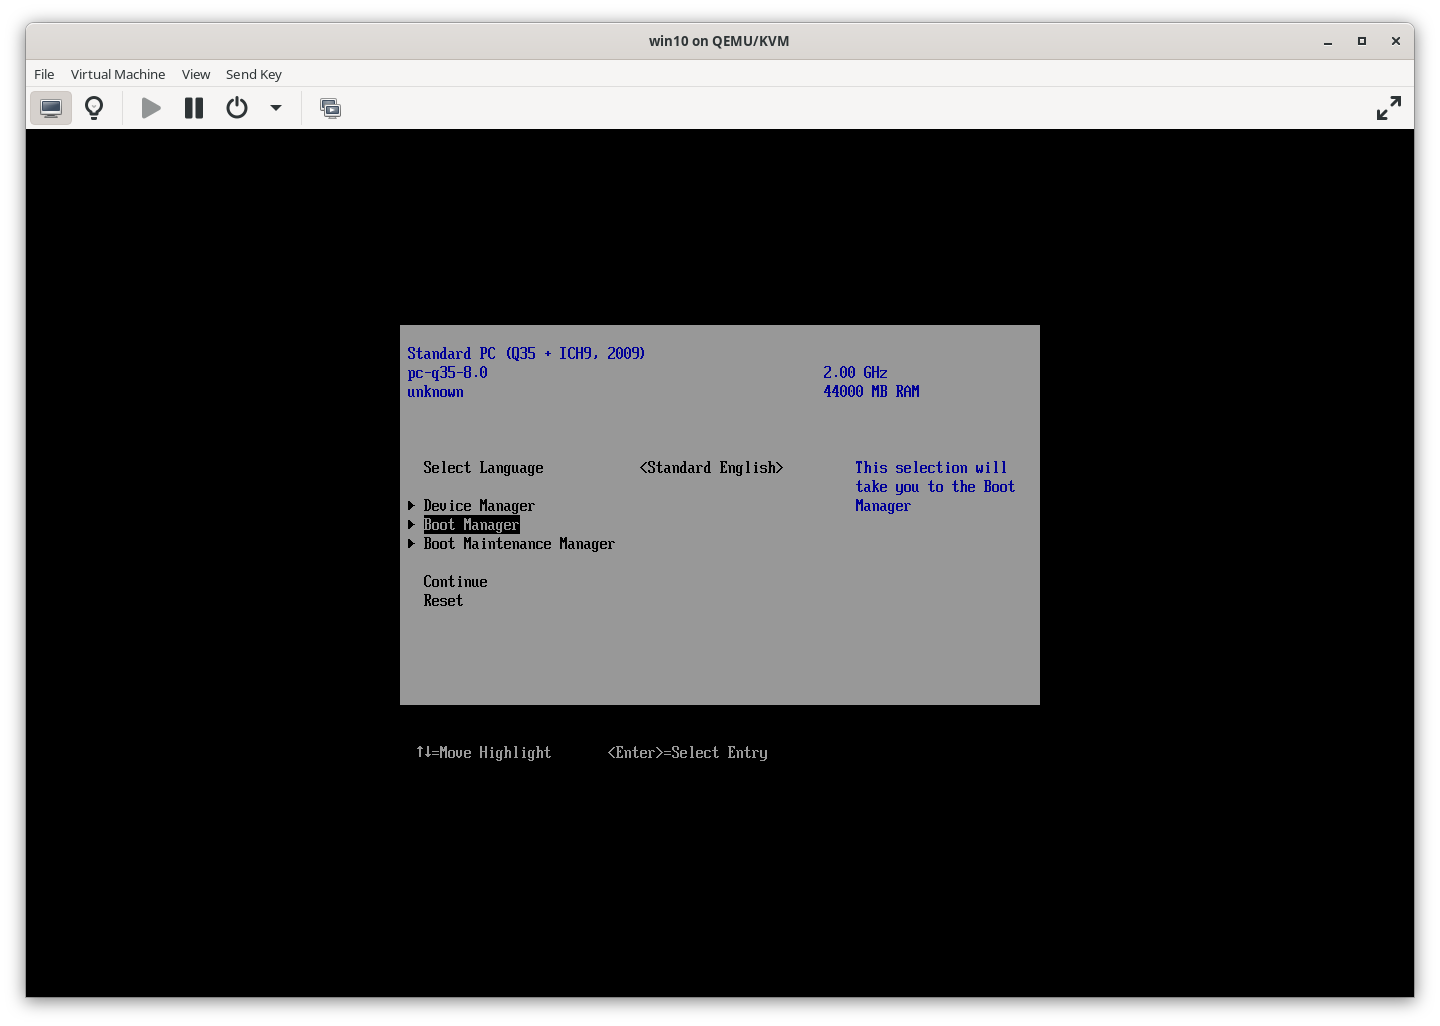
3.3 Select Boot Manager
Use the arrow keys to navigate to and select Boot Manager.
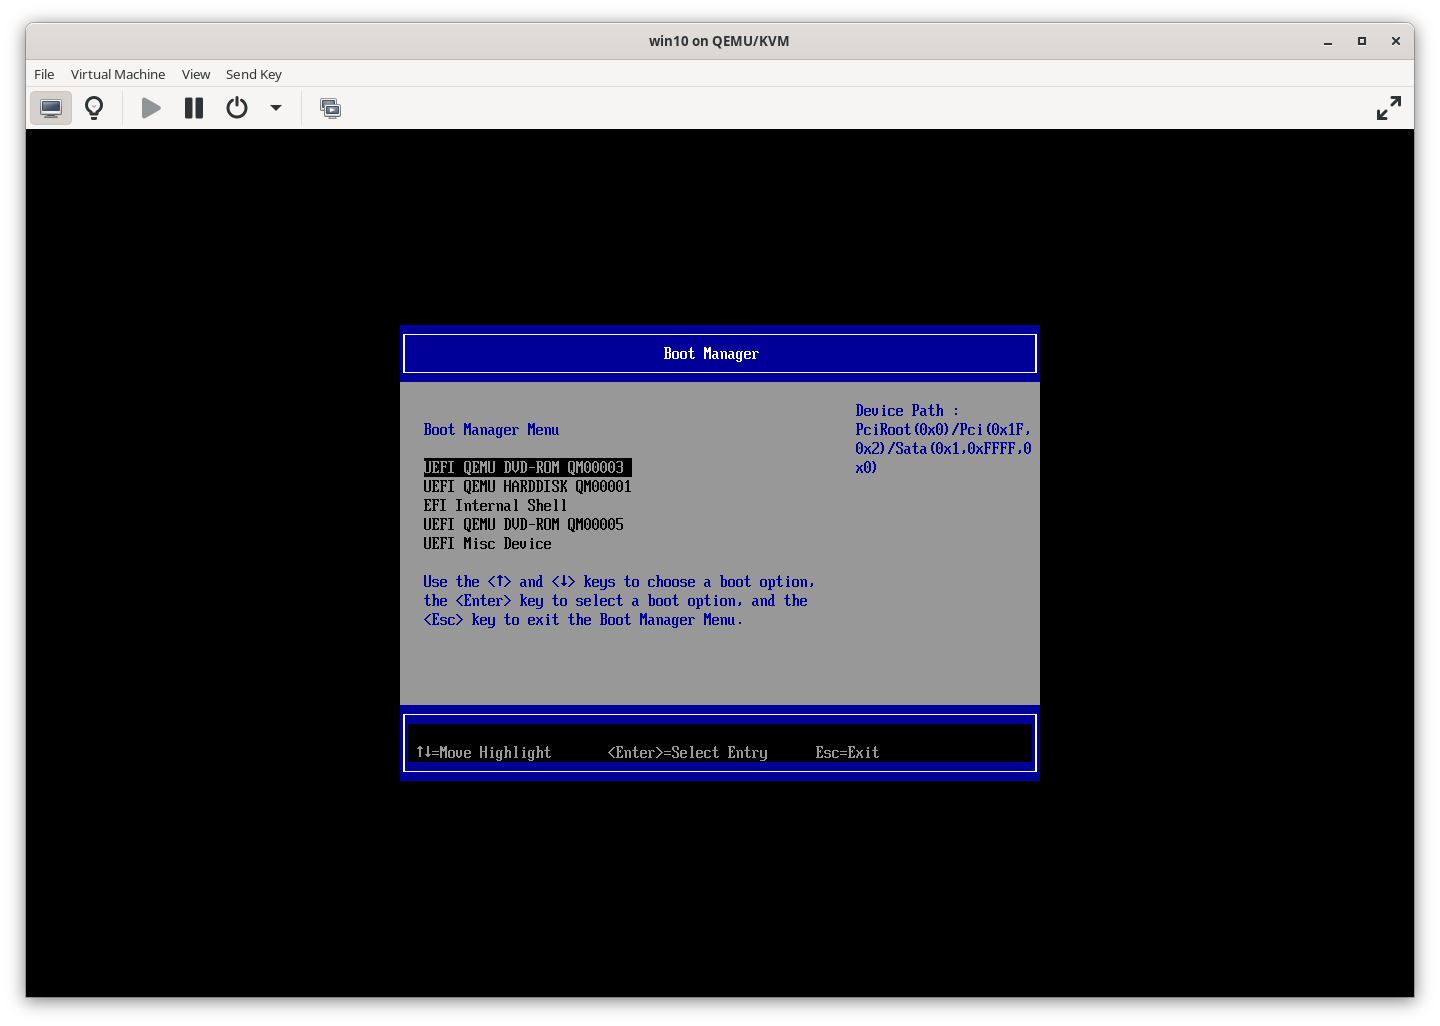
3.4 Select Boot Manager (DVD)
Choose the first option to boot from the DVD.
3.5 Press Any Key Again
Press any key to continue booting up your system.

4. Windows Setup
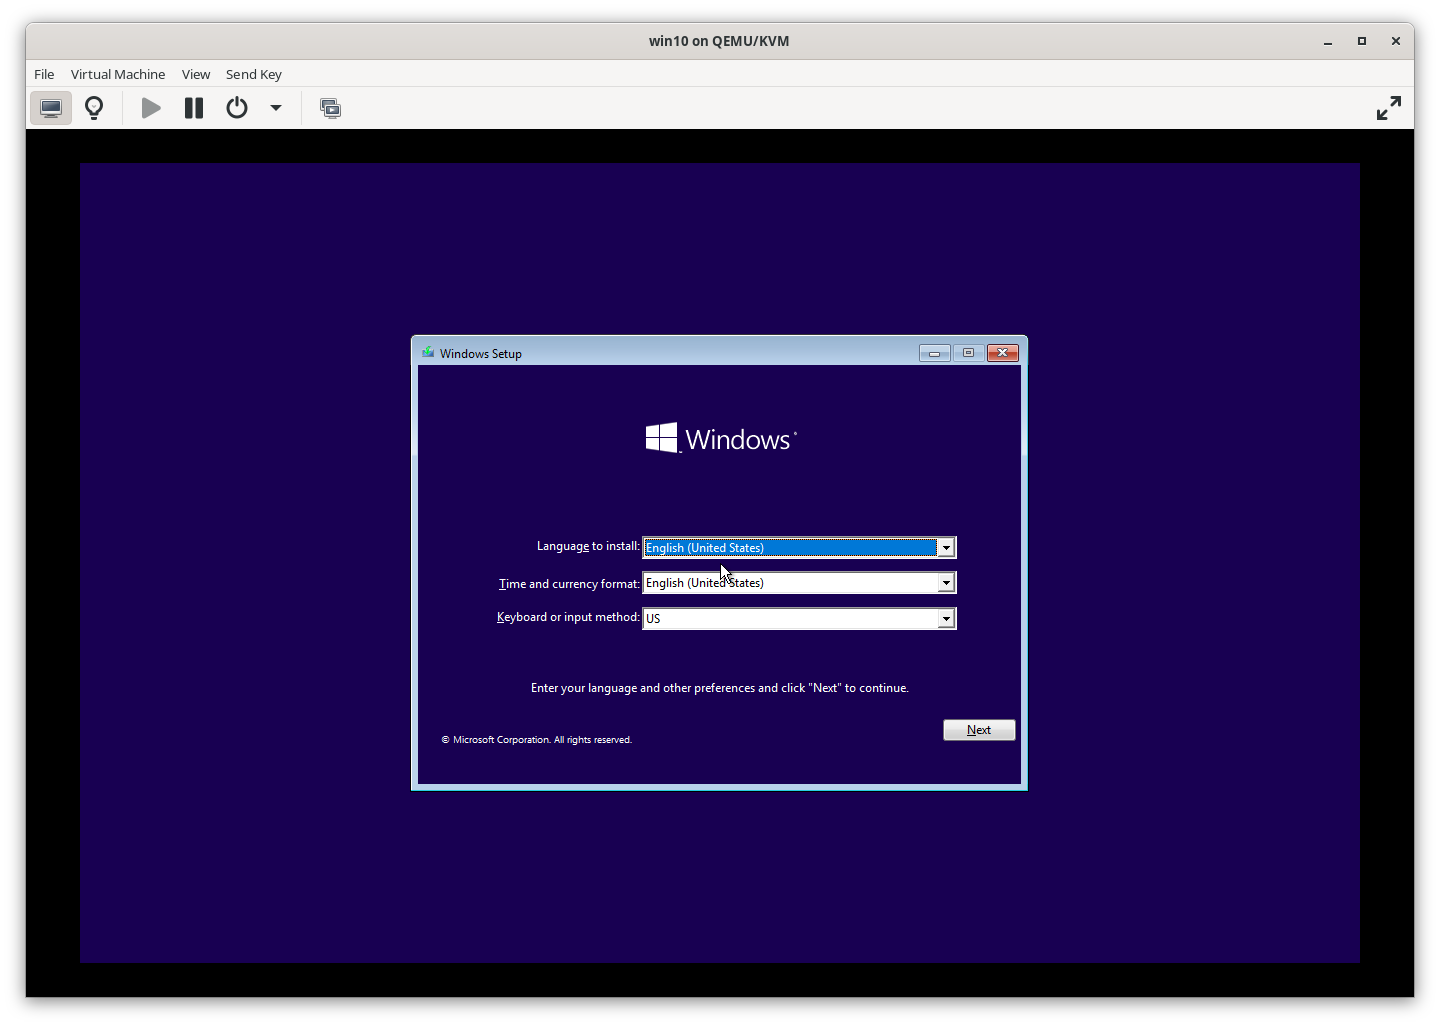
Now you’ll see the Windows setup process start. The installation steps are similar to a regular Windows installation. Keep clicking Next until you reach the Install Windows option.
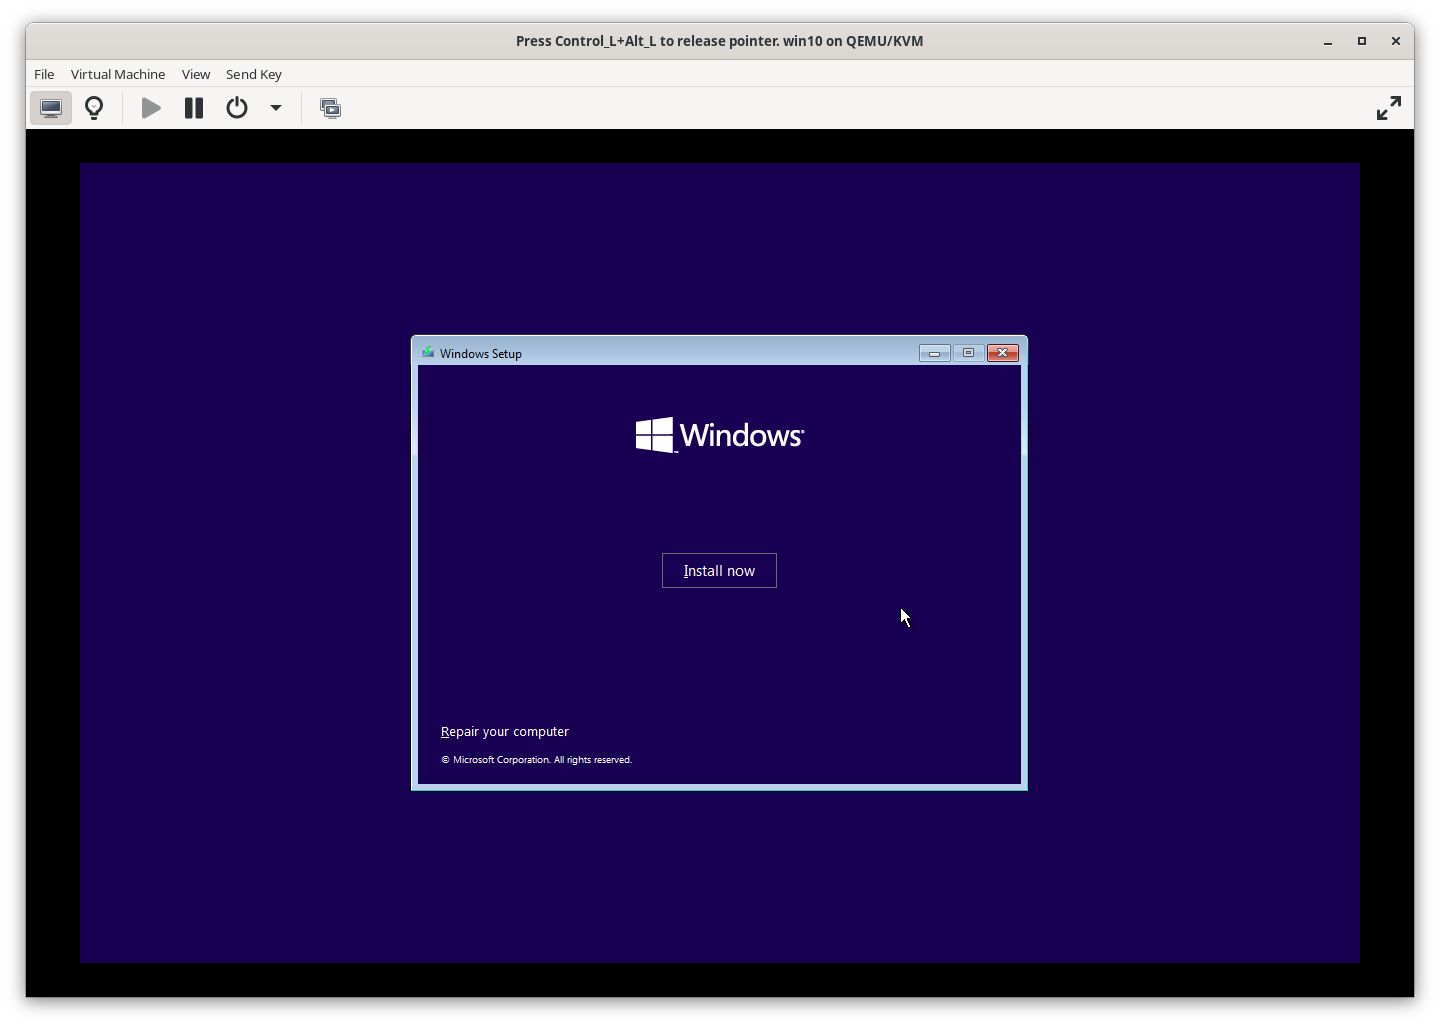
4.2 Install Now
Click Install now.
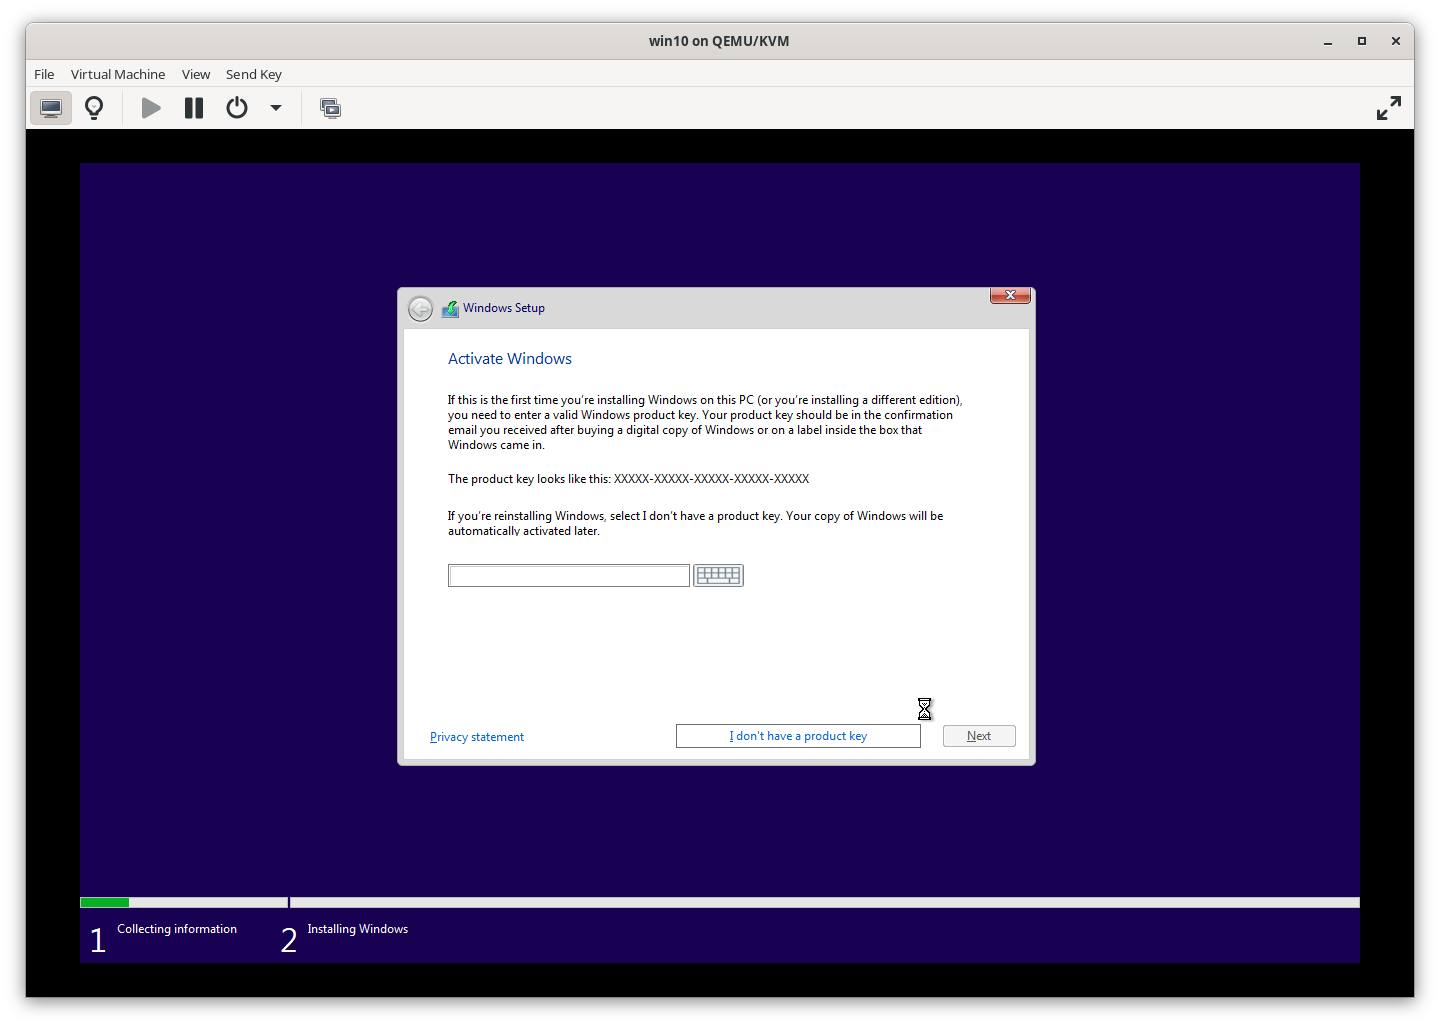
4.3 Skip Product Key
Click I don’t have a product key.
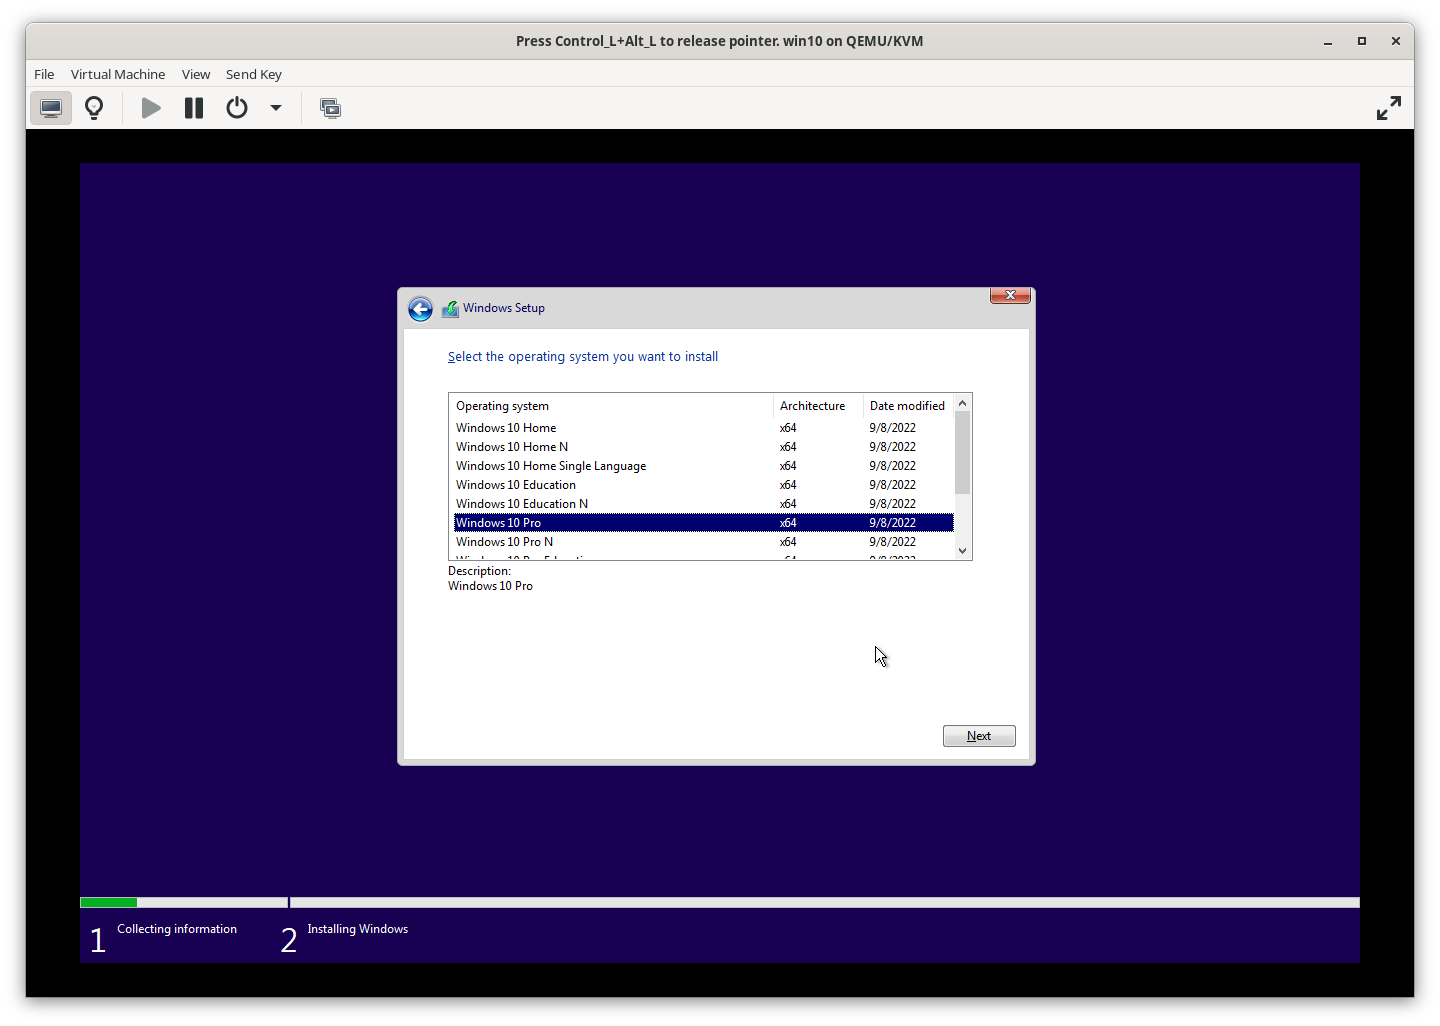
4.4 Select Version
Choose the Pro version of Windows. The Pro version supports offline accounts.
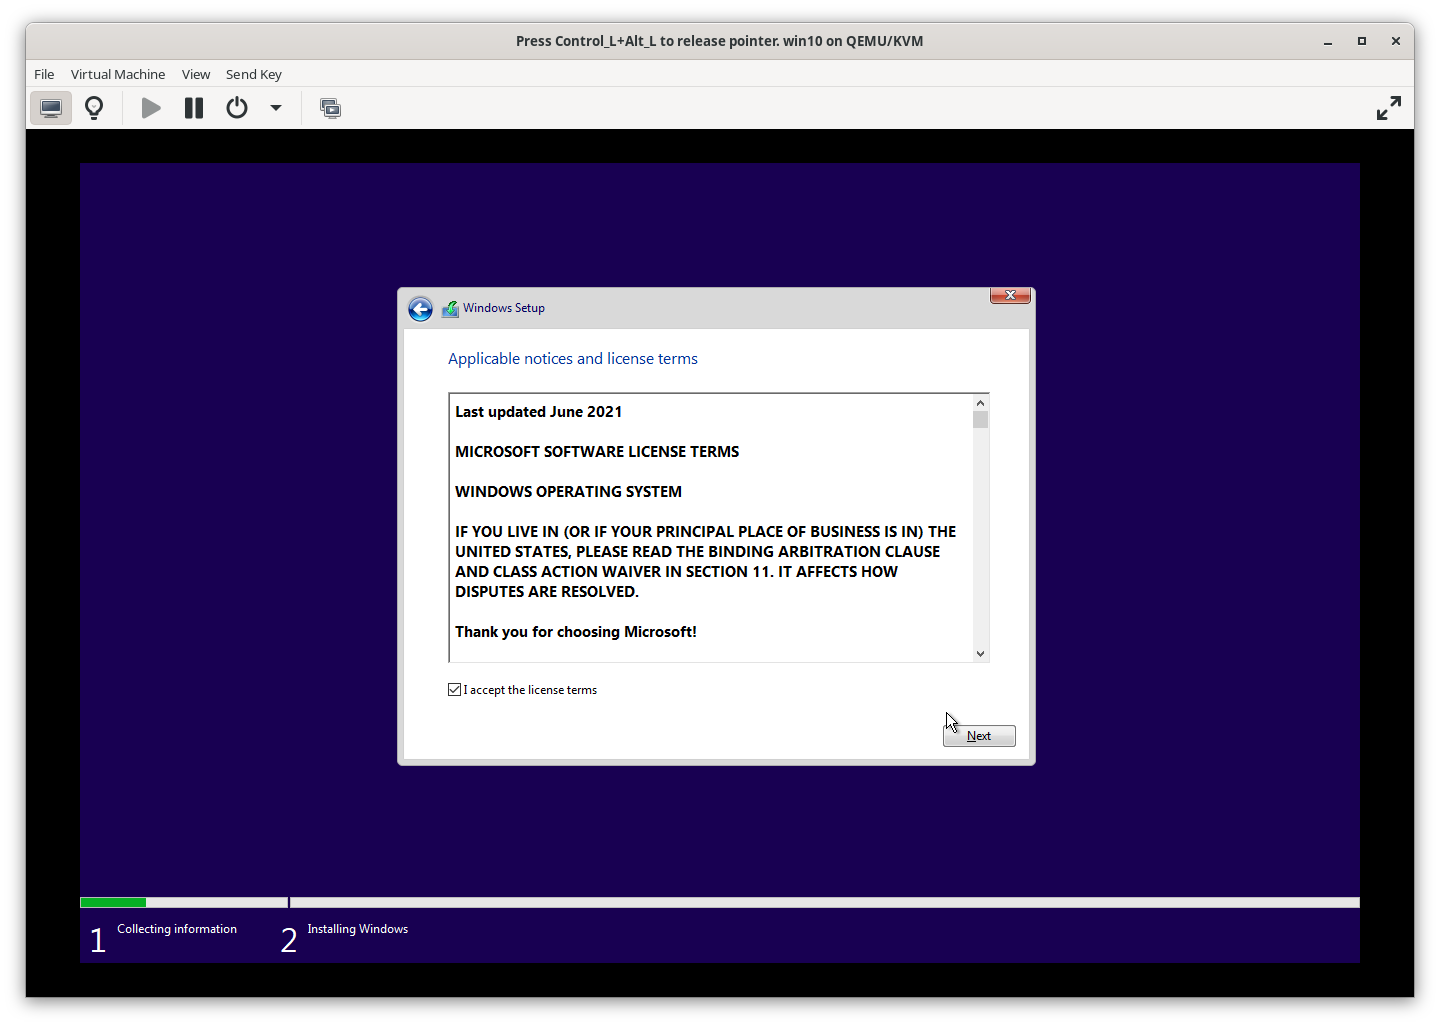
4.5 Accept License Terms
Tick the box to accept the license terms.
4.6 Custom Installation
Select Custom installation.
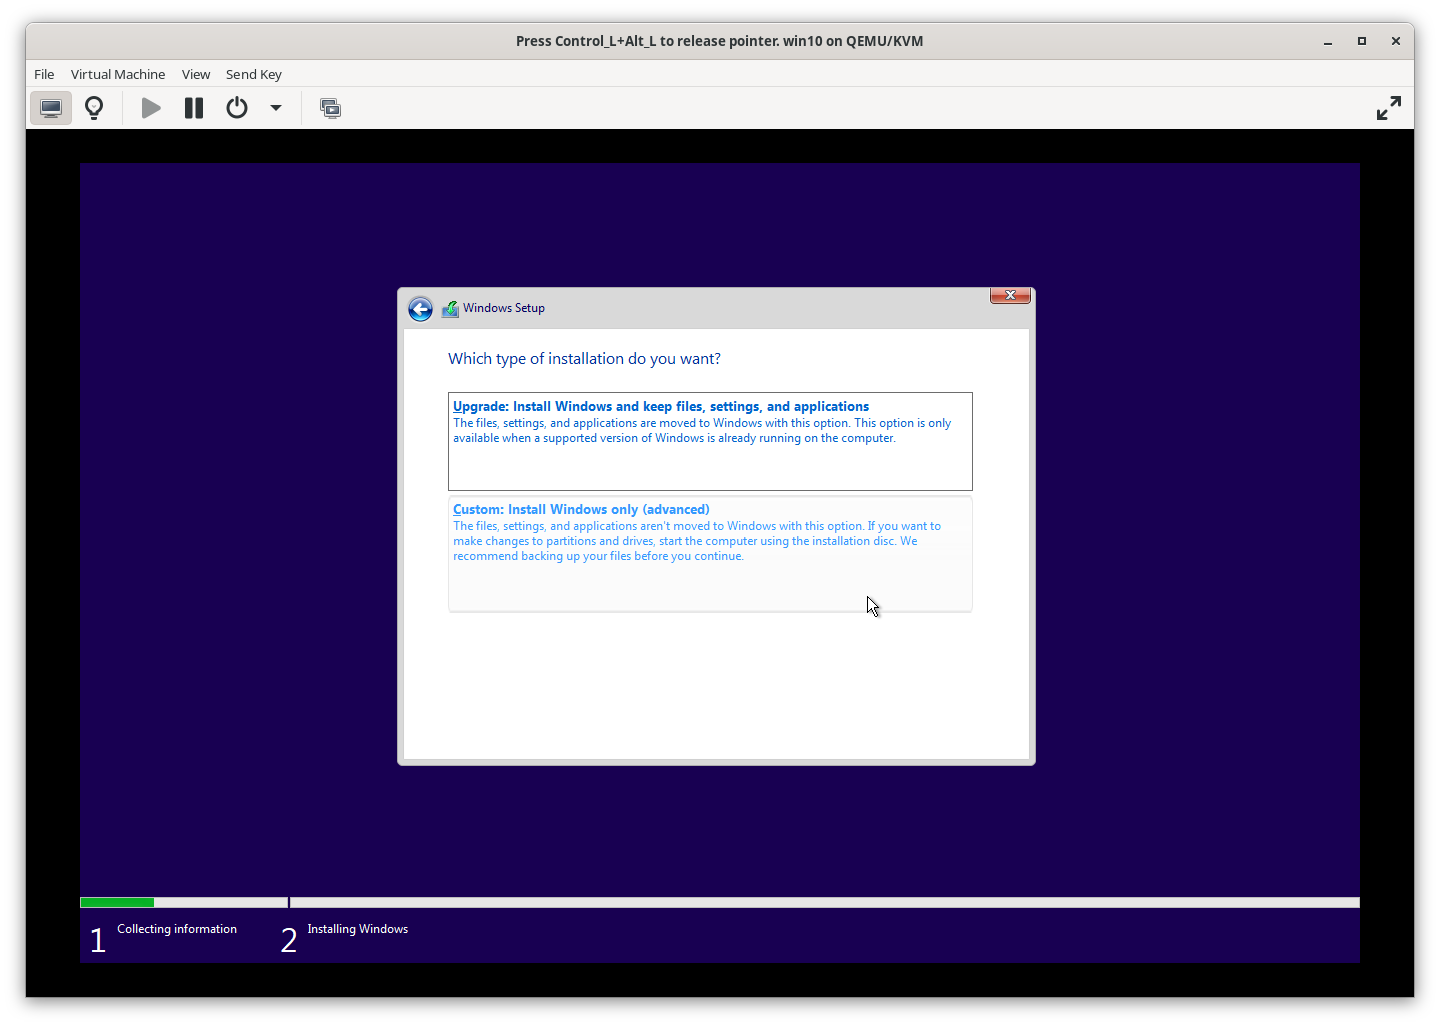
4.7 Load Drivers
Click Load drivers.
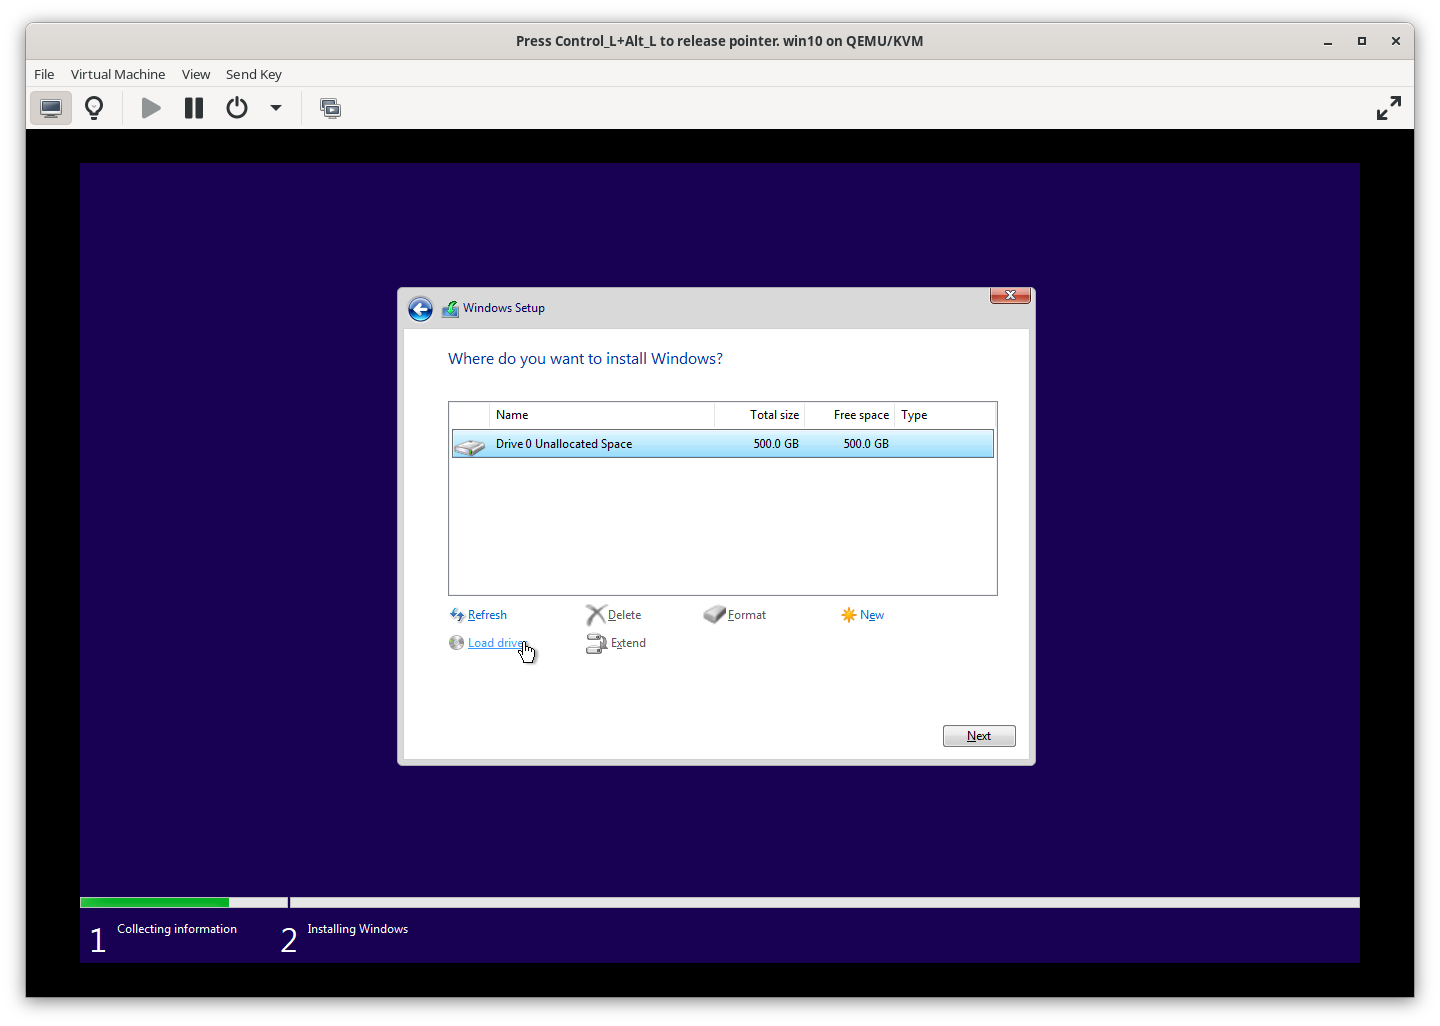
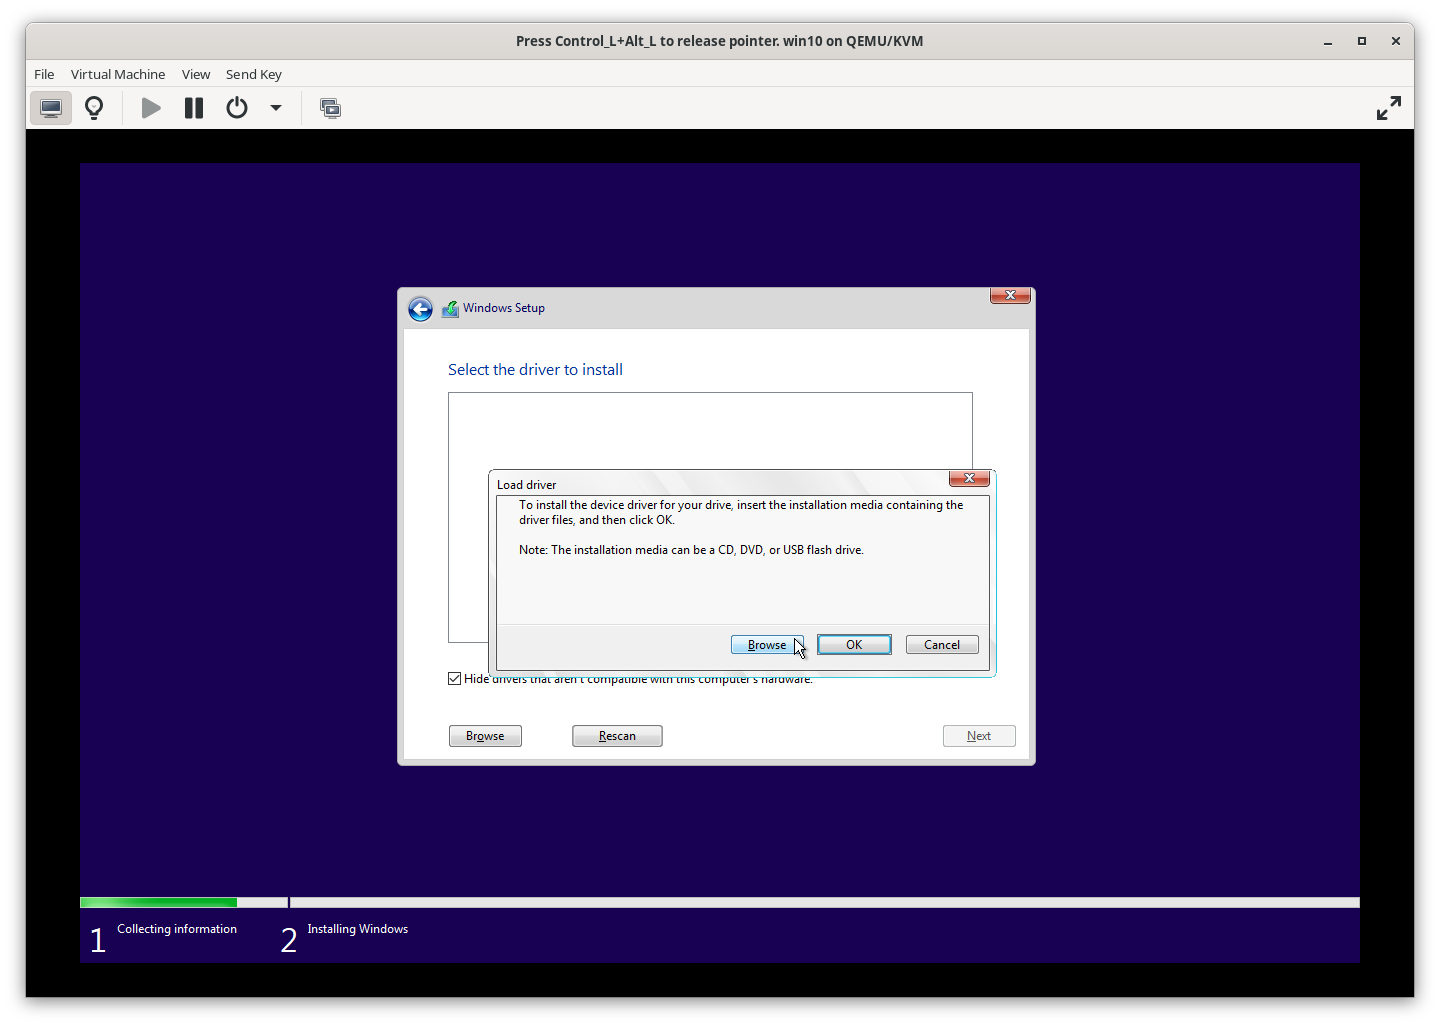
4.8 Browse for Drivers
Click Browse.
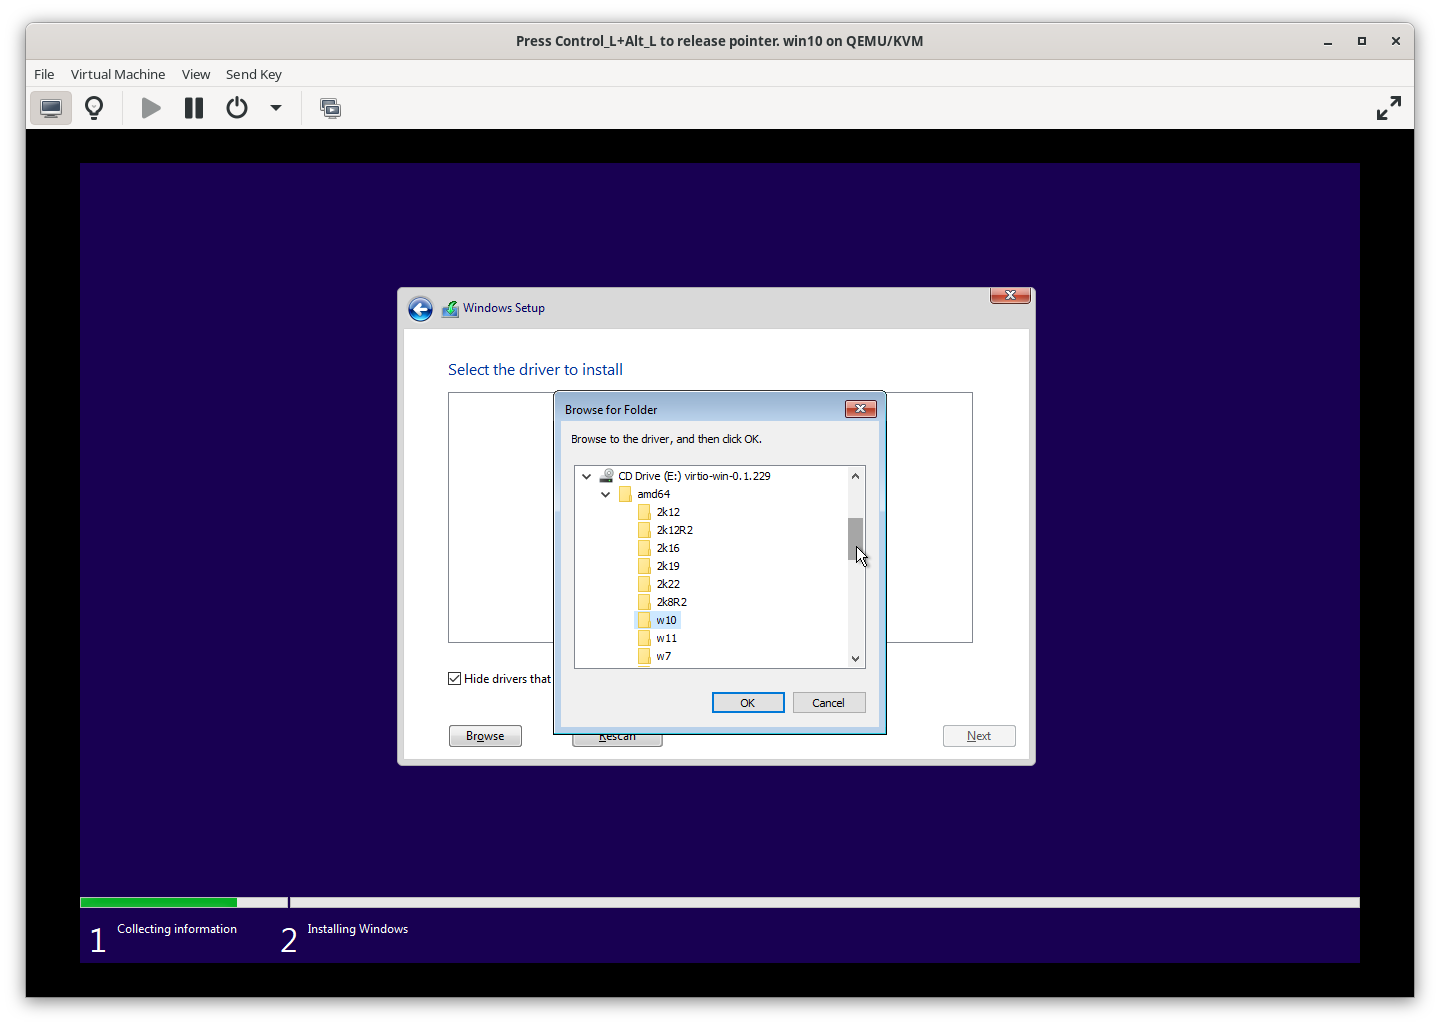
4.9 Select Virtio-Win
Choose the path E:\amd64\w10 and click OK.
4.9.1 Red Hat VirtIO SCSI Controller
Select Red Hat VirtIO SCSI controller and click Next.
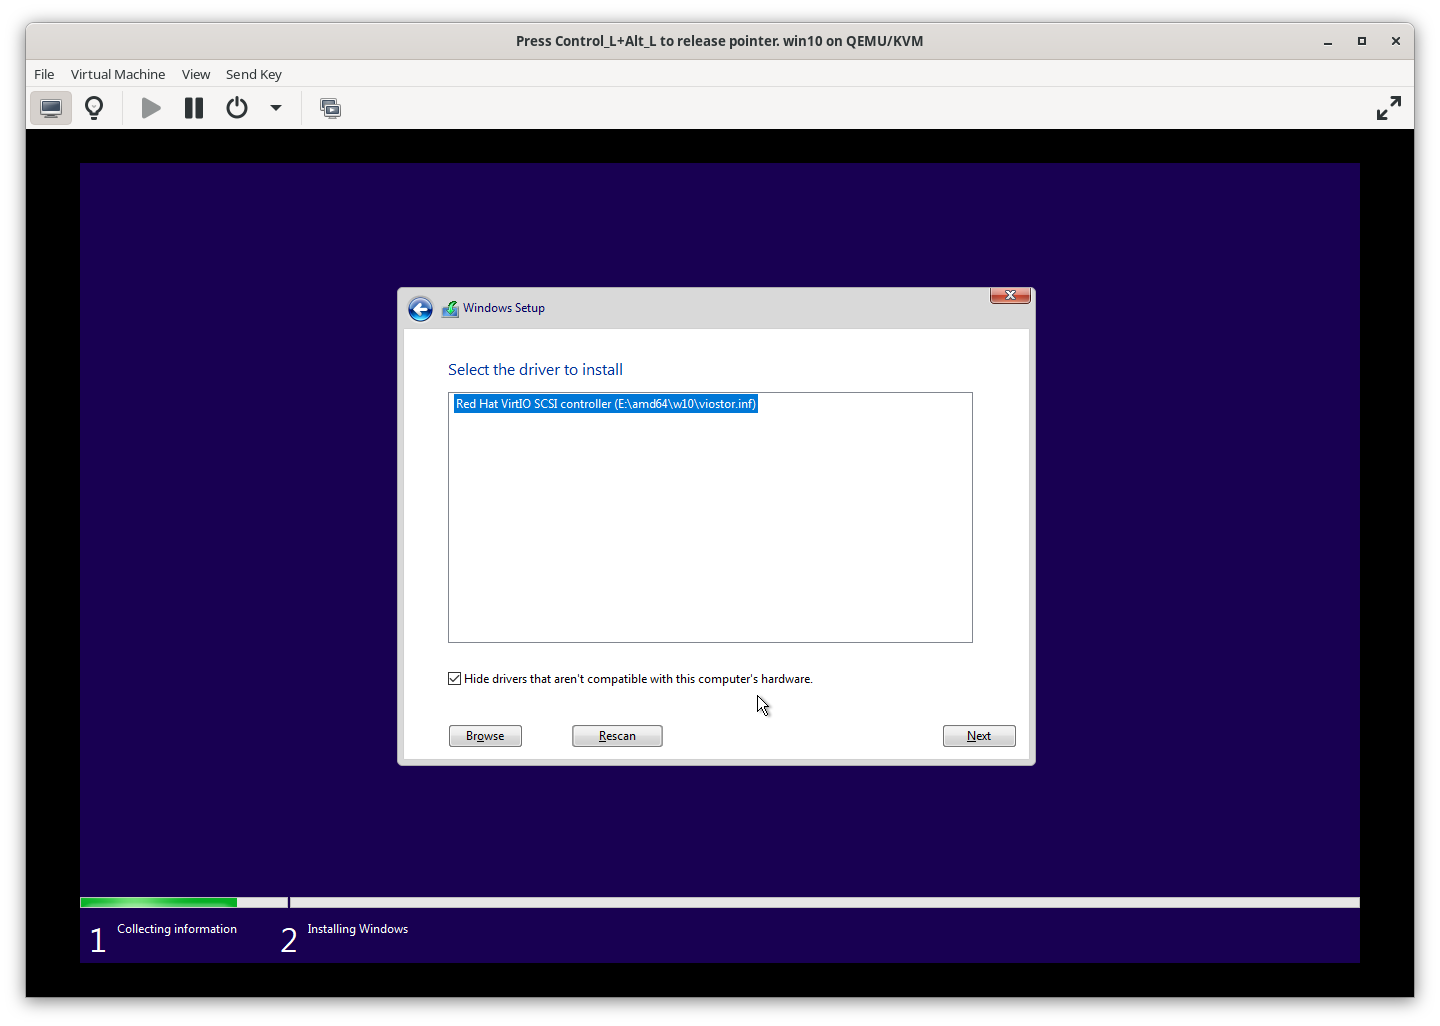
4.9.2 VirtIO Disk
You should see the new VirtIO Disk. This disk is crucial for installing new drivers later, so do not delete it.
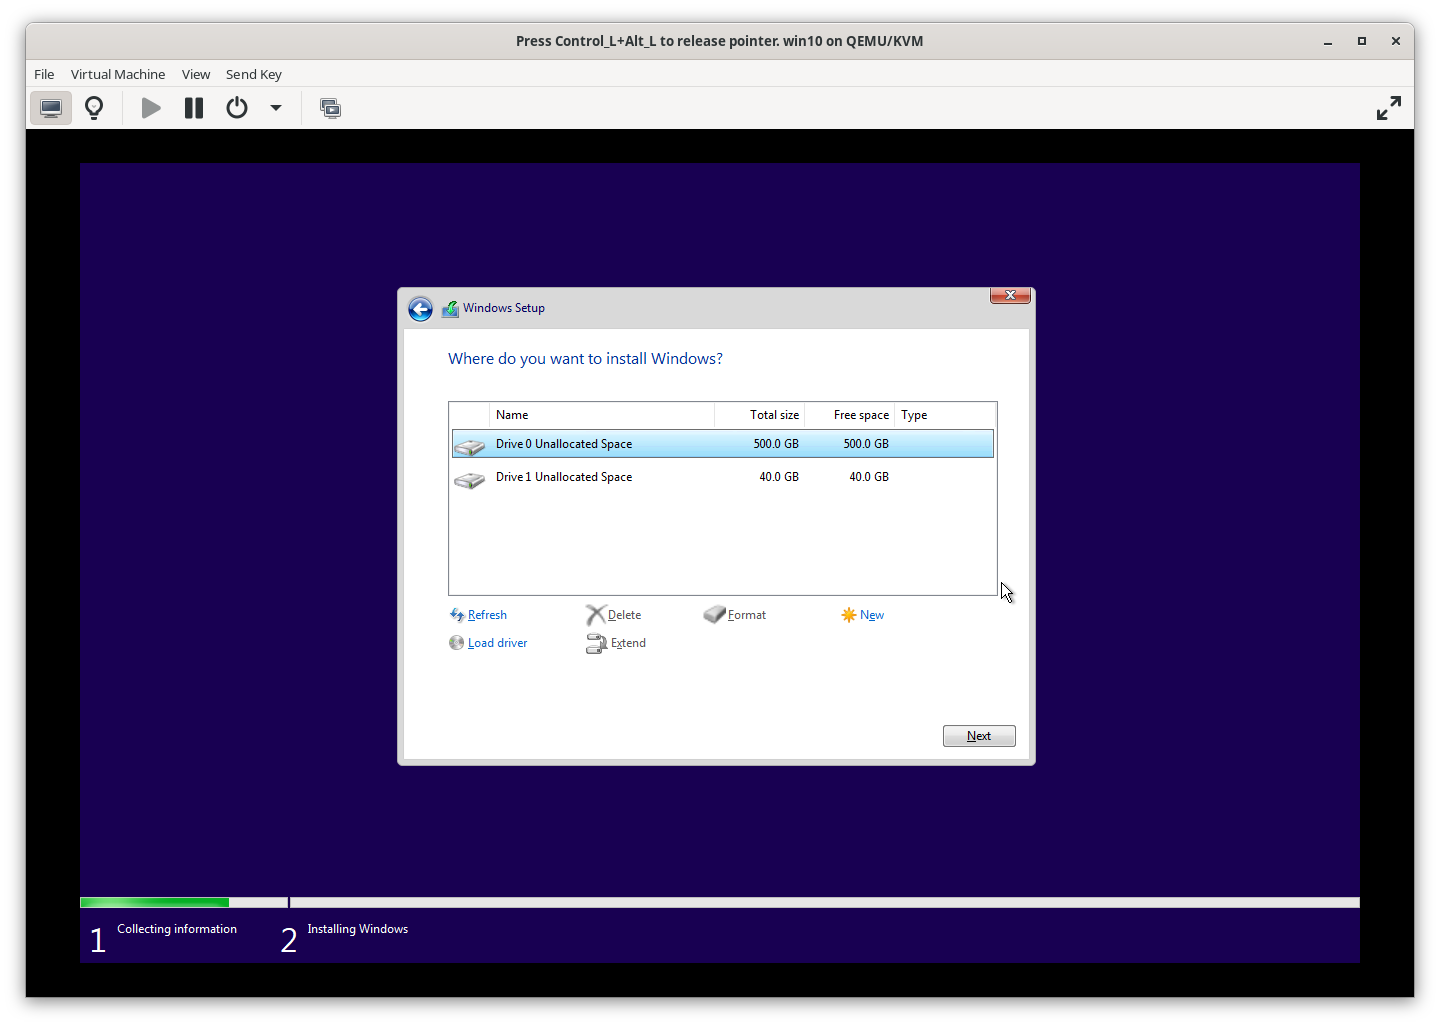
4.9.3 Select Installation Disk
Choose your disk for installing Windows. You can partition it into drives (e.g., 150 GB and 350 GB) as needed.
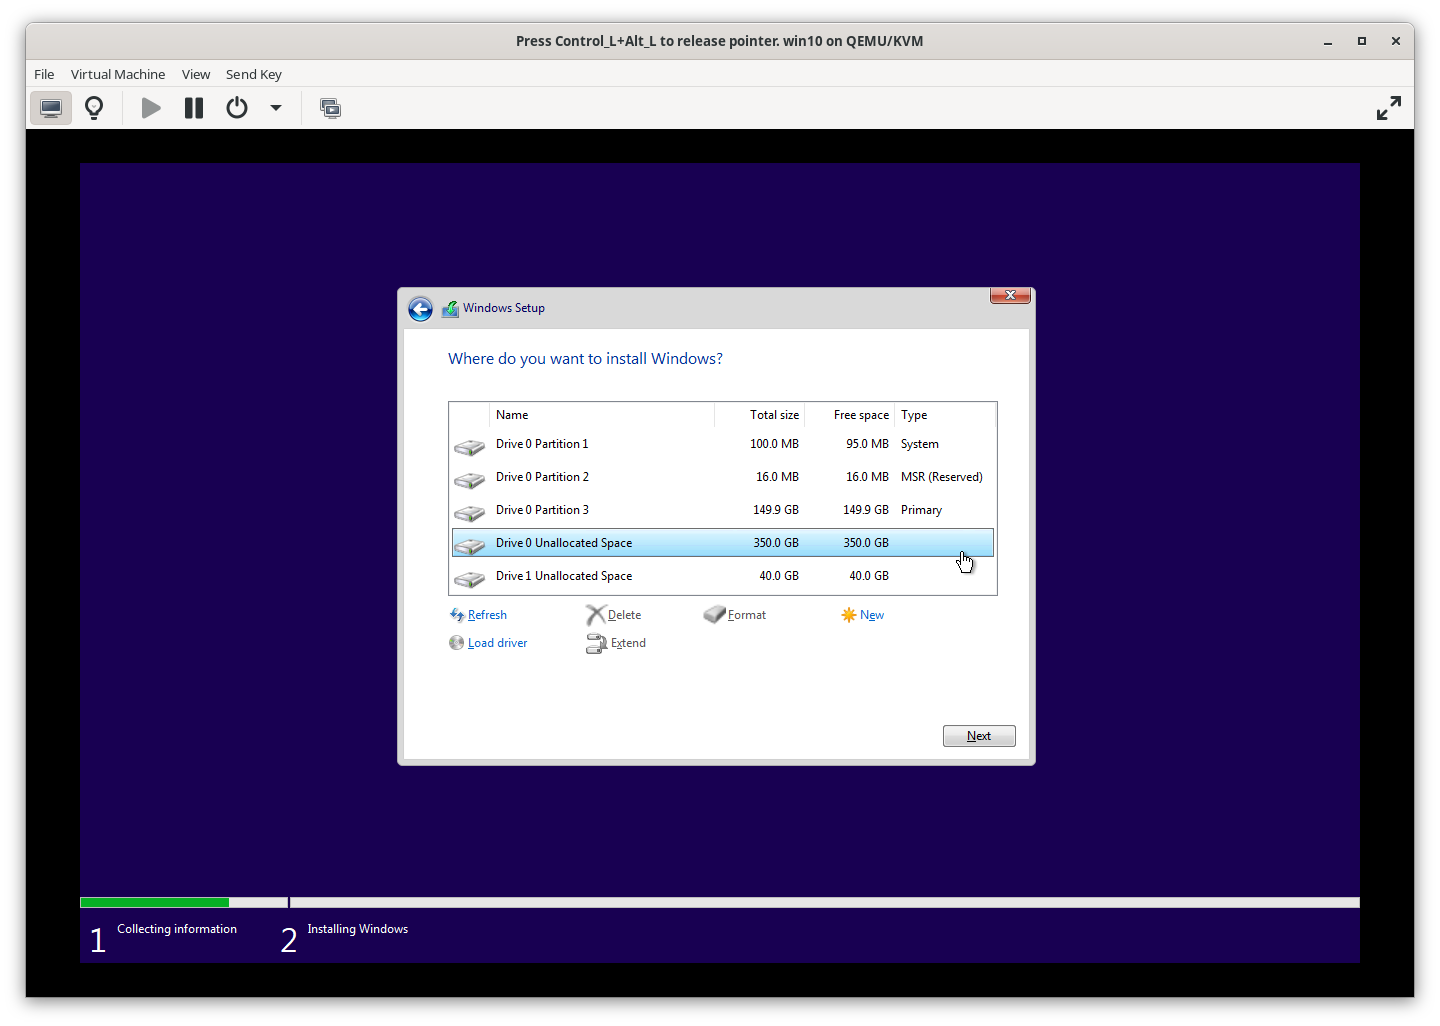
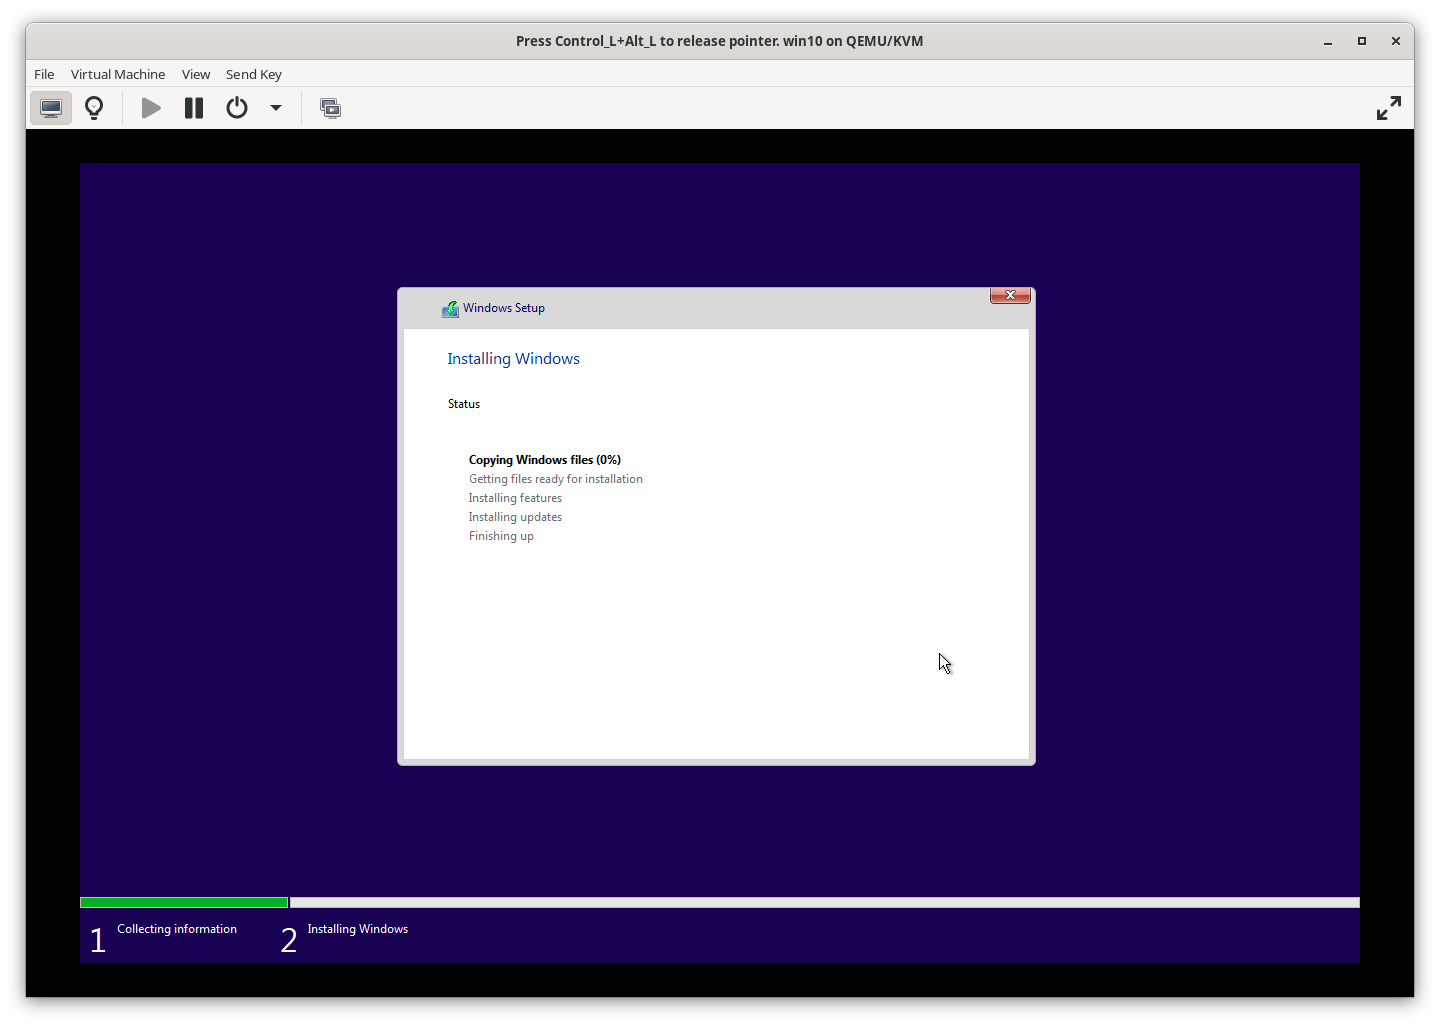
4.9.4 Installing Windows
Click to start the installation. This process will take some time.
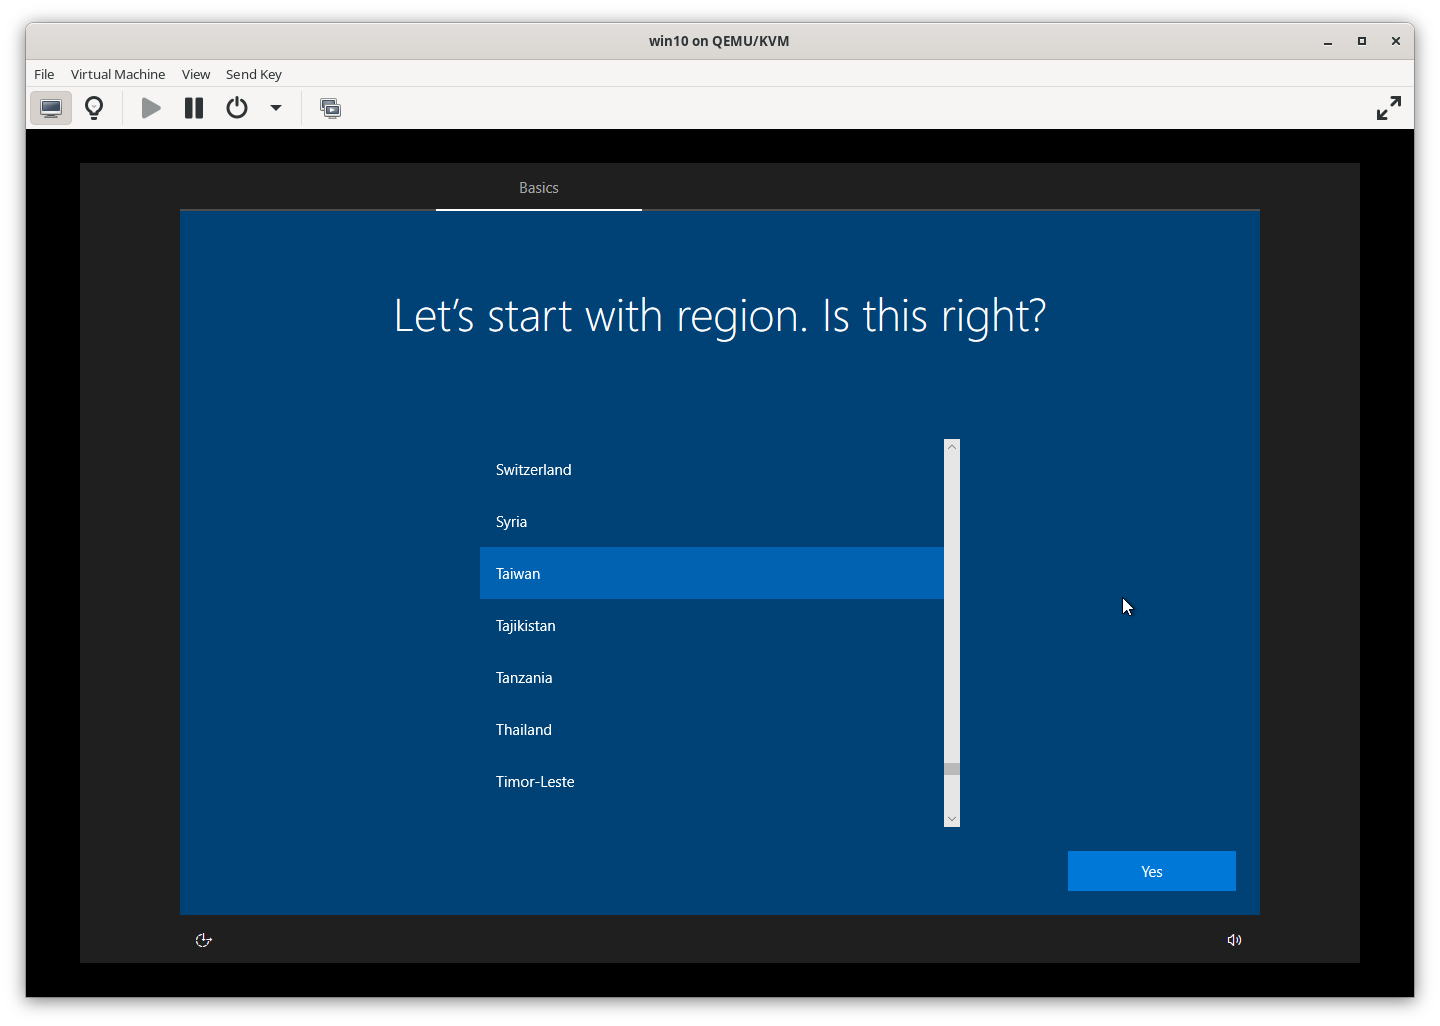
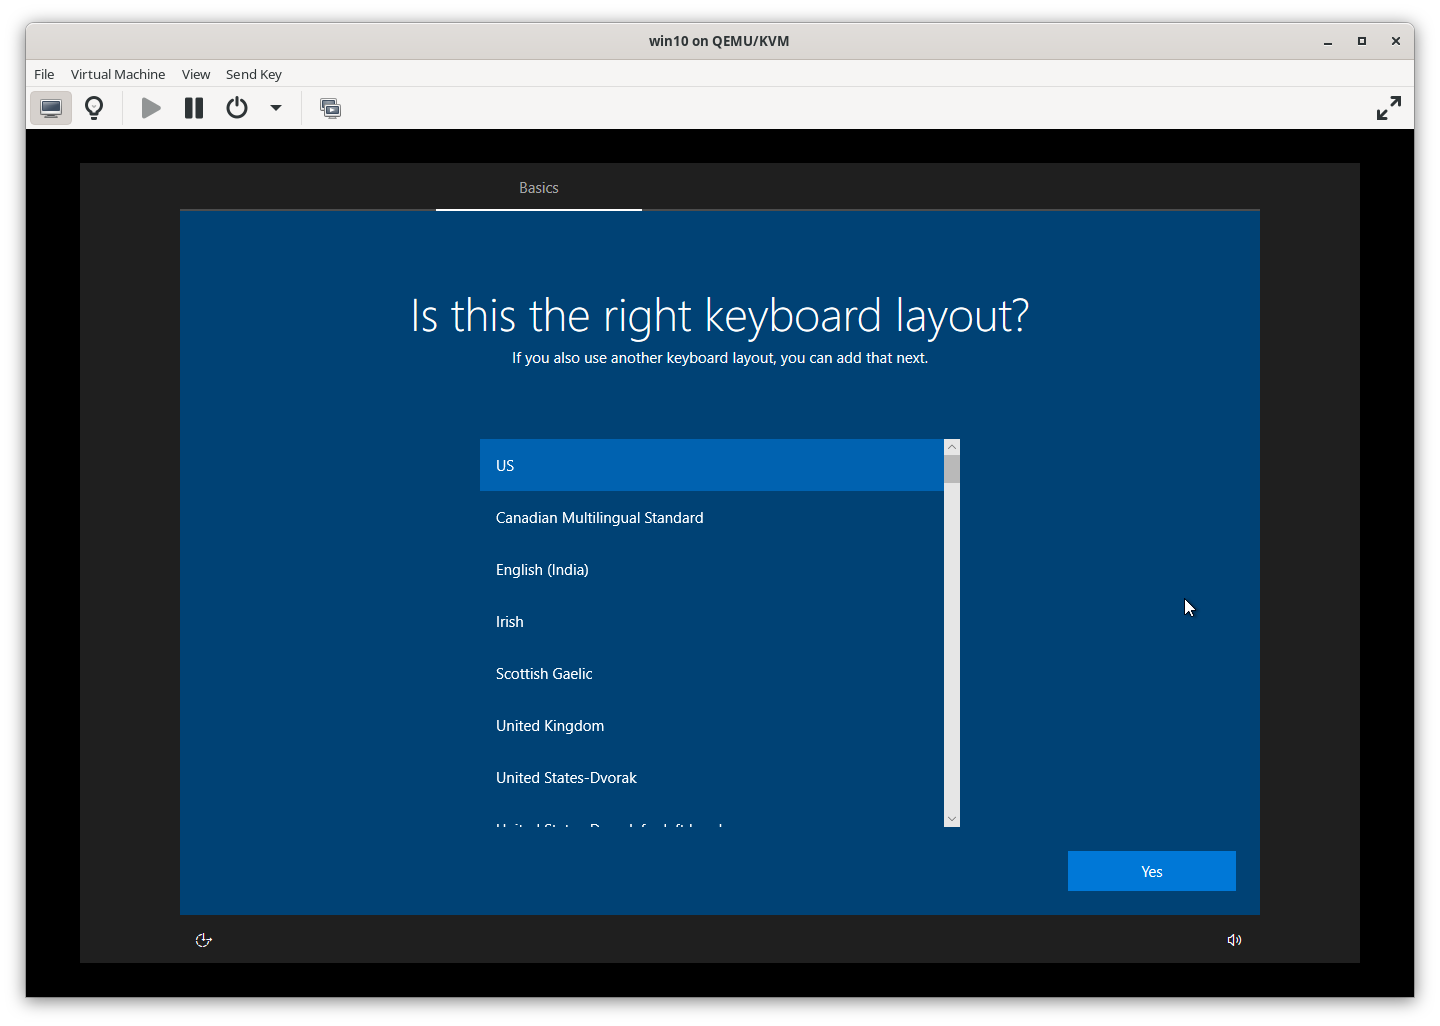
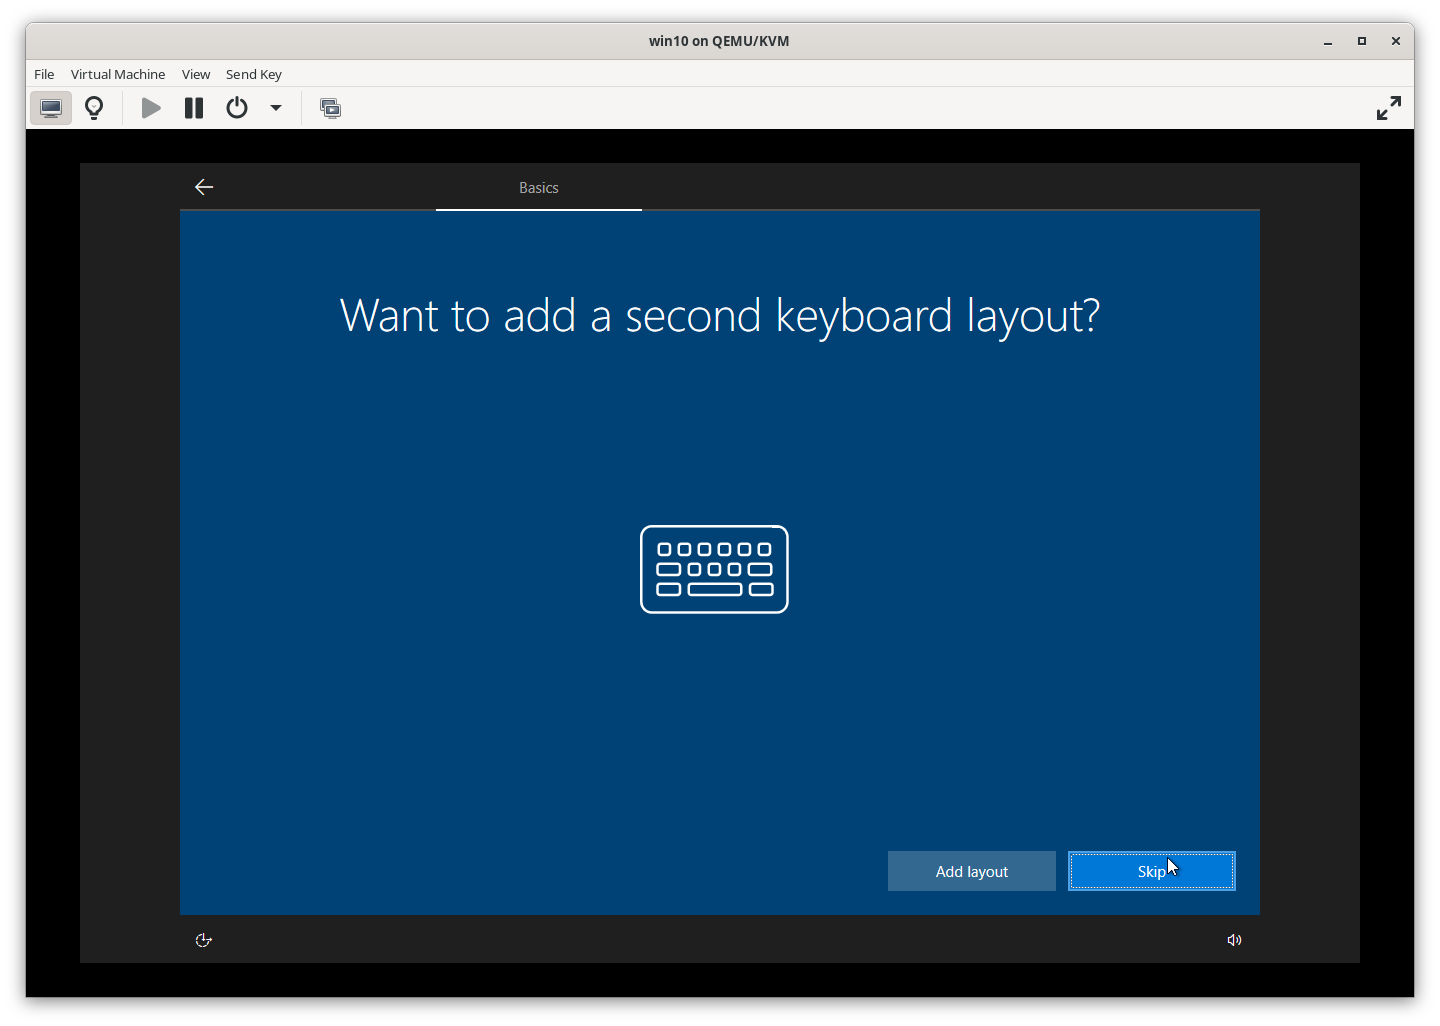
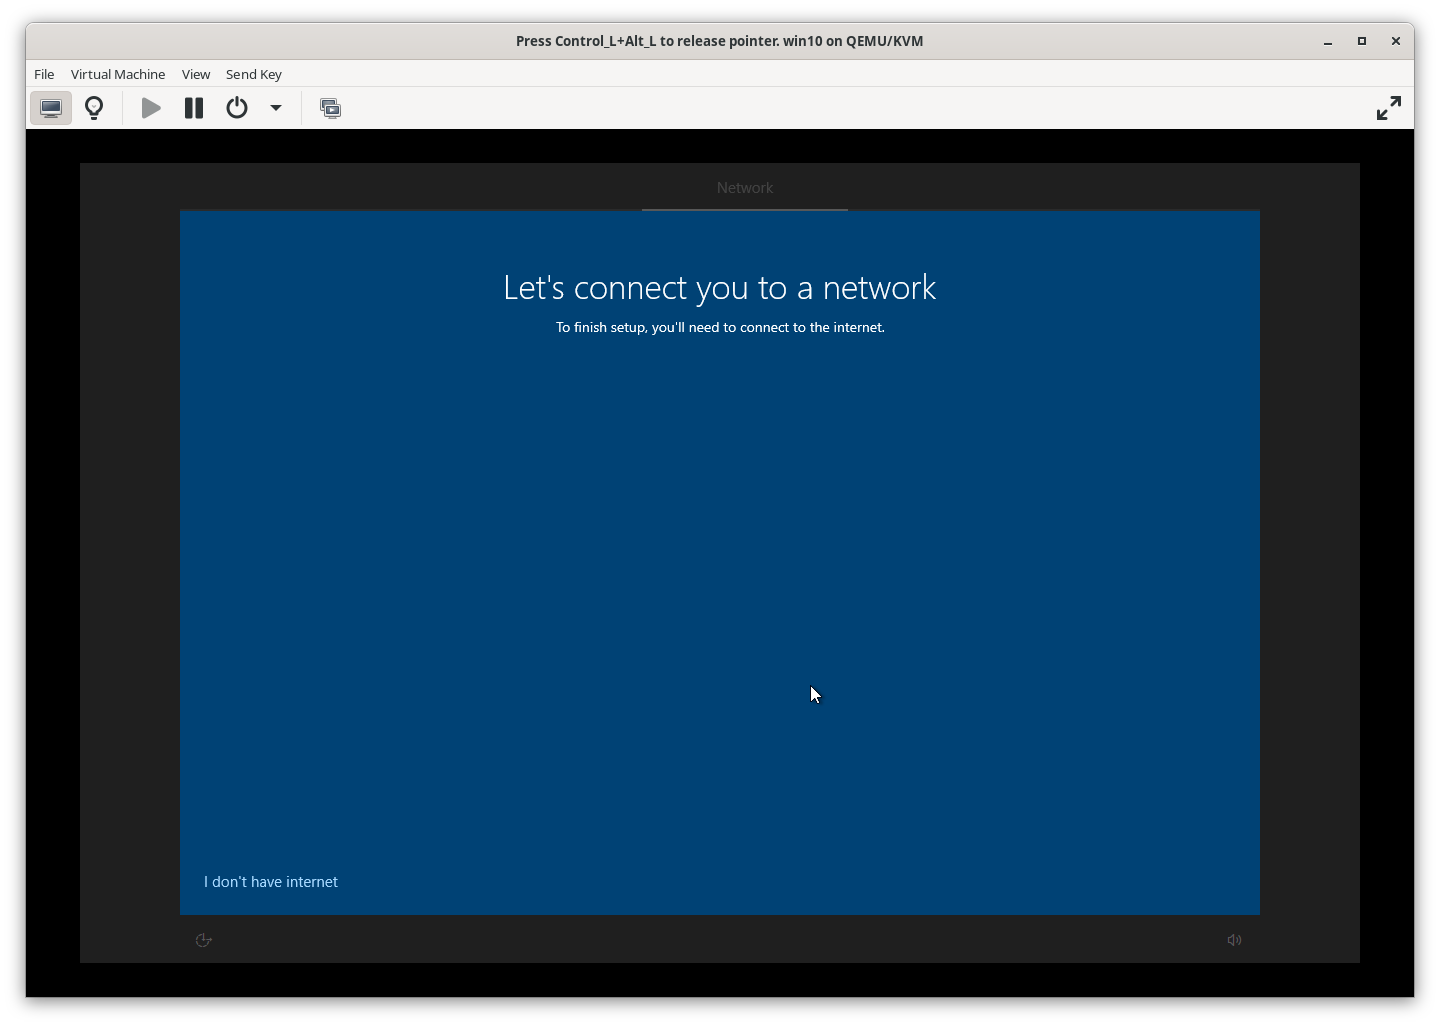
4.9.5 Windows Configuration
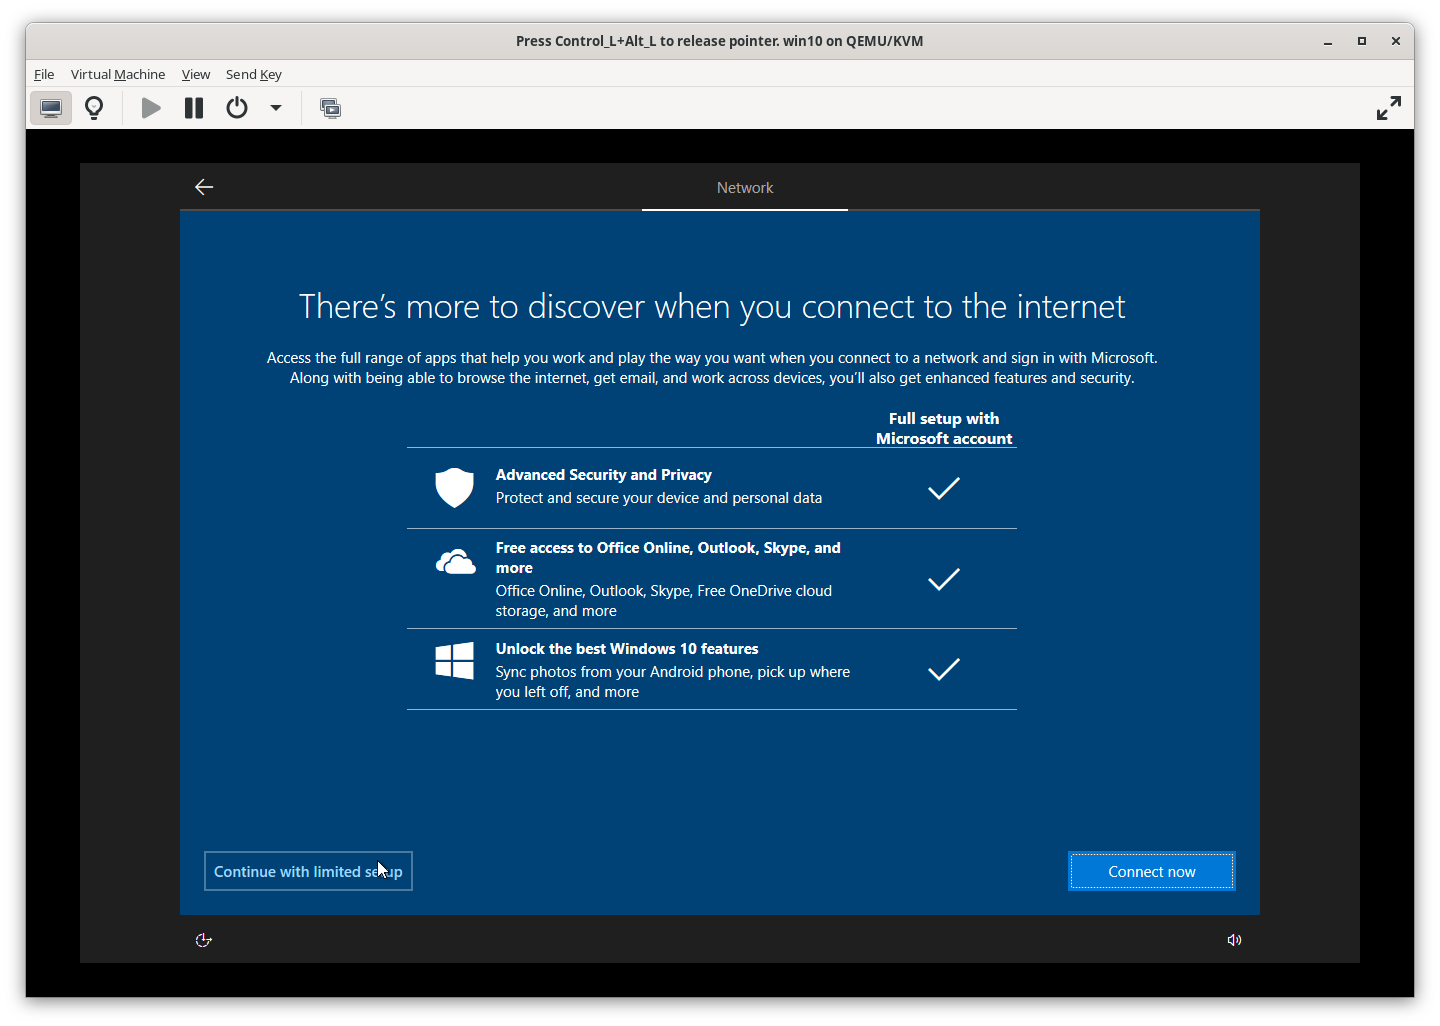
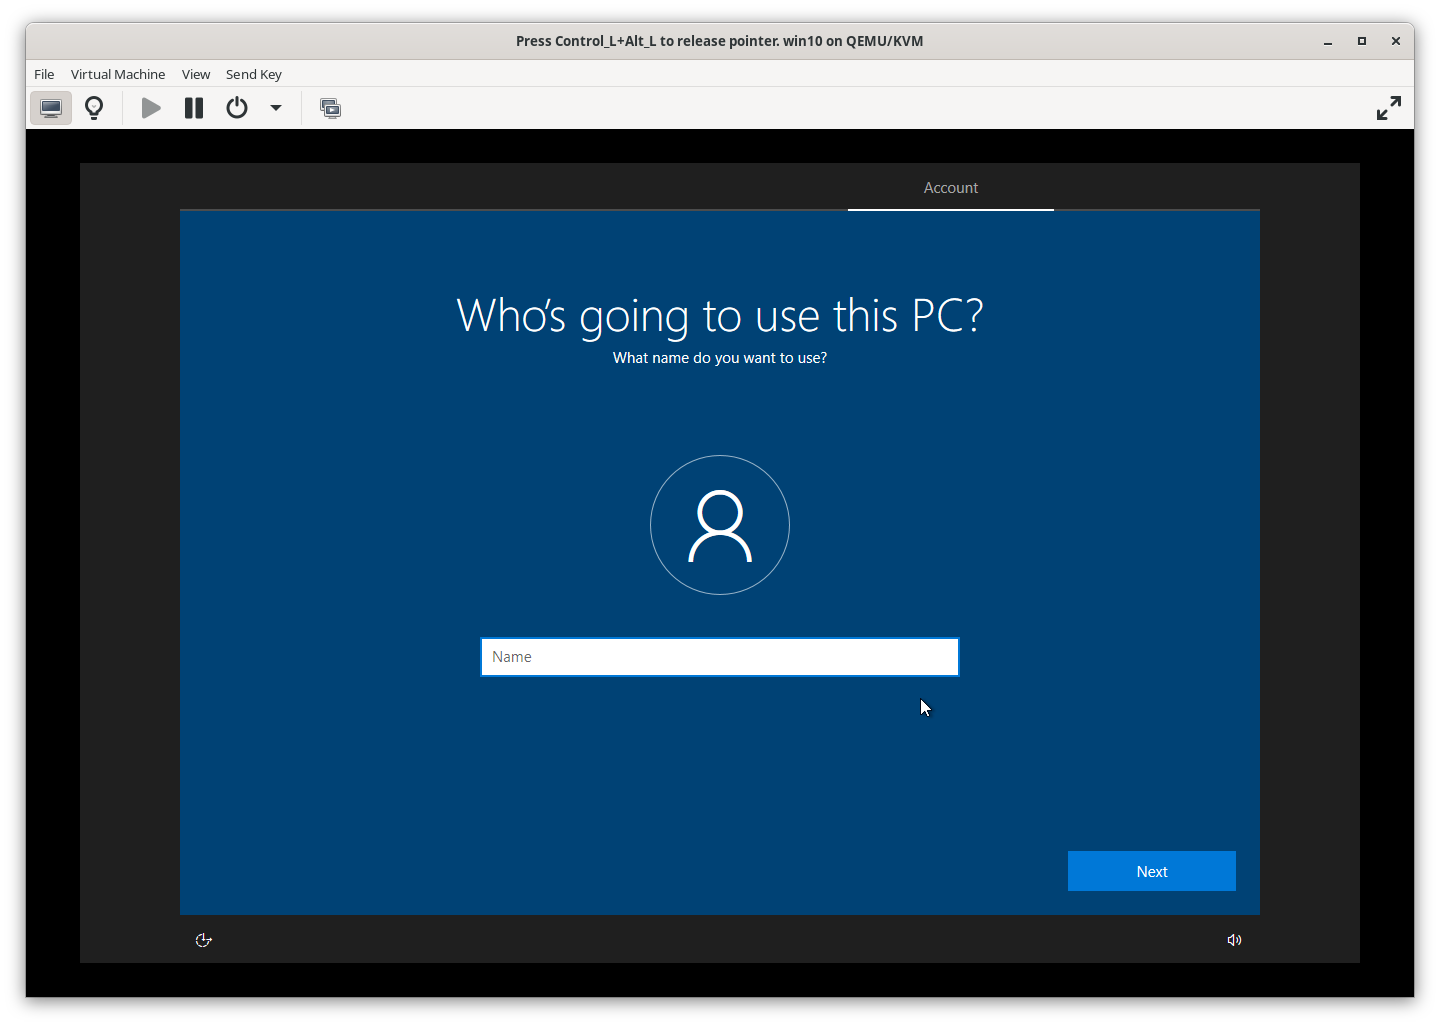
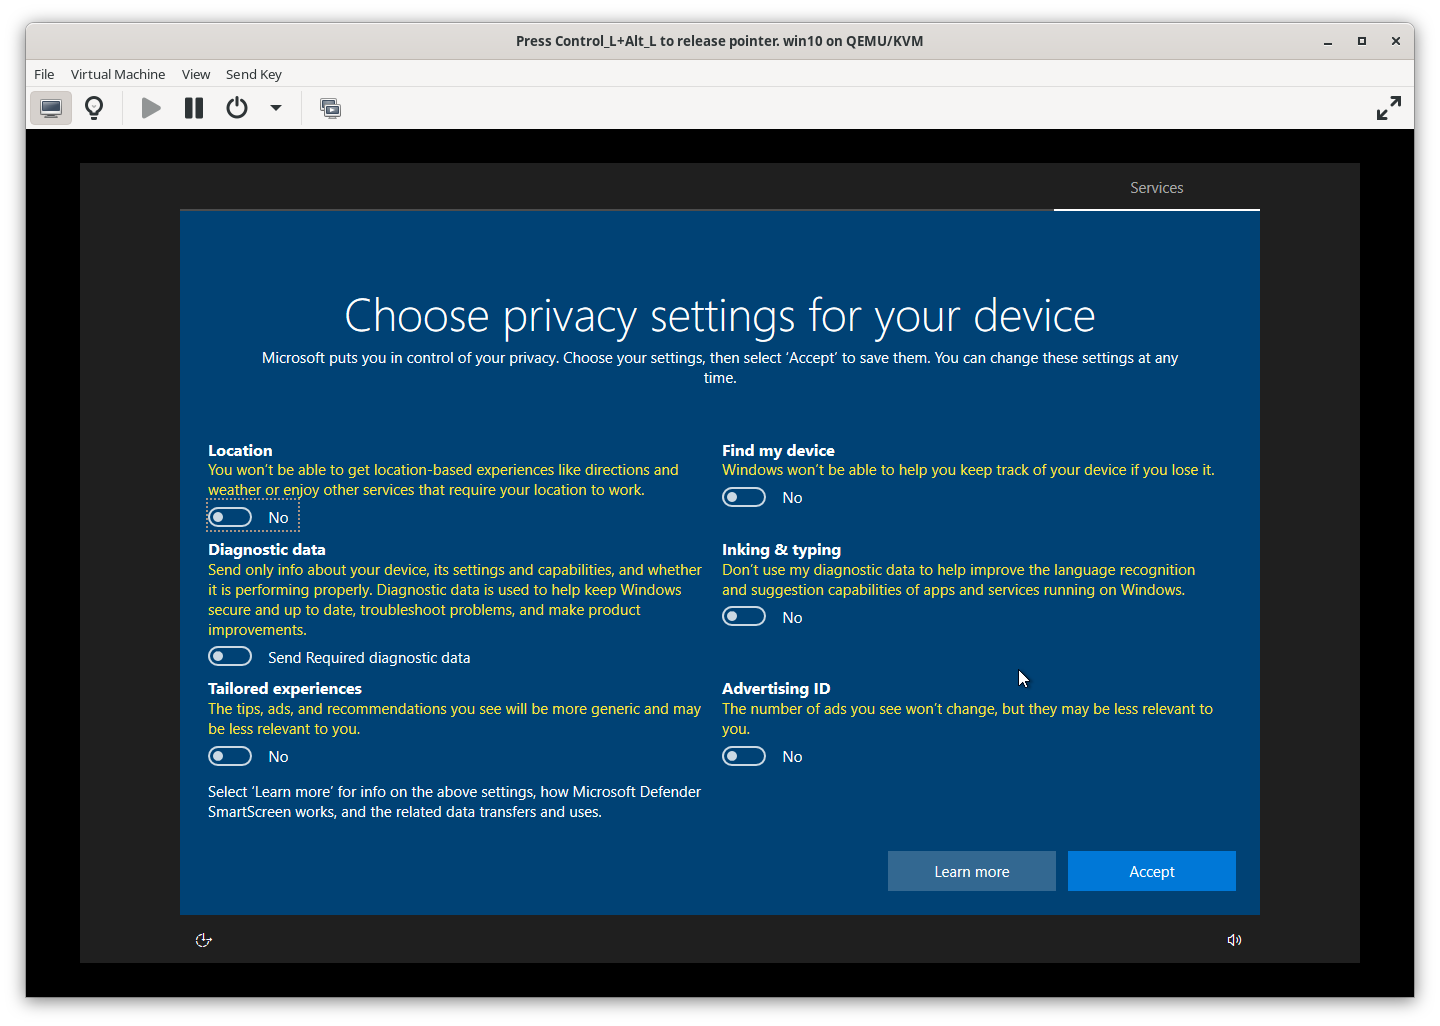
Follow the prompts to complete the Windows setup. You can customize settings or proceed with defaults.

4.9.6 Power Off
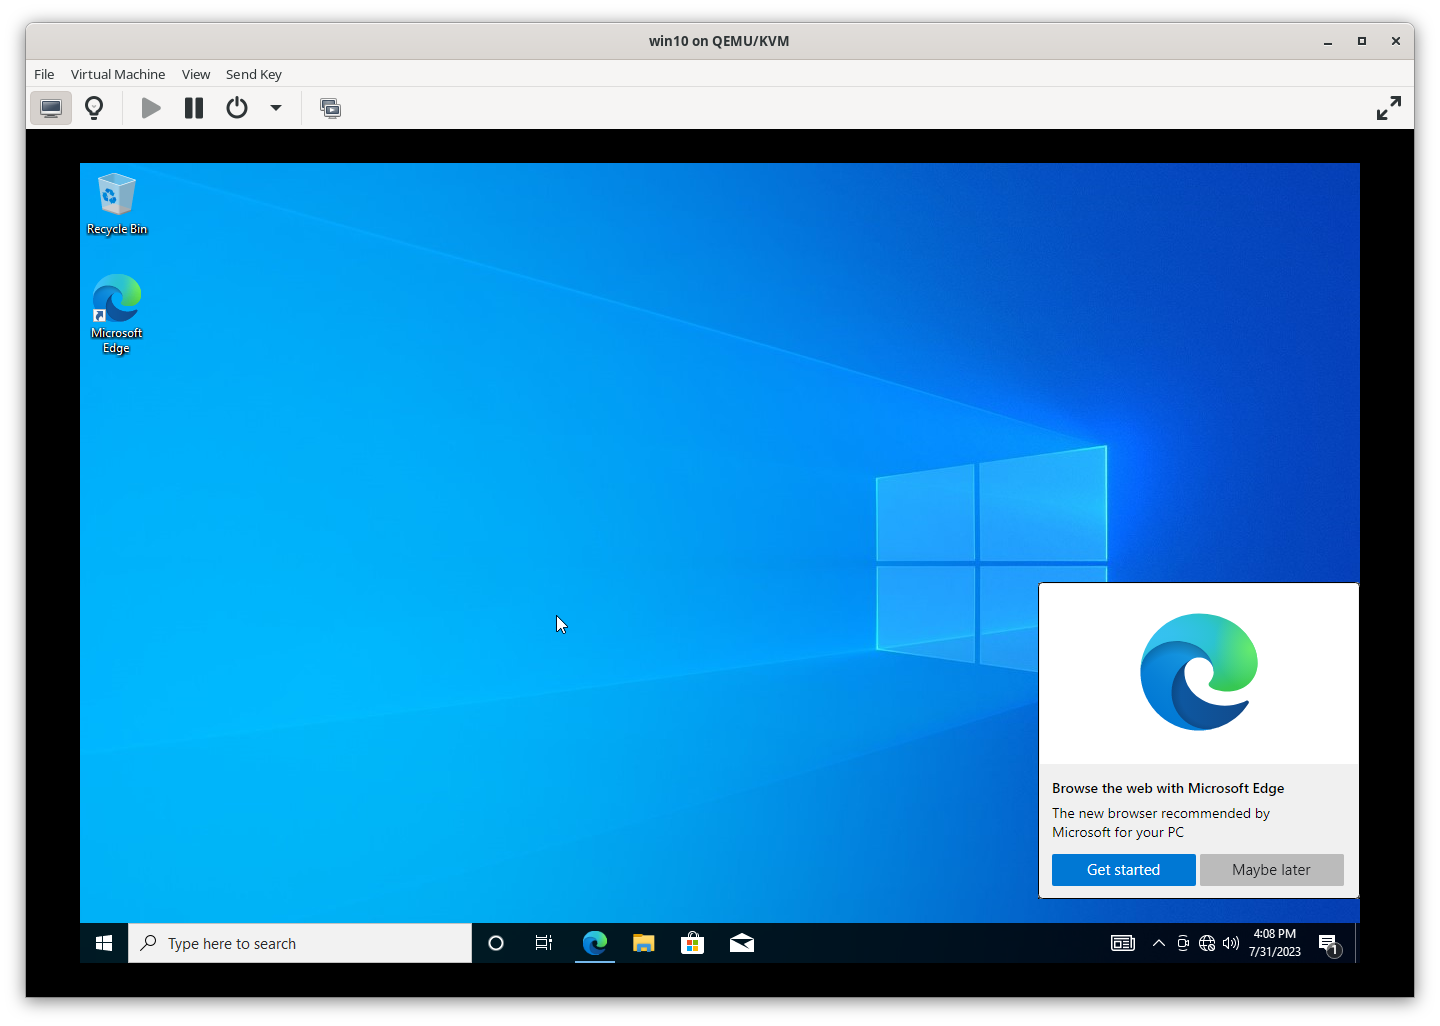
Once the setup is complete, power off your VM.
5. Remove ISO from virt-manager
You no longer need the Windows ISO file, so go ahead and remove it from virt-manager.
6. Add PCI Devices
Back to virt-manger and your virtual machine, add your PCI devices such as GPU, GPU-Audio, and Network, and power on the VM.
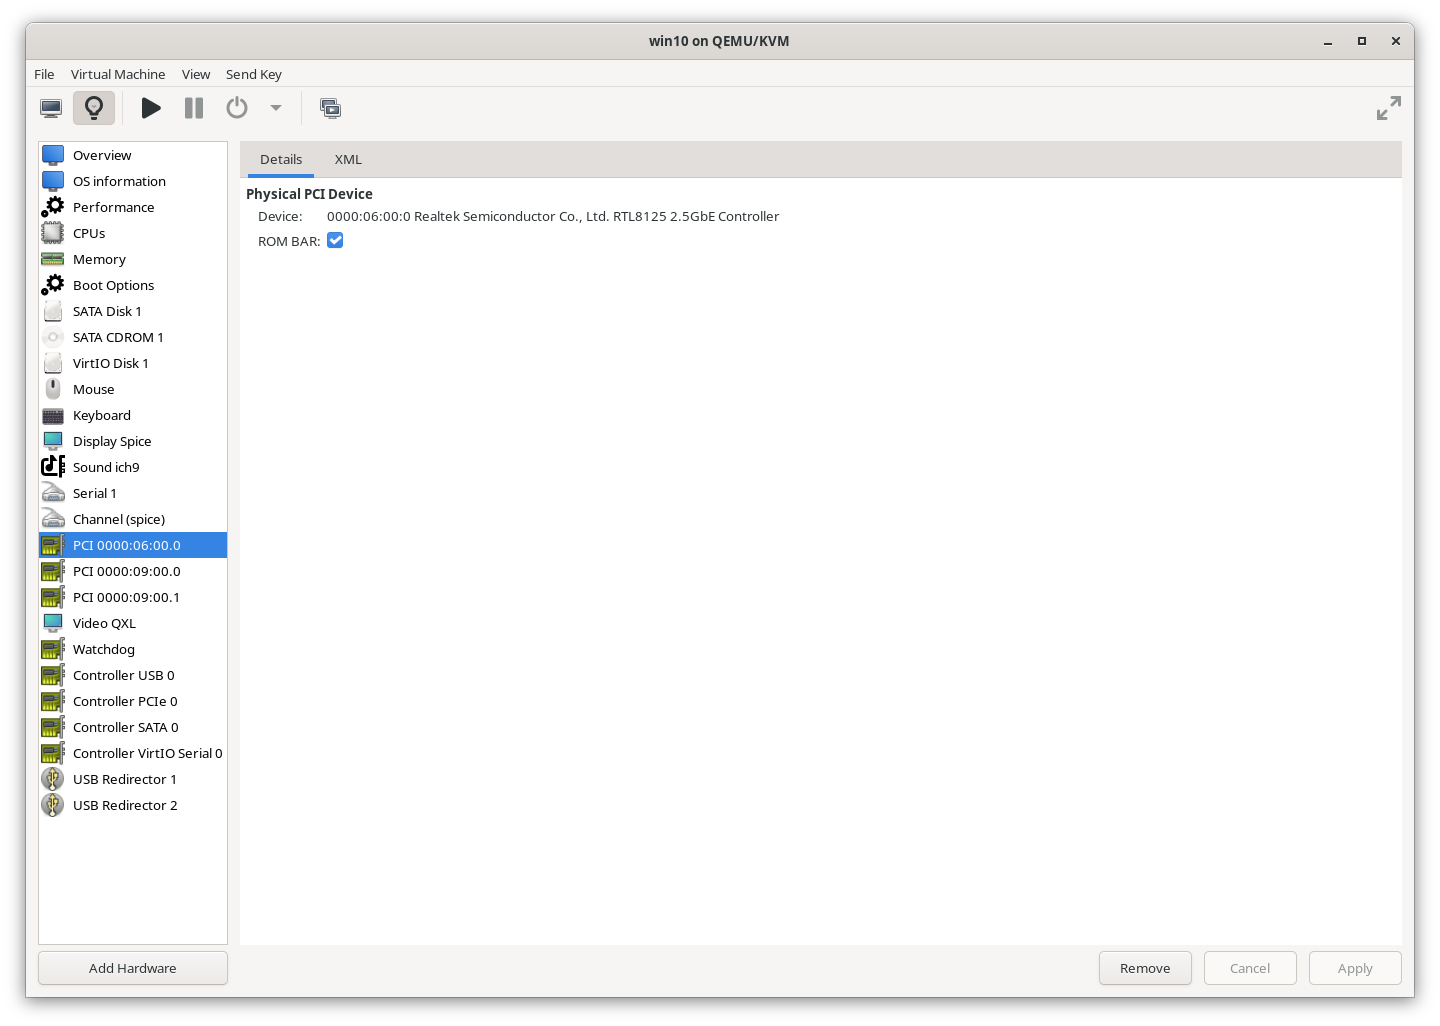
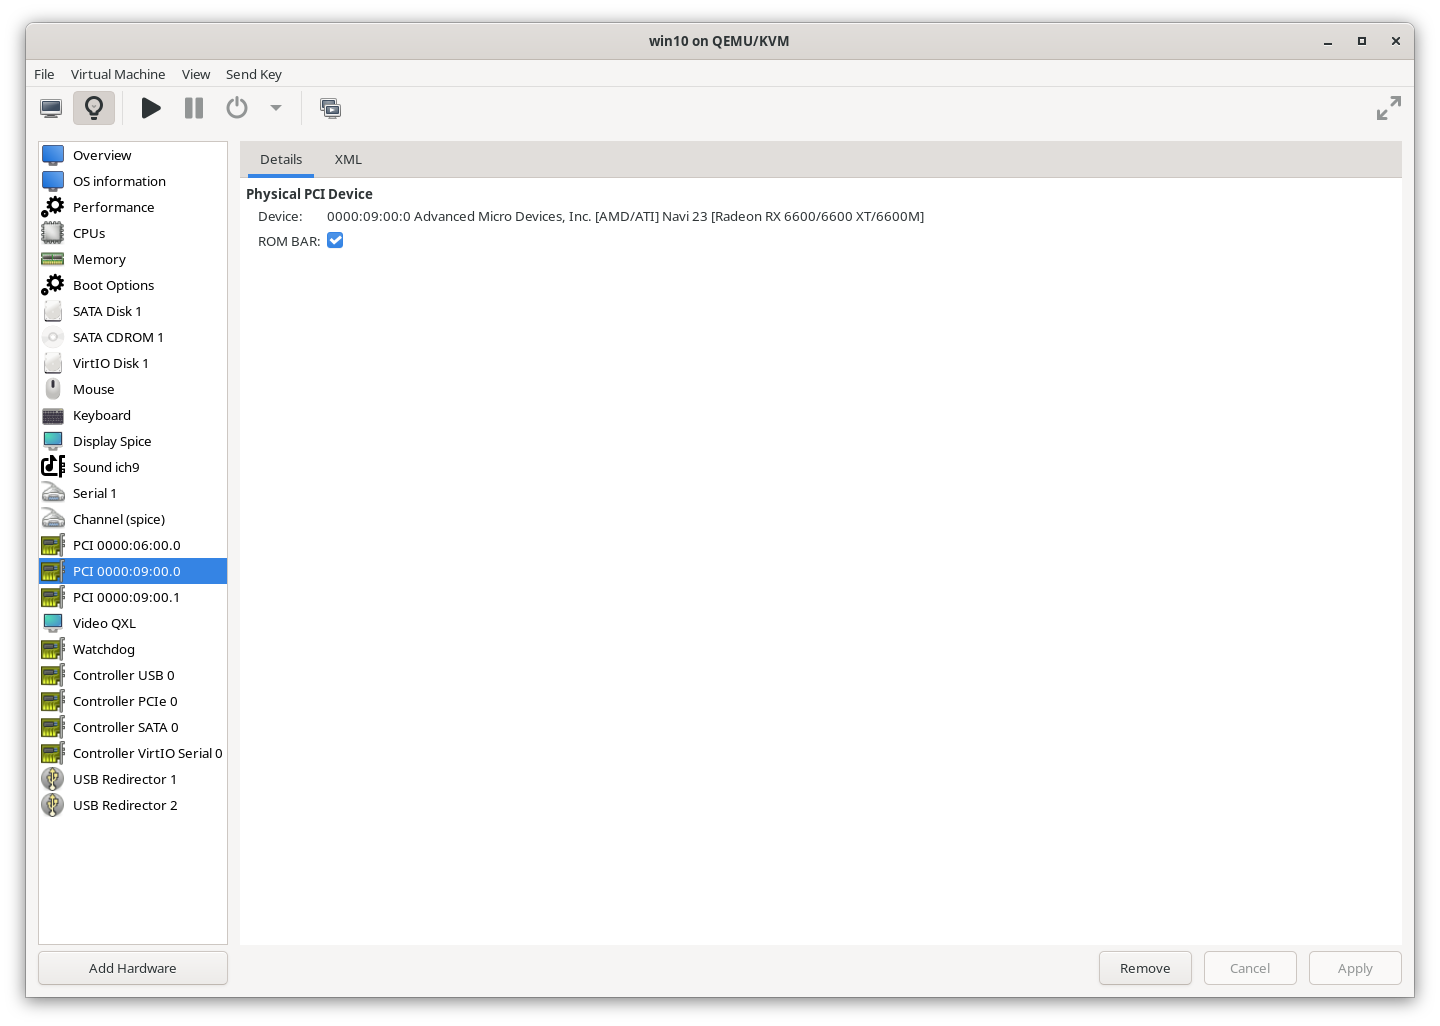
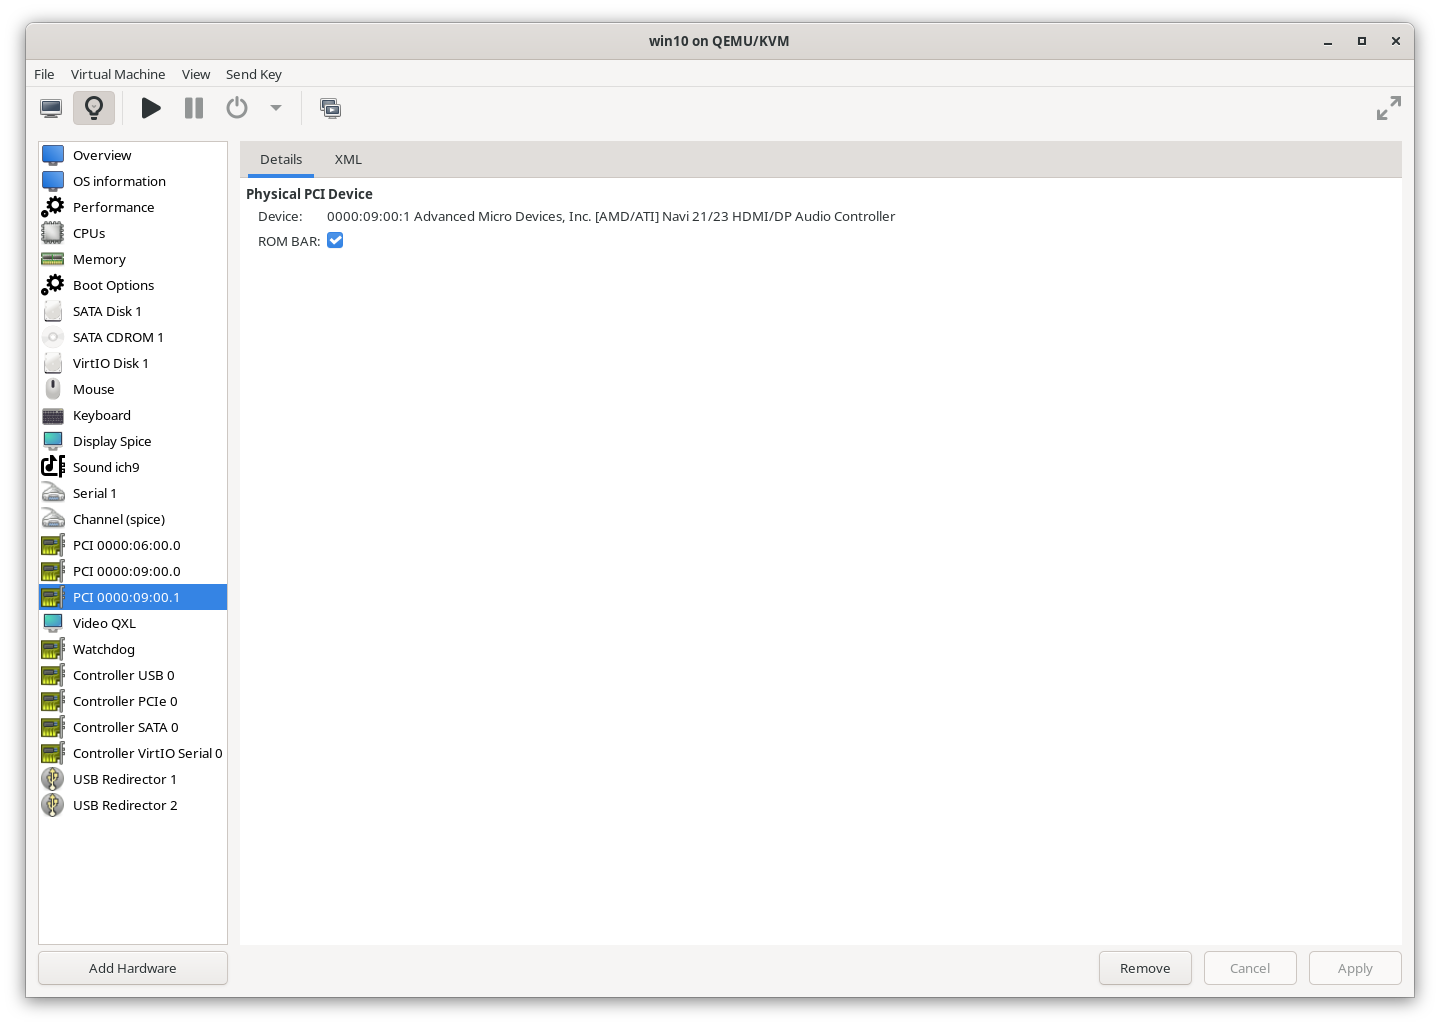
Once added, power on your VM.
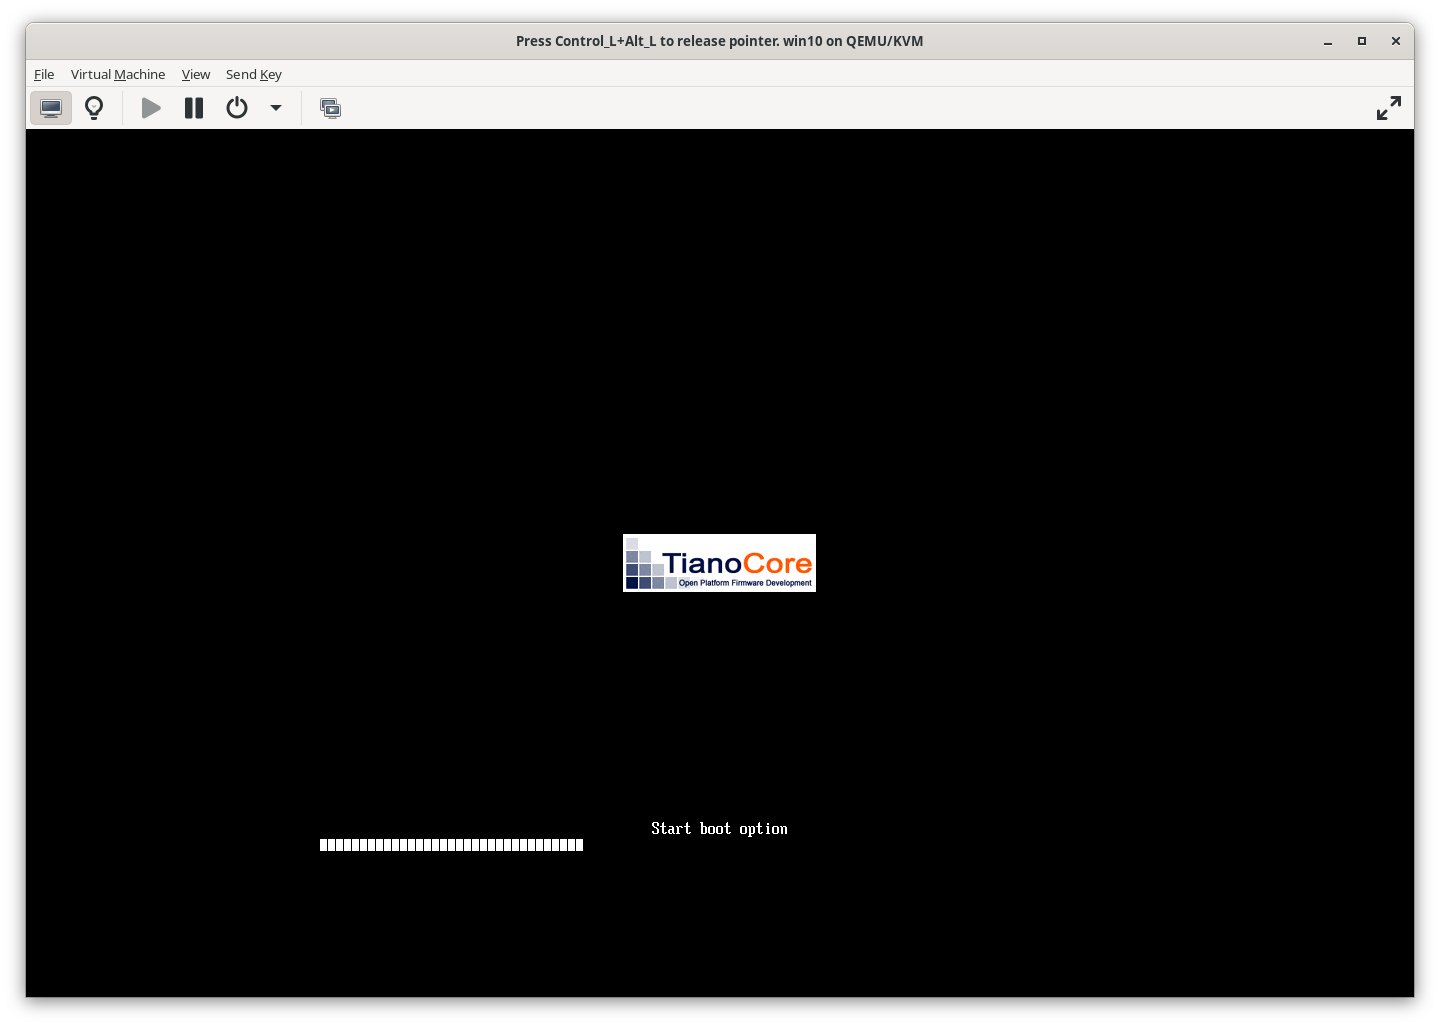
7. Update Your VM
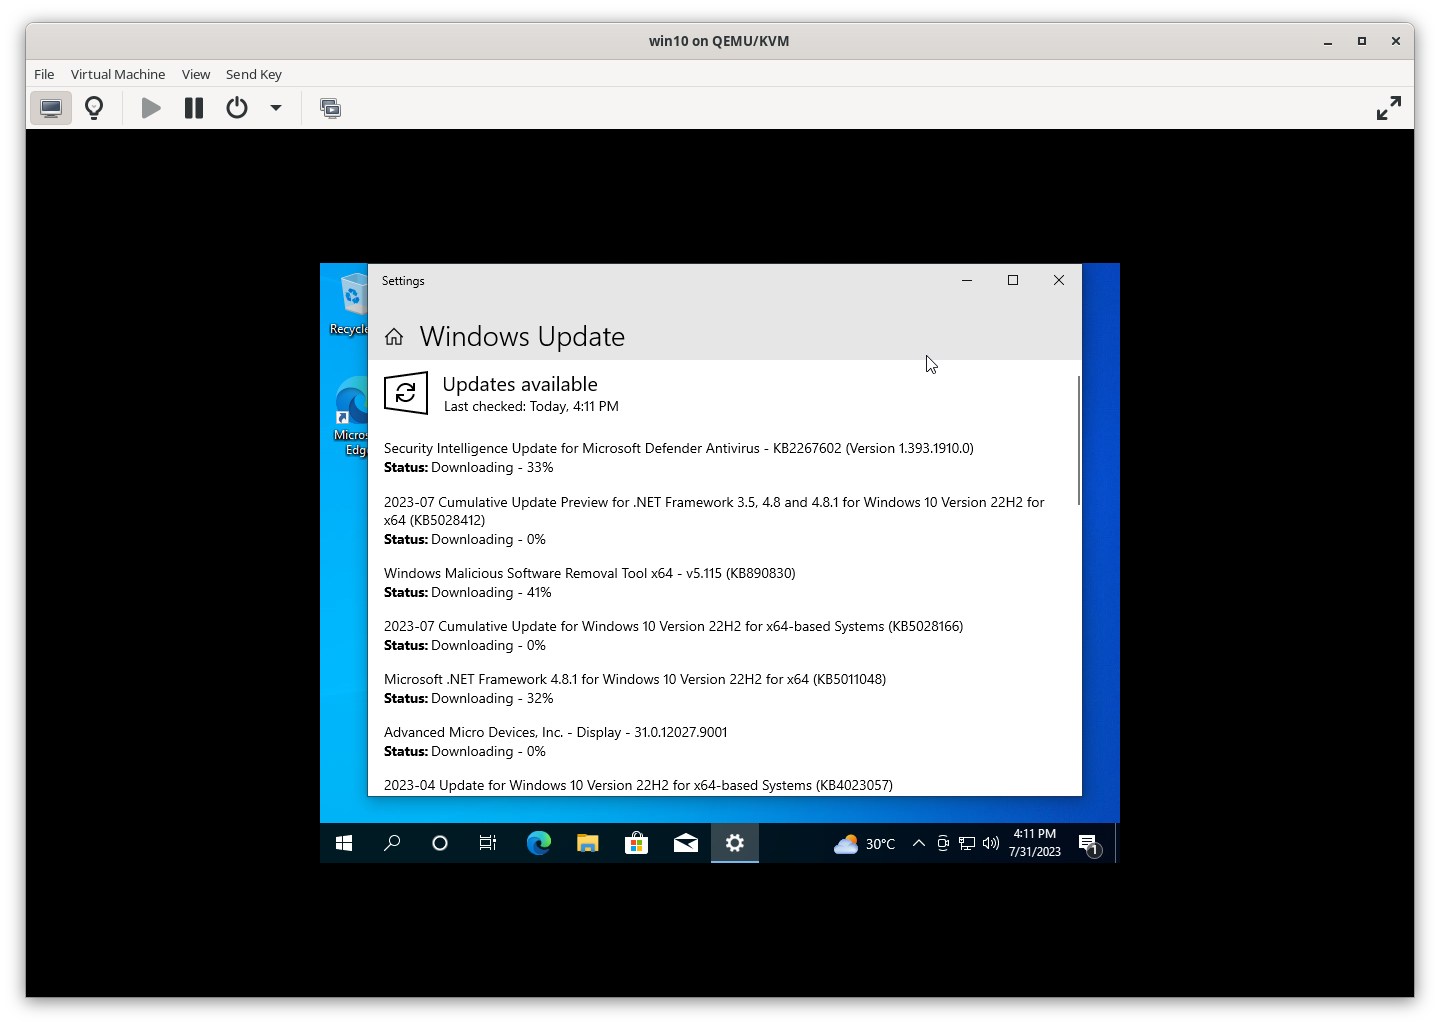
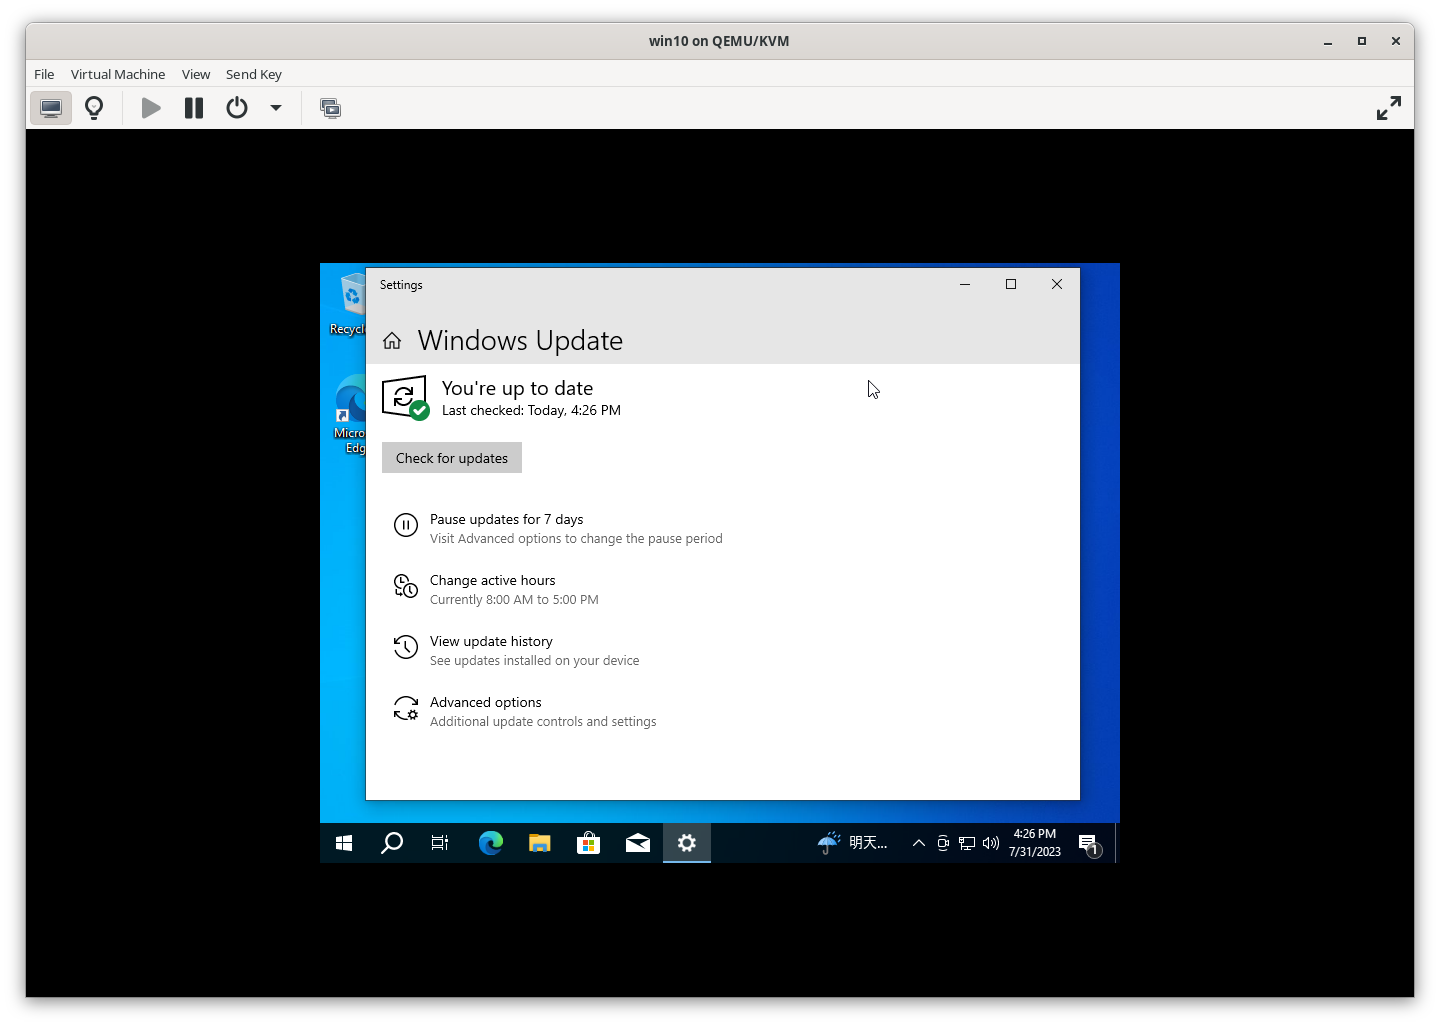
Ensure your system is up-to-date by connecting to the network and running Windows Update.
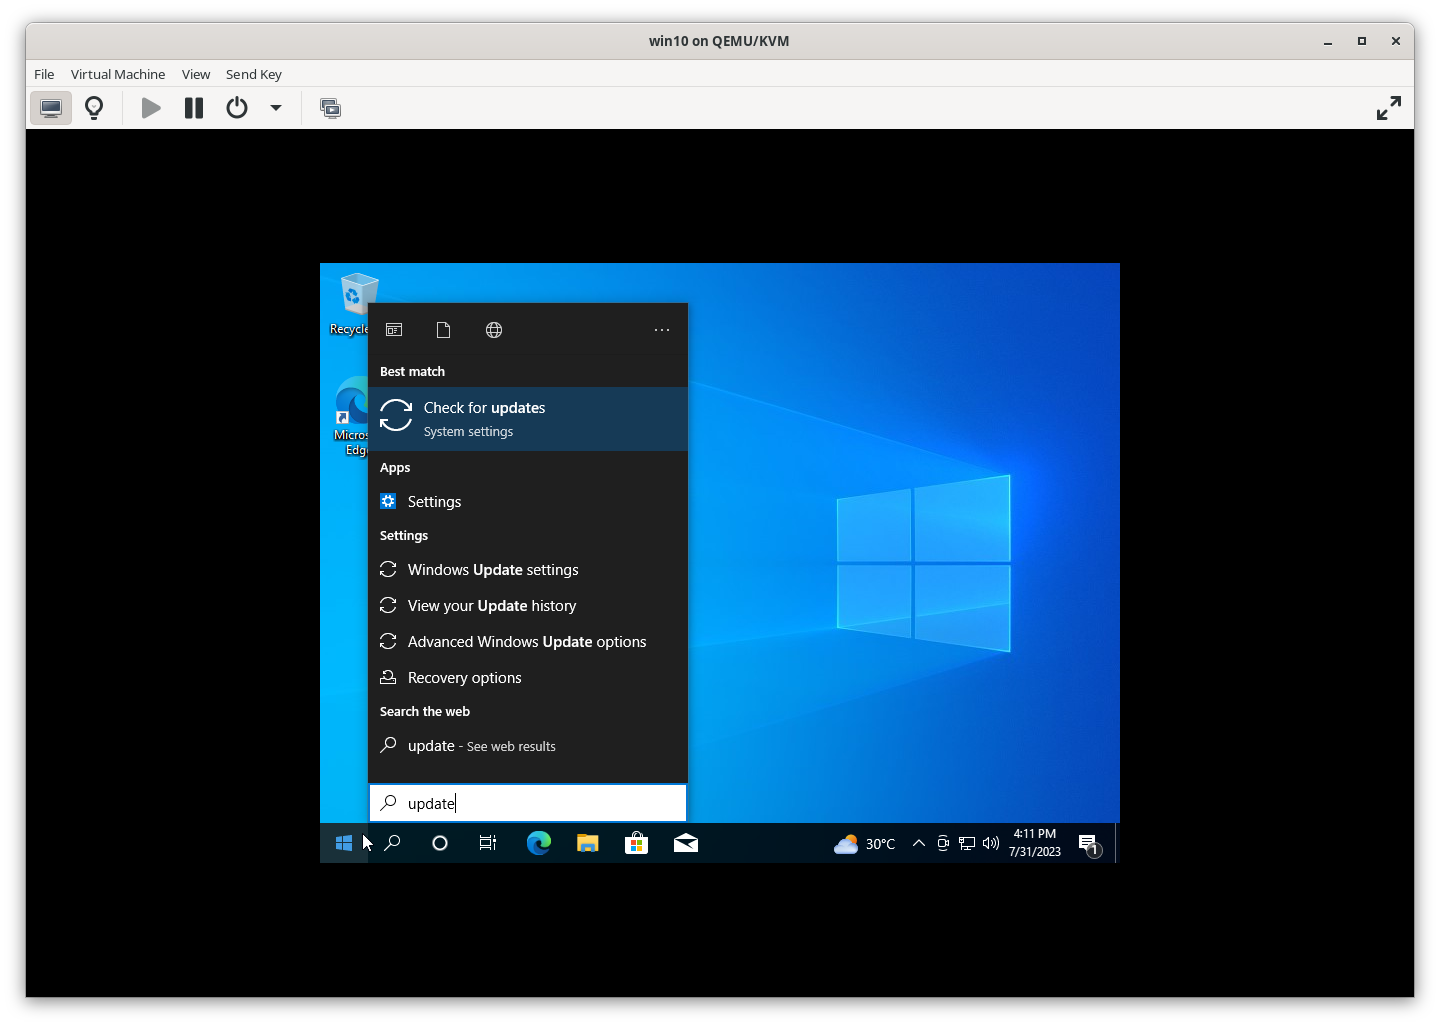
Windows updates can be slow, so be patient lmfao.
7.2 Update Drivers
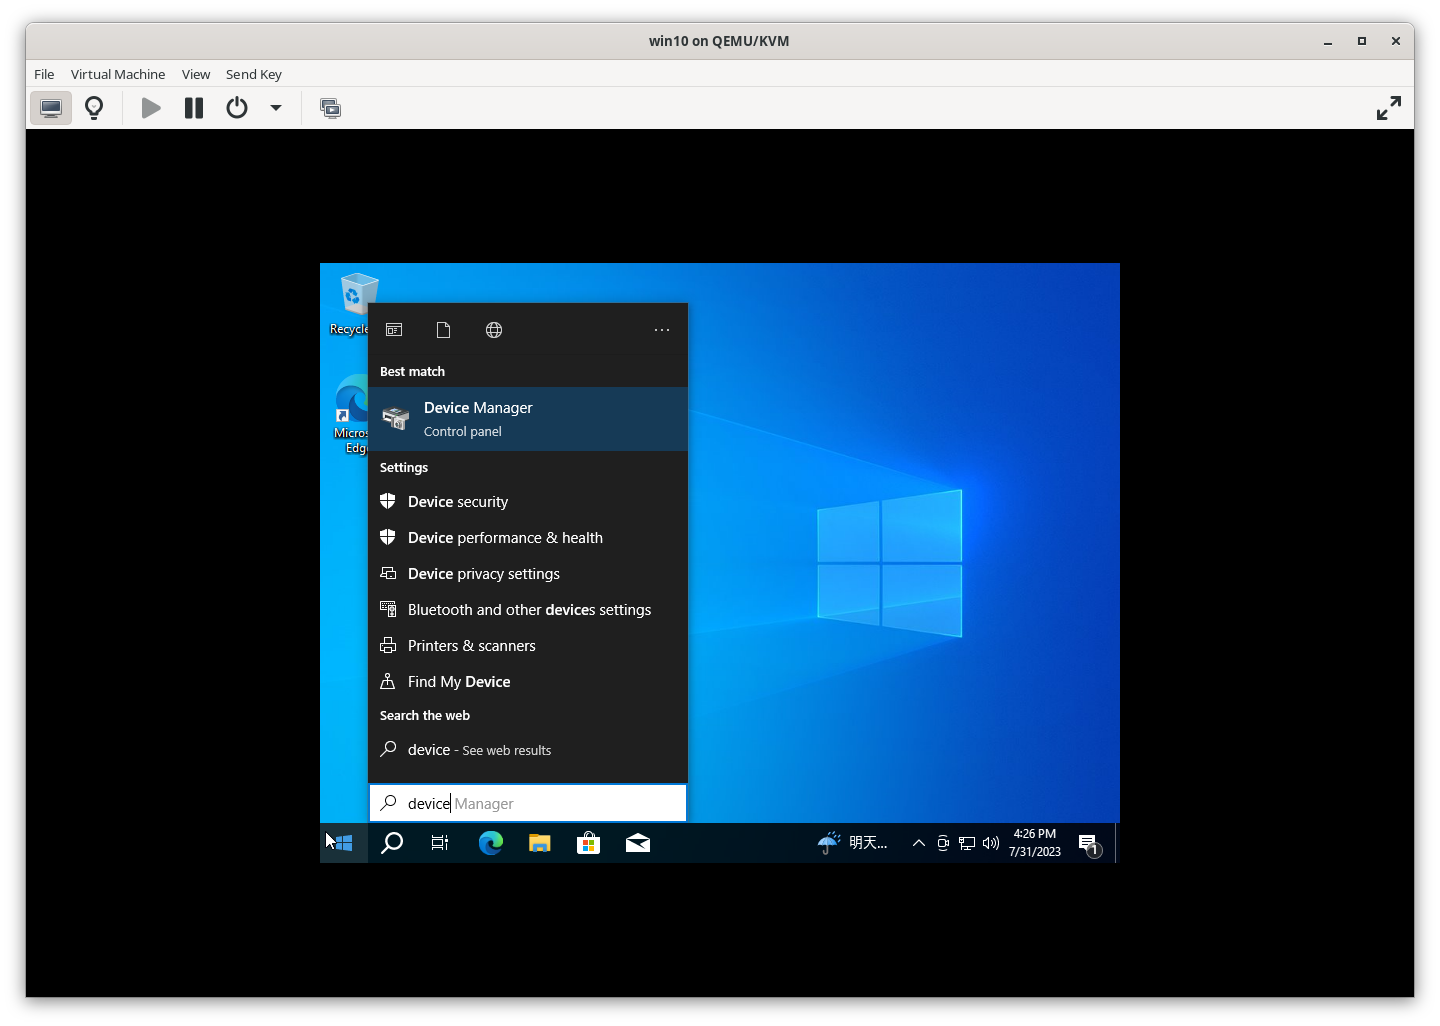
To update your drivers, open Device Manager, find your PCI device, right-click, and select Update Driver.
-
Open Device Manager:
-
Right-click on your PCI device and choose
Update Driver: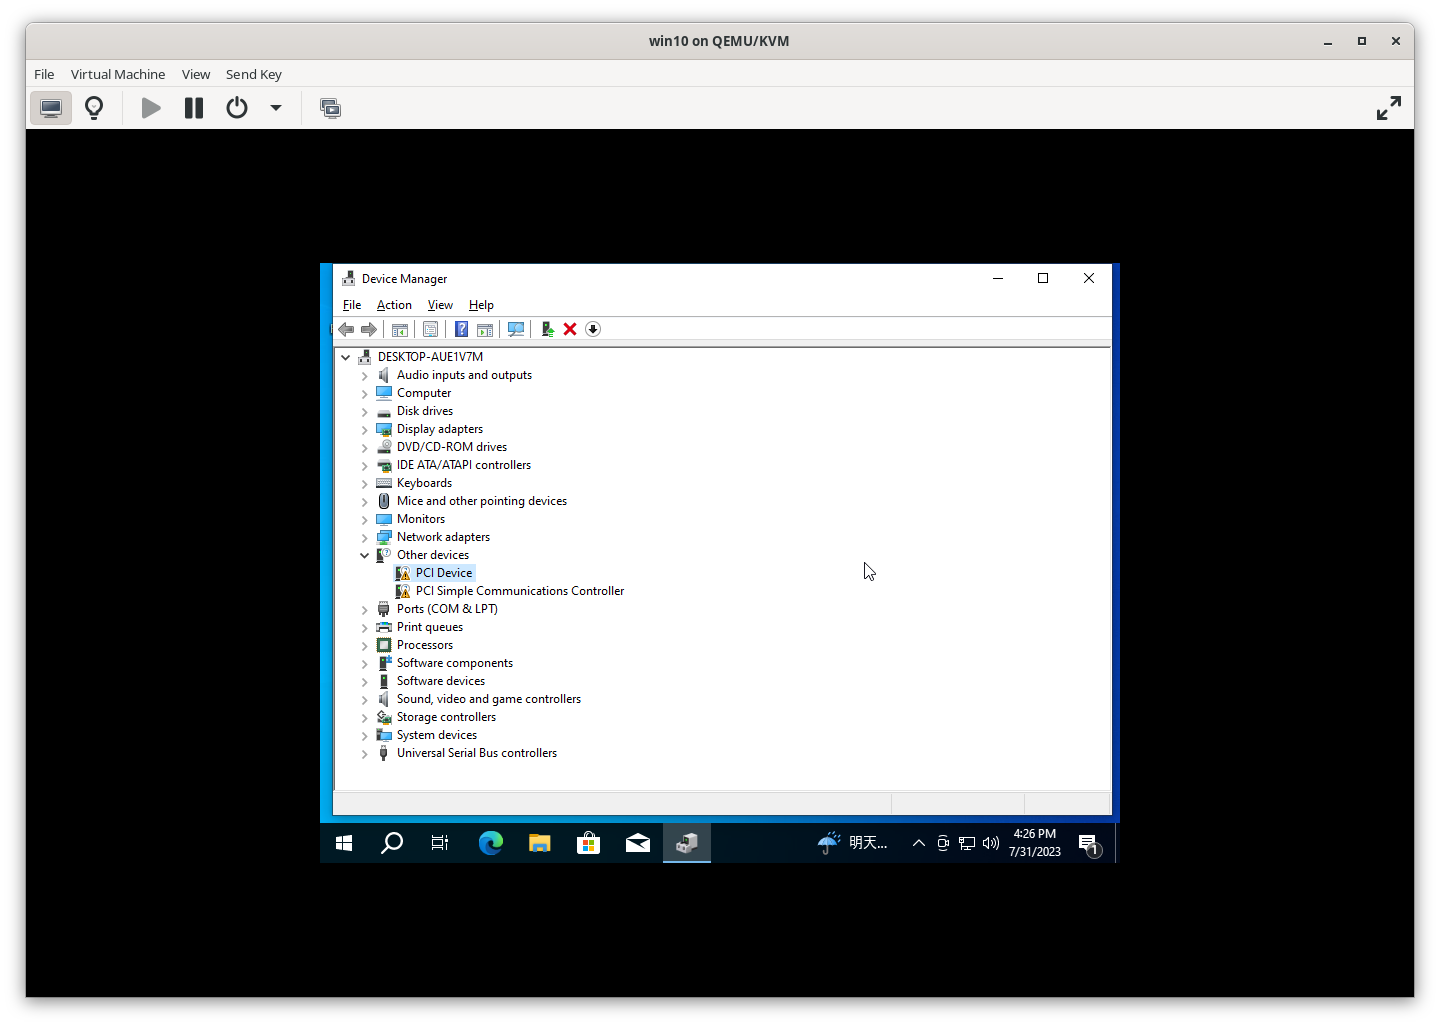
-
Select
Browse my computer for drivers: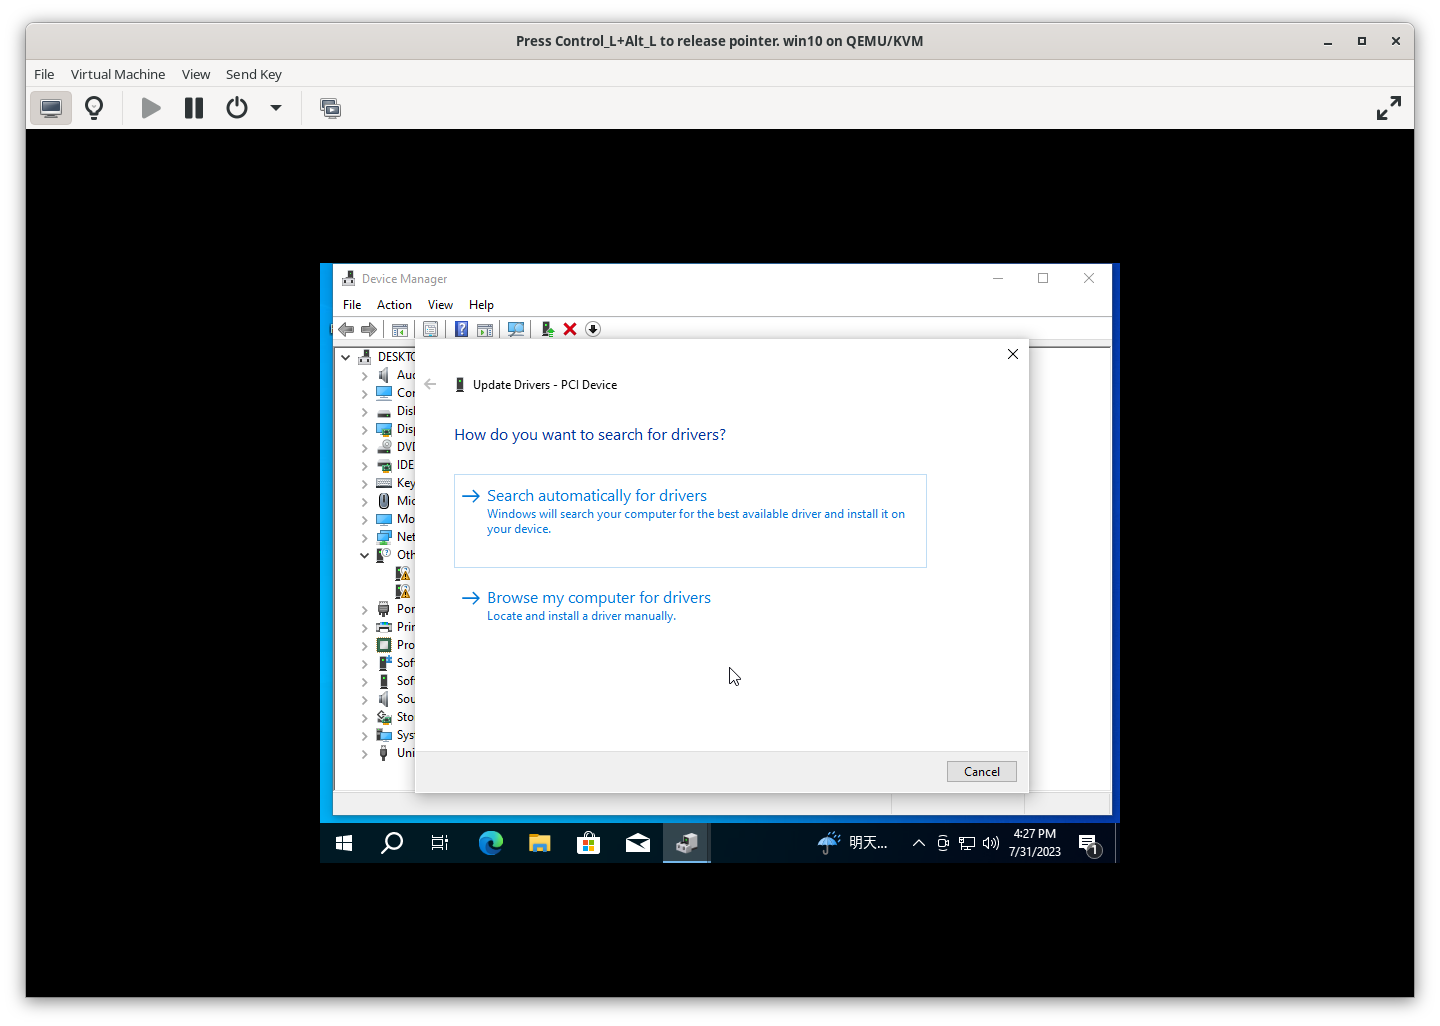
-
Browse to the path where your drivers are located (typically
E:\or the path where you stored your VirtIO drivers) and clickNext: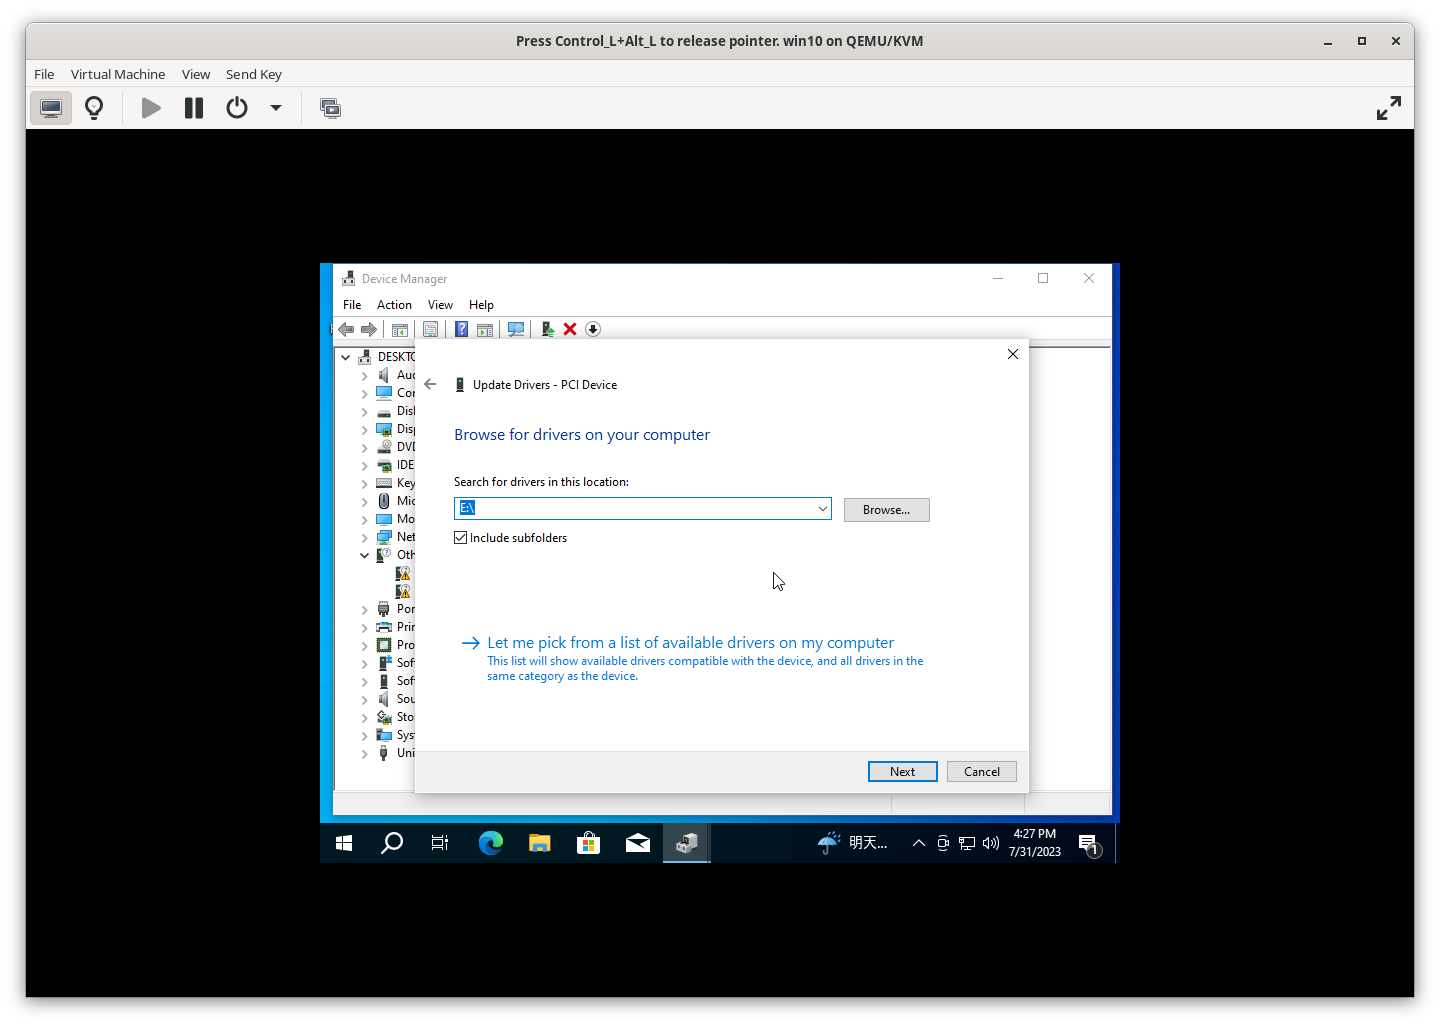
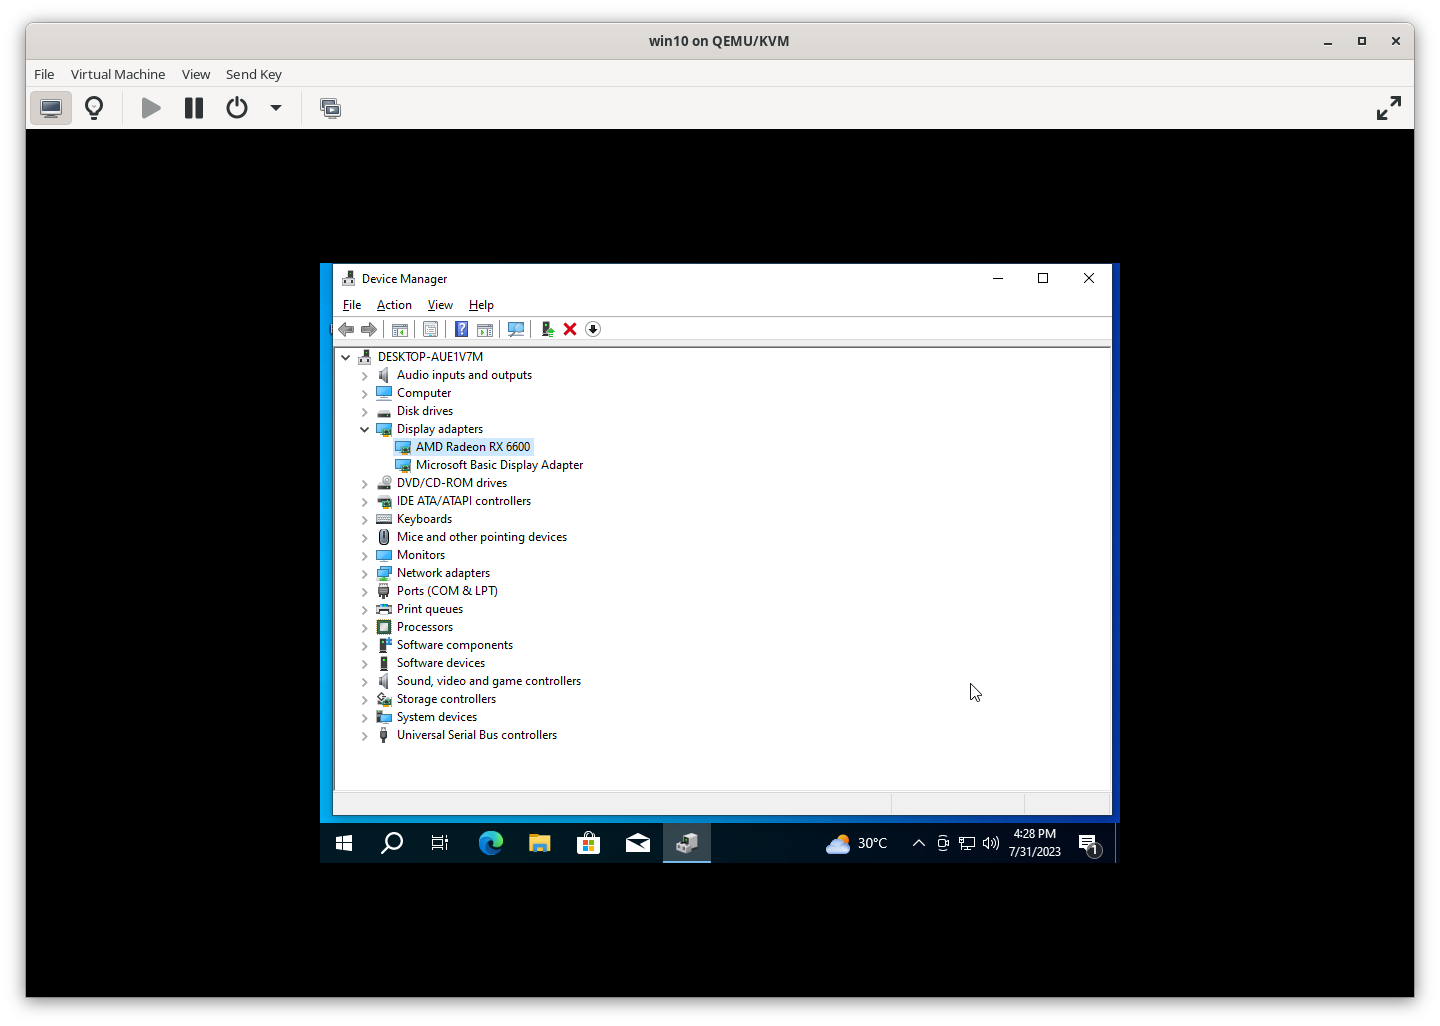
You should see your GPU listed in Device Manager, indicating that it’s correctly passthroughed.
7.3 Install VirtIO Drivers
To improve your VM’s performance, you need to install VirtIO drivers. Follow these steps:
-
Open File Explorer and navigate to the
E:\drive where your VirtIO drivers are located. -
Find the file
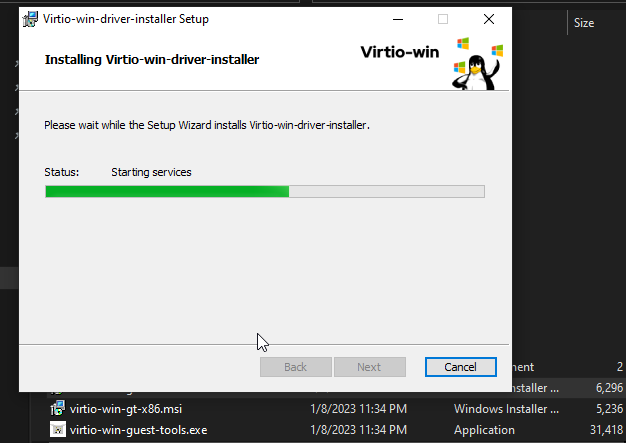
virtio-win-gt-x64.msiand double-click to start the installation.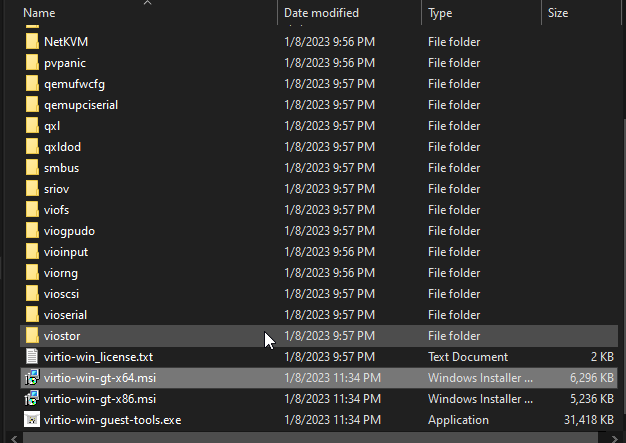
-
Click
Nextto continue with the installation.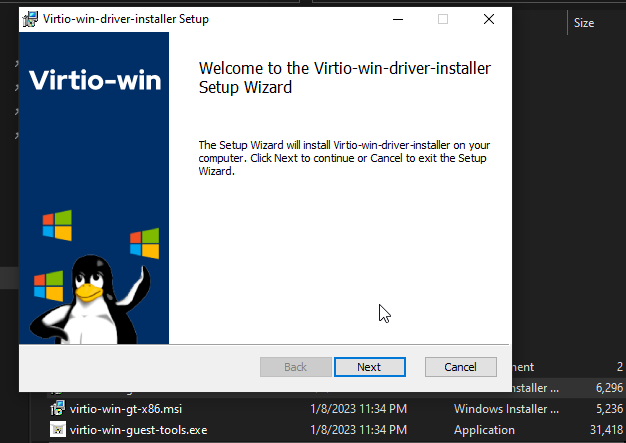
-
Accept the license agreement and click
Next.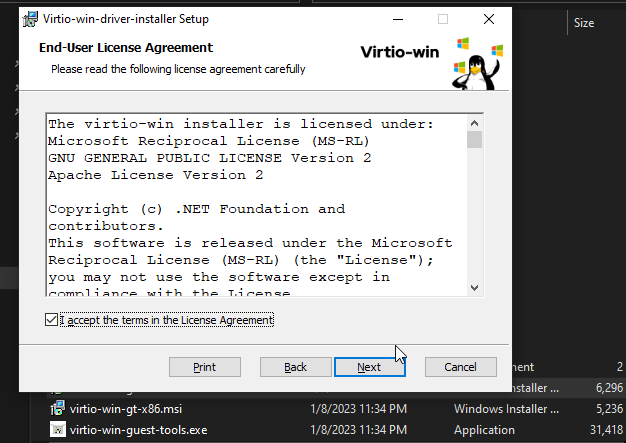
-
Continue clicking
Nextto proceed through the installation steps.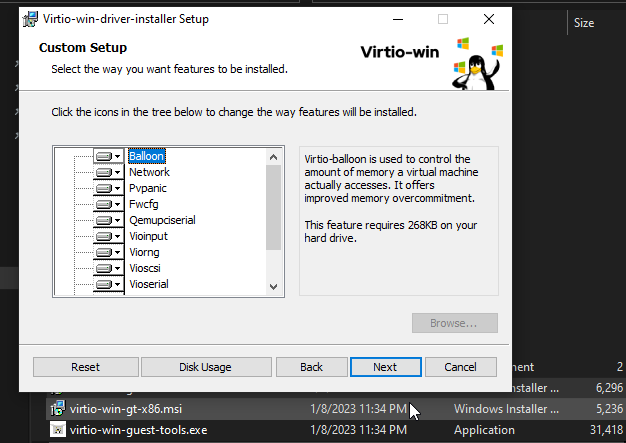
-
You might be prompted for superuser permissions. Click
Nextto grant the necessary permissions.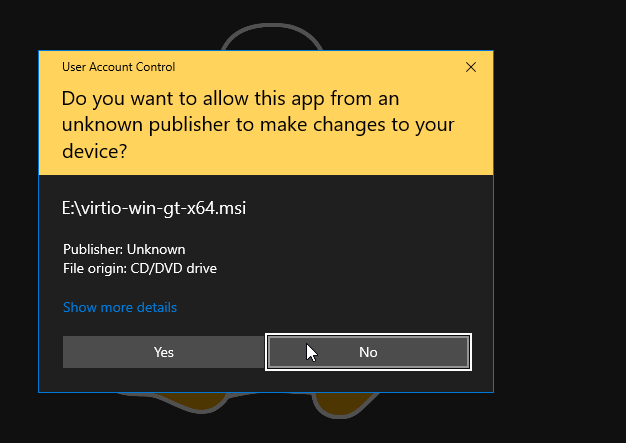
-
Wait for the installation to complete.
8. Configure Display Settings
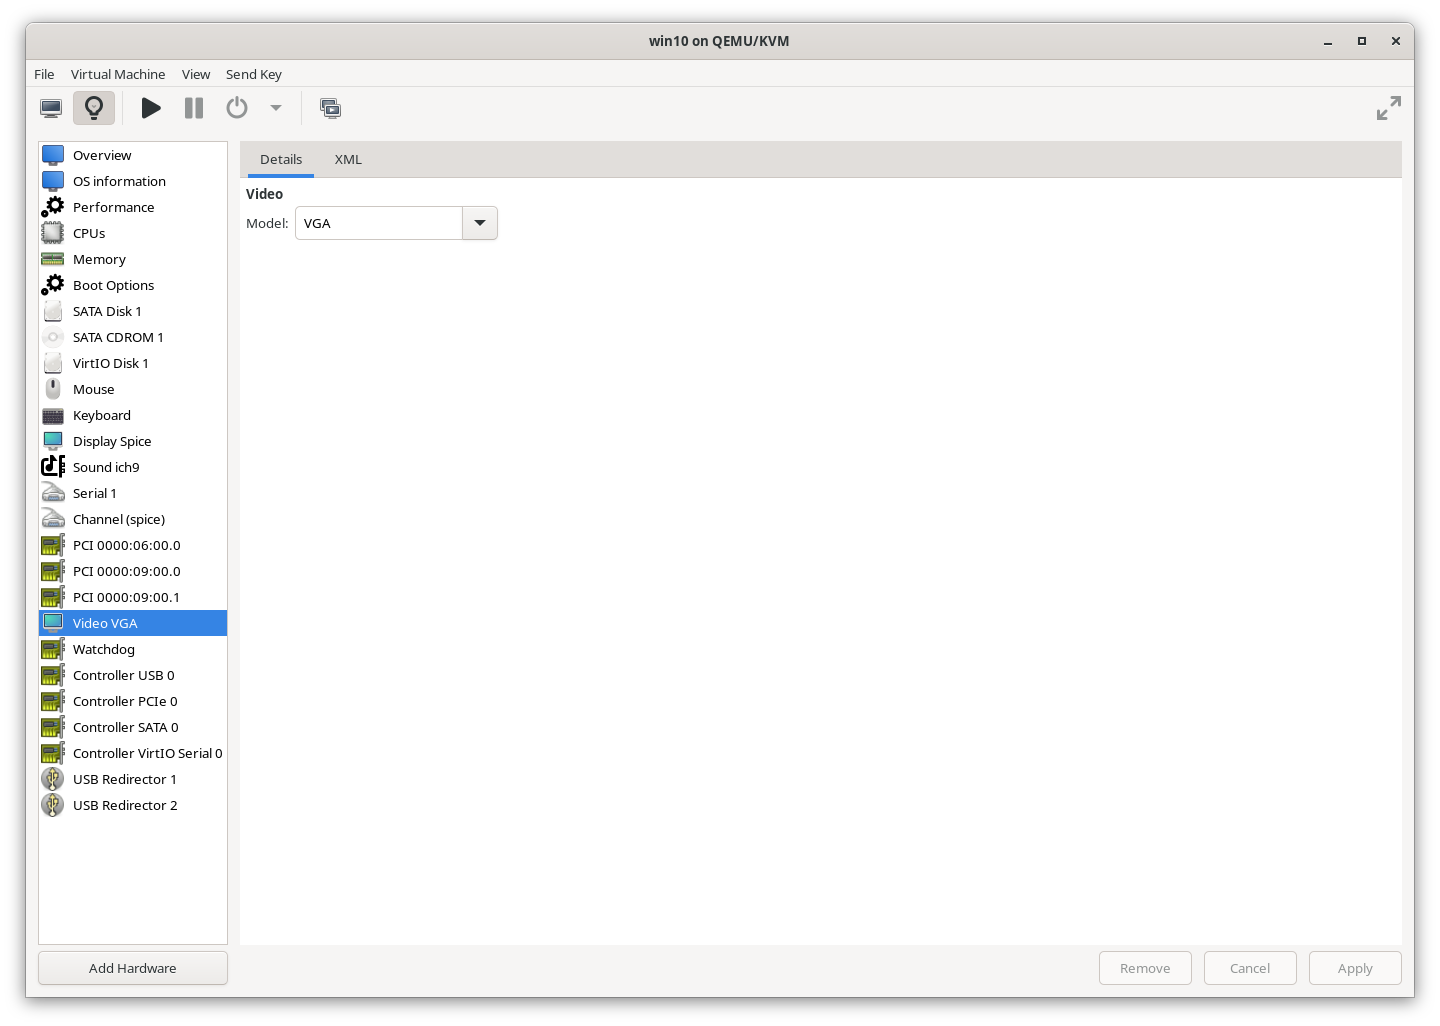
For optimal performance, use a physical monitor instead of a virtual one. Ensure your second monitor displays your Windows 10 VM.
If not displayed, back to your vm and check that the GPU is enabled? if not enabled, on device section right-click to enable the GPU.
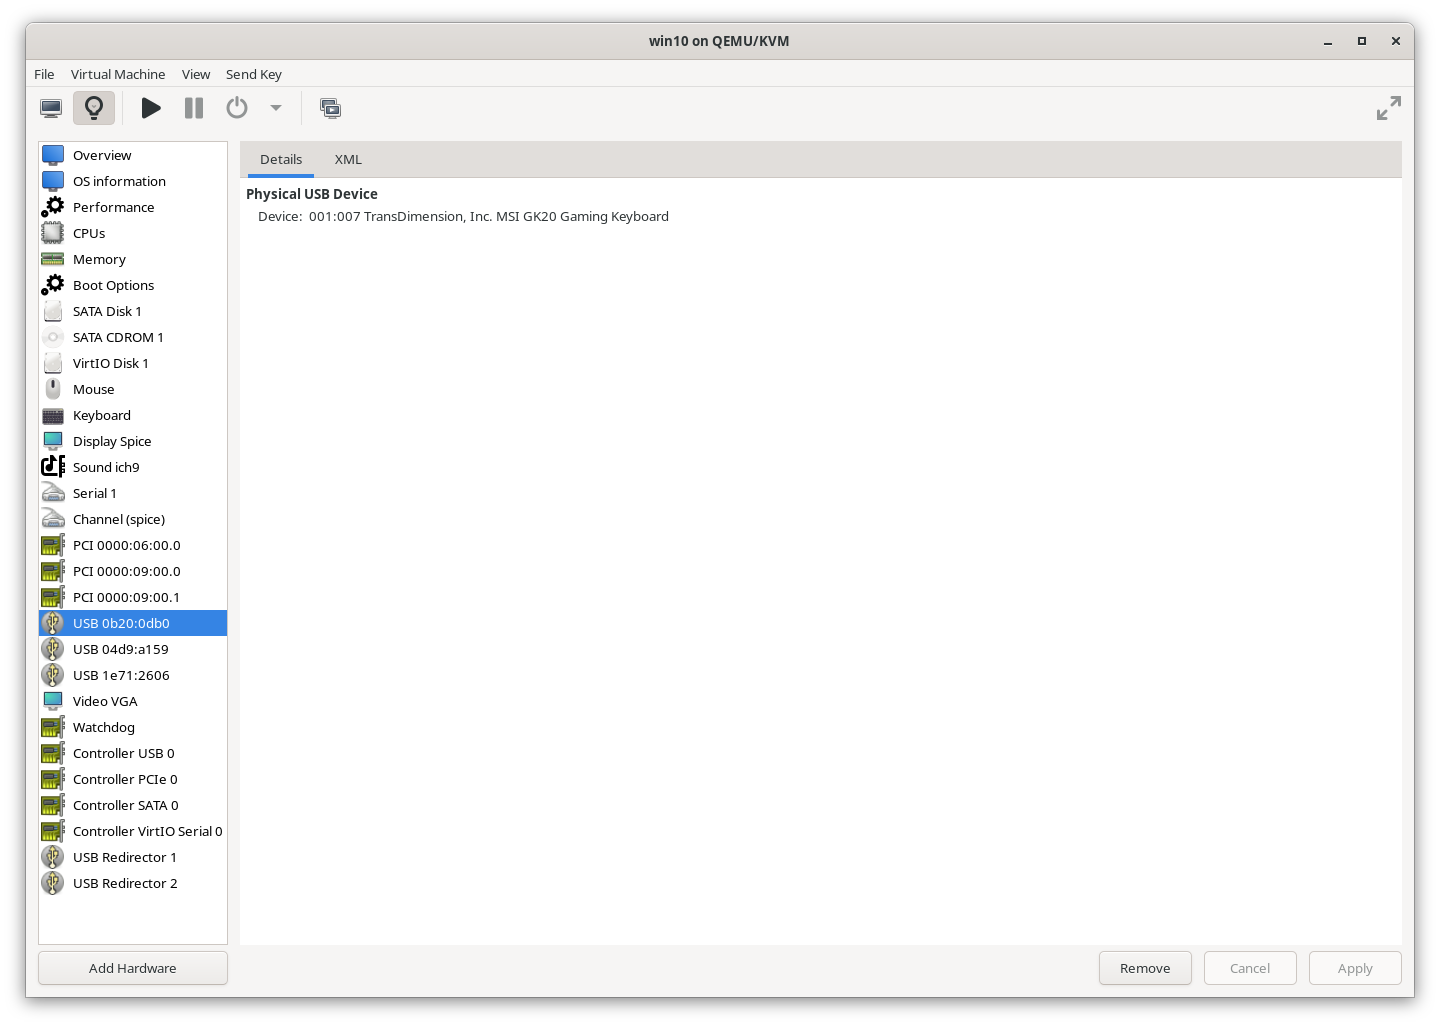
8.2 Passthrough USB and Mouse
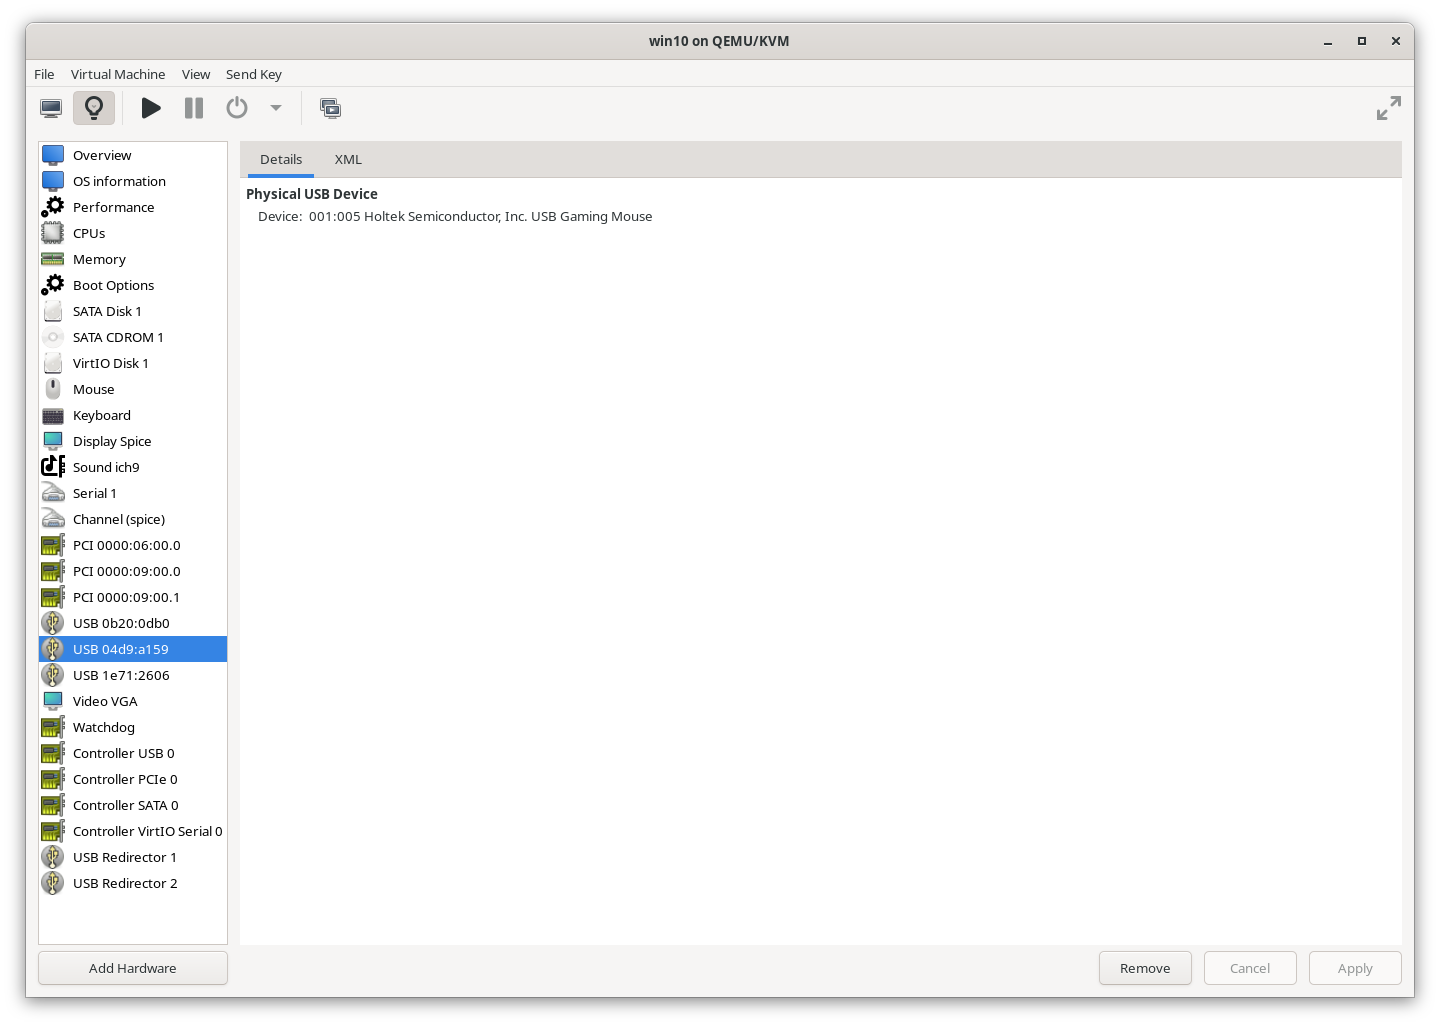
To ensure smooth mouse and keyboard input, passthrough these devices to your VM.
So that's why you might need two mice and a keyboard lol.
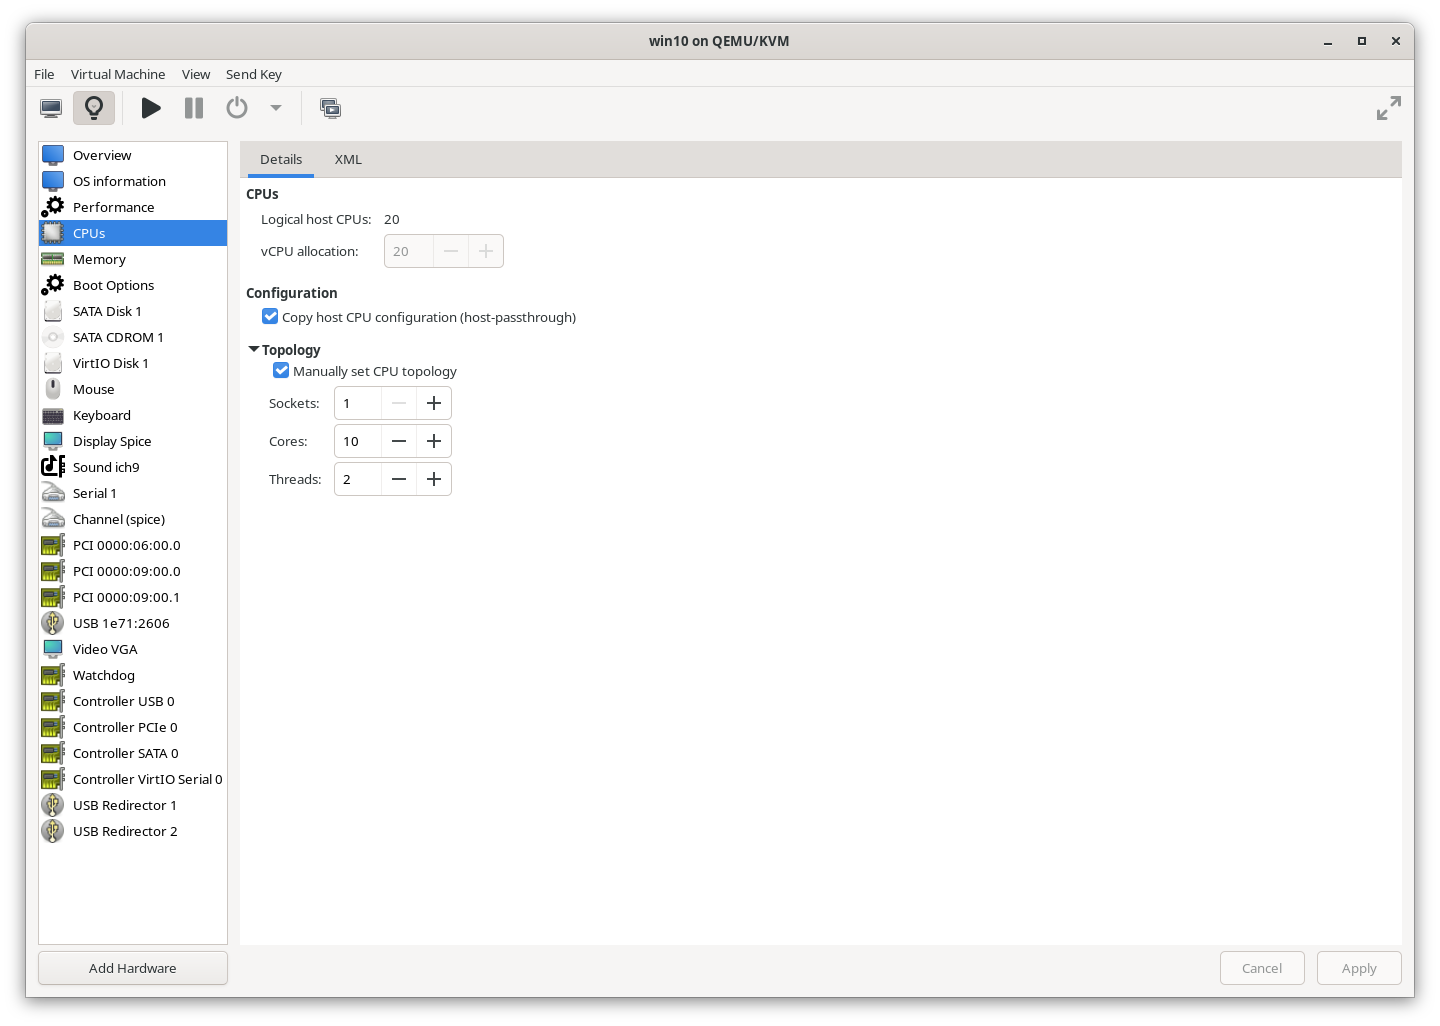
8.3 Optimize CPU Configuration
For better performance, configure your VM to use physical CPU cores instead of vCPUs.
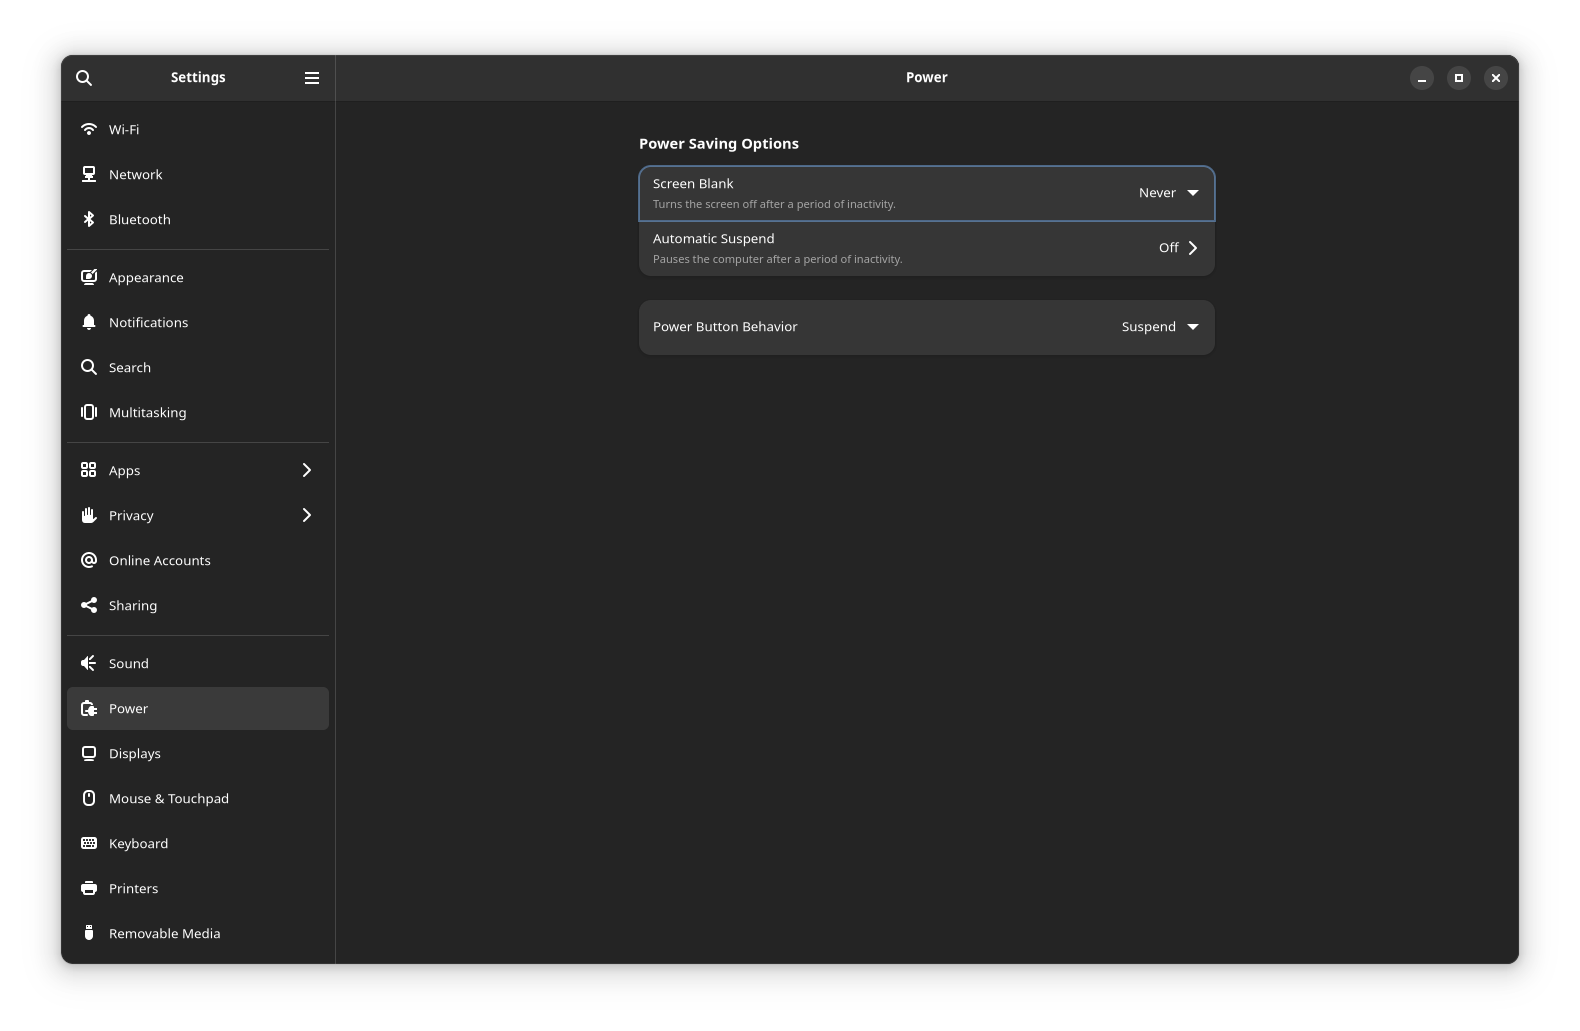
9. Disable Automatic Suspend
Back to your GNU/Linux, To prevent your VM from being interrupted by idle timeouts, disable the When idle Automatic Suspend setting.
Conclusion: You’re All Set!
Congratulations on setting up your virtual machine with hardware passthrough! You should now be able to use your second monitor and enjoy your VM for various tasks, including gaming.
If you run into any graphics issues, make sure to download and install the latest drivers for your GPU from: