Setting Up Your Virtual Machine (Windows 11) – The Final Steps
This guide will walk you through the steps needed to set up a Windows 11 virtual machine on QEMU/KVM. It includes installing necessary packages, configuring the virtual machine, and handling installation steps.
1. Installing Required Packages
Windows 11 has a requirement for TPM (Trusted Platform Module). To address this, you need to install the required packages.
Install the swtpm package to provide a virtual TPM:
sudo pacman -S swtpm
2. Creating a New VM
2.1 Opening virt-manager
Open virt-manager on your system and click on New Virtual Machine to start the creation process.
2.2 Selecting Installation Media
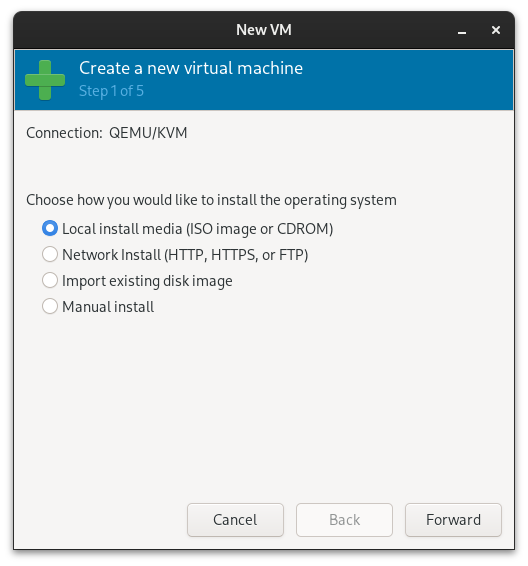
In the installation method selection screen, choose Local install media (ISO image or CDROM).
2.3 Locating the Windows 11 ISO
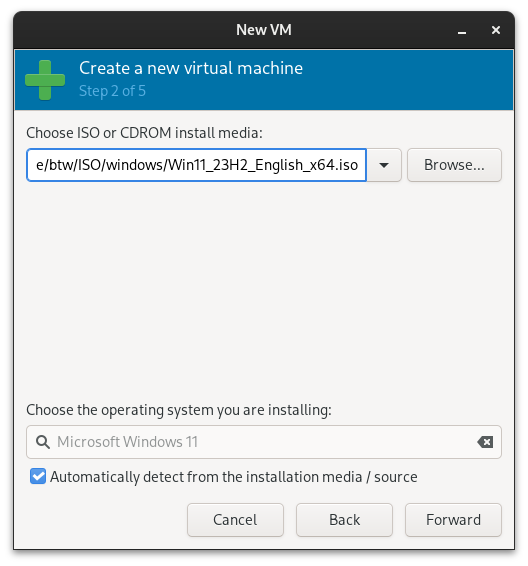
Click Browse to locate your Windows 11 ISO file and select it from your file system.
2.4 Configuring Memory and CPU
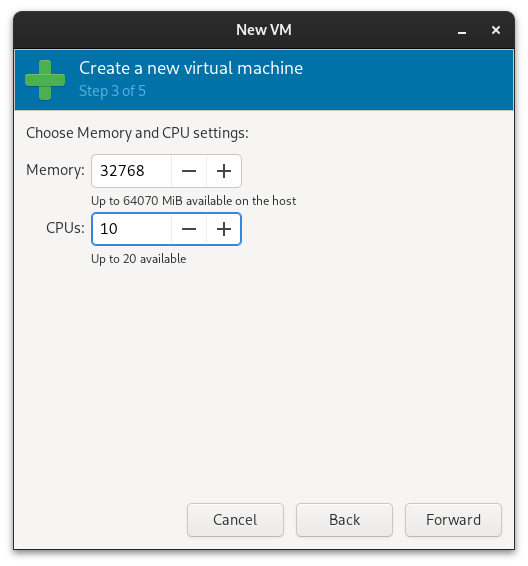
Set the amount of memory (RAM) and number of CPU cores according to your requirements.
2.5 Setting Up Storage
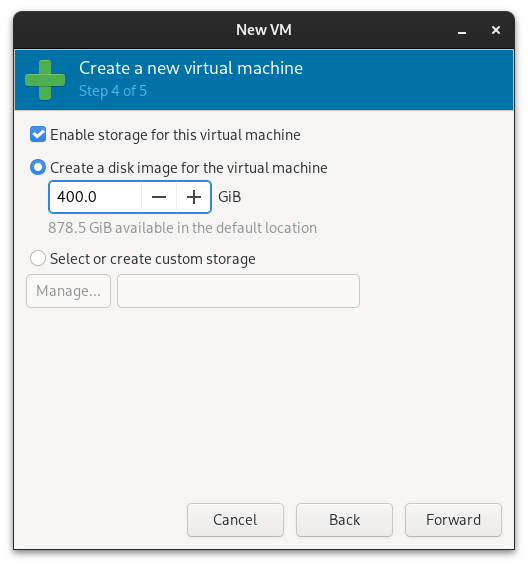
Configure your storage settings by allocating a virtual hard disk size appropriate for Windows 11.
2.6 Naming the VM
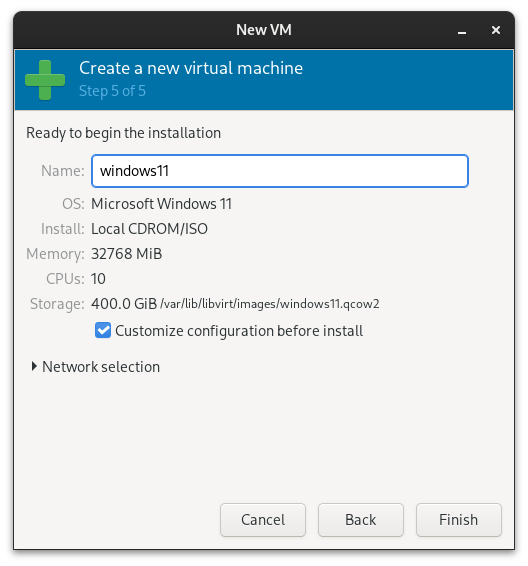
Provide a name for your virtual machine and select Customize configuration before install to access advanced settings.
3. Virt-manager Configuration
3.1 Configuring Firmware
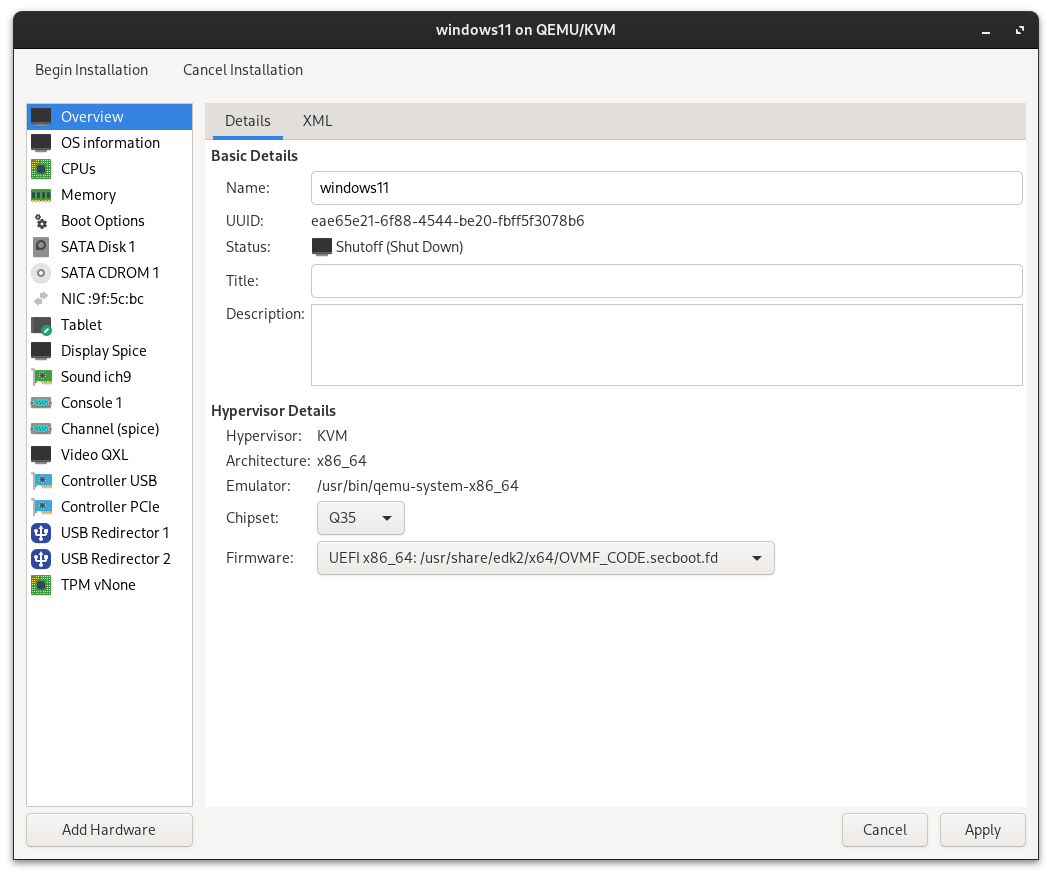
In the Overview section, set the Firmware to UEFI x86_64: /usr/share/edk2/x64/OVMF_CODE.secboot.fd.
This is crucial as secure boot is required for Windows 11.
IMPORTANT!!! Ensure you are using the correct firmware as the changes cannot be undone after selecting
Begin installation. If necessary, you will need to recreate the VM.
3.2 Setting Up CPUs
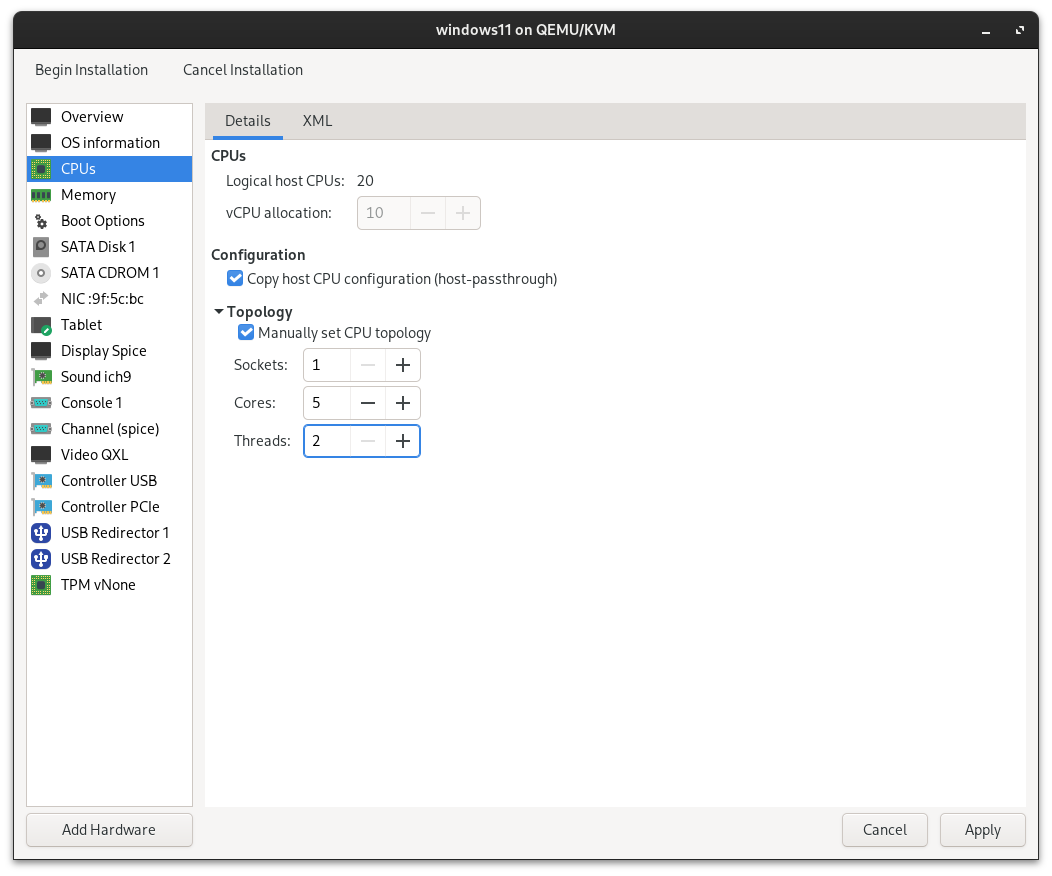
Configure the CPU settings by setting the CPU mode to host-passthrough. Enable the option Copy host CPU configuration (host-passthrough) and manually set the CPU topology according to your requirements.
3.3 Adding VirtIO Disk
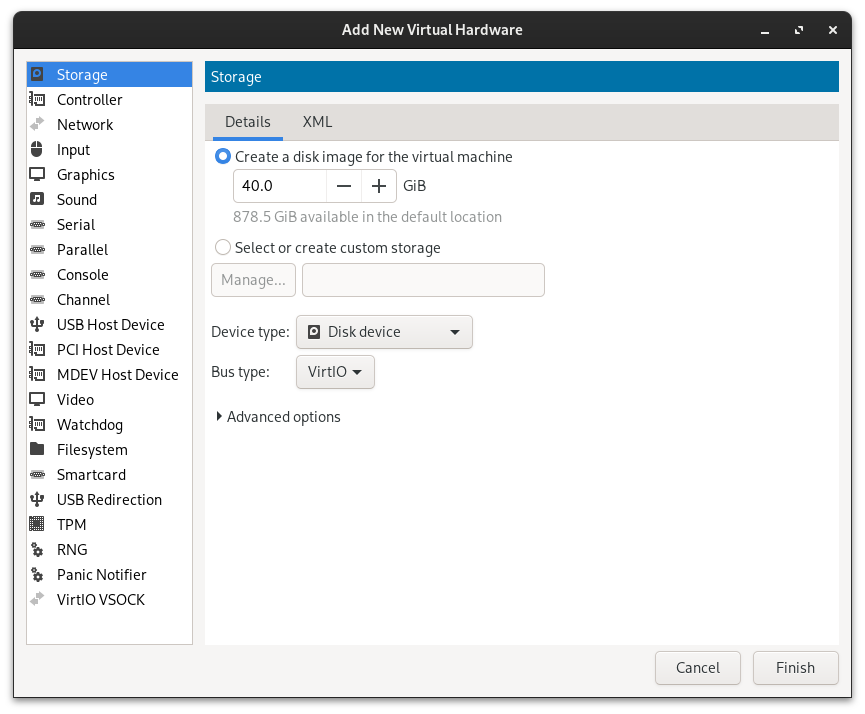
Add a VirtIO storage device with a size of 40GB. Configure this device with the VirtIO bus type and set the device type to Disk device.
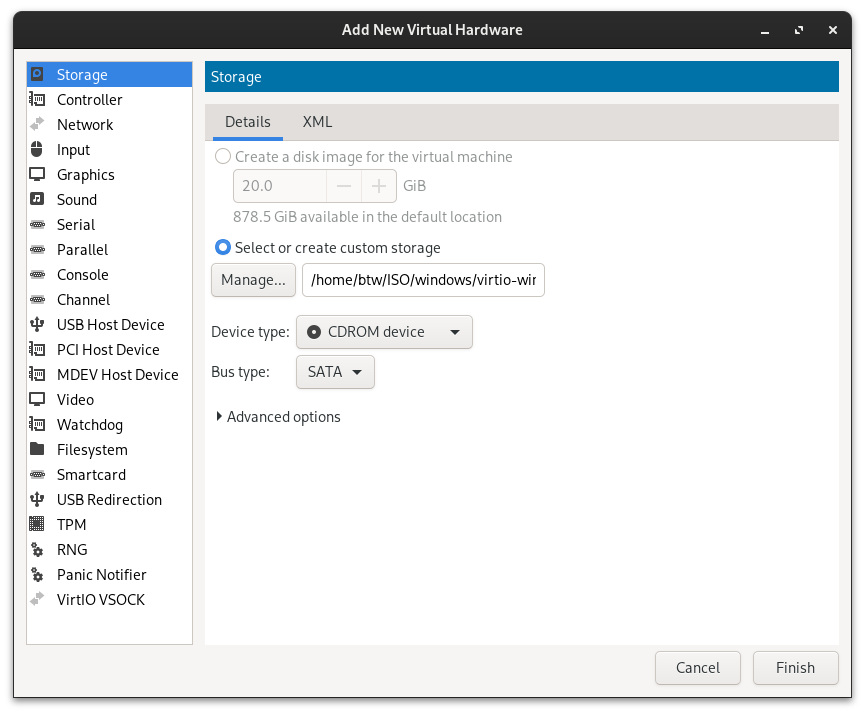
3.4 Adding VirtIO ISO
Create a VirtIO ISO storage device and set it as a CDROM device. This will be used for installing VirtIO drivers during the Windows setup.
3.5 Configuring Boot Options
Set the SATA CDROM 1 as the primary boot device to ensure the VM boots from the Windows 11 ISO.
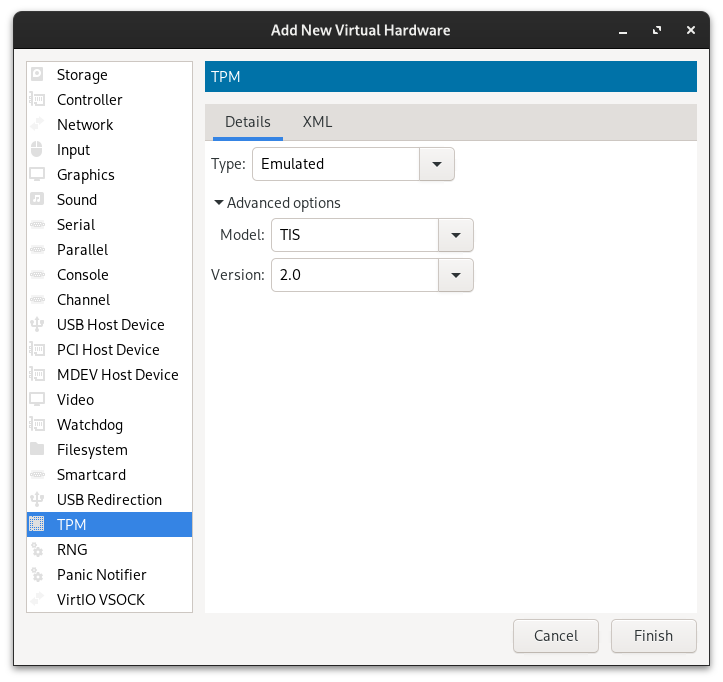
3.6 Adding TPM Device
Add a TPM device and configure it to version 2.0. This is required for Windows 11 installation.
3.7 Removing NIC
Remove the network interface card (NIC) to avoid the Microsoft Account sign-in requirements during the Windows installation. You can reconnect the NIC after the installation.
Tips: Removing the NIC ensures that the installation does not require online activation, which can be bypassed by using command-line tools to enable offline mode.
4. Booting the VM and Installing Windows 11
4.1 Starting the Installation
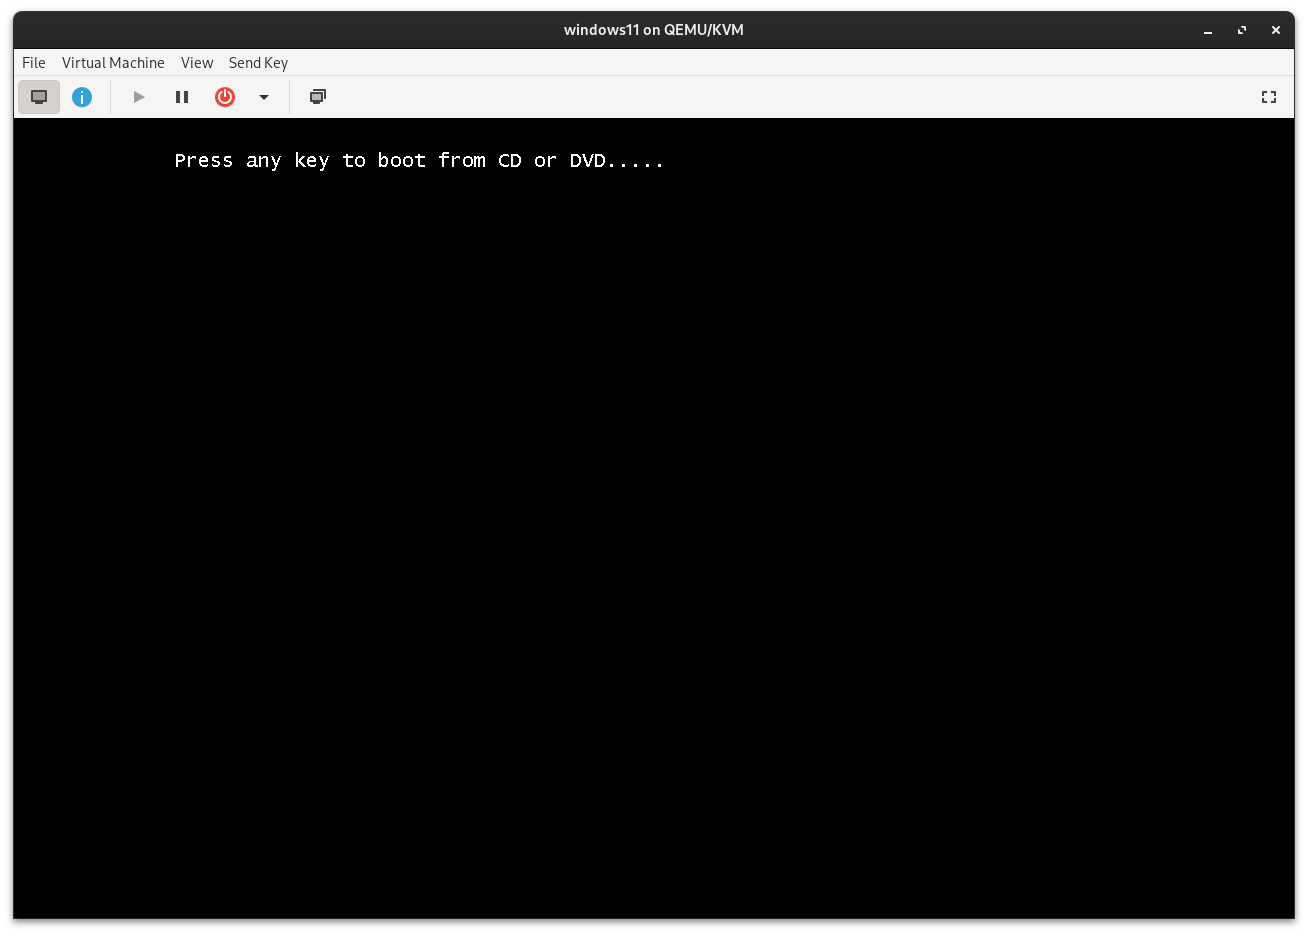
To begin the installation process, first click on Begin Installation to start your VM. If you miss the Press any key prompt that appears when the VM starts, follow these steps:
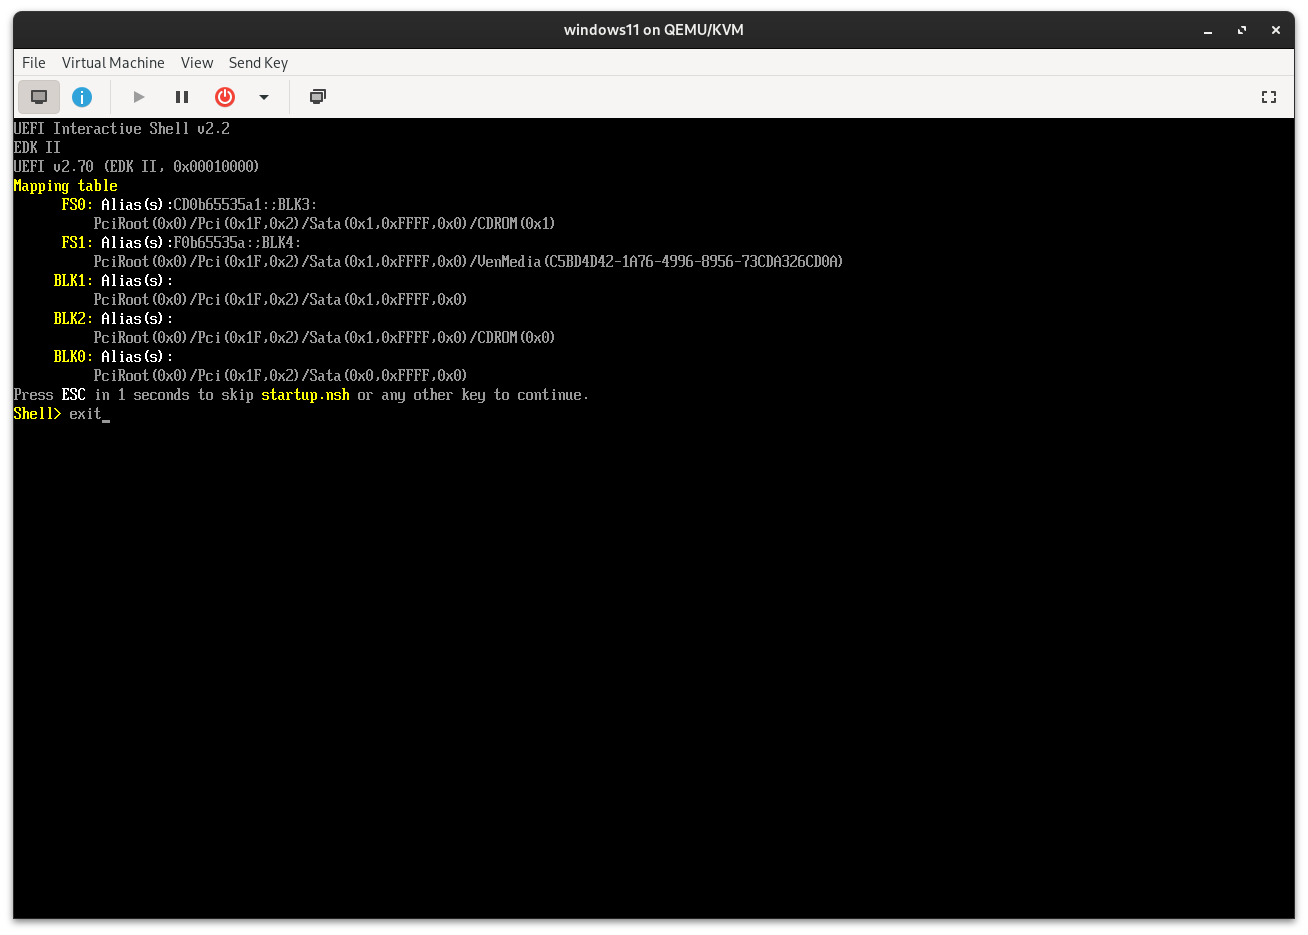
4.1.1 Accessing the UEFI Shell
Enter the UEFI Shell by pressing the necessary key to open the BIOS menu. Type exit to leave the BIOS menu.
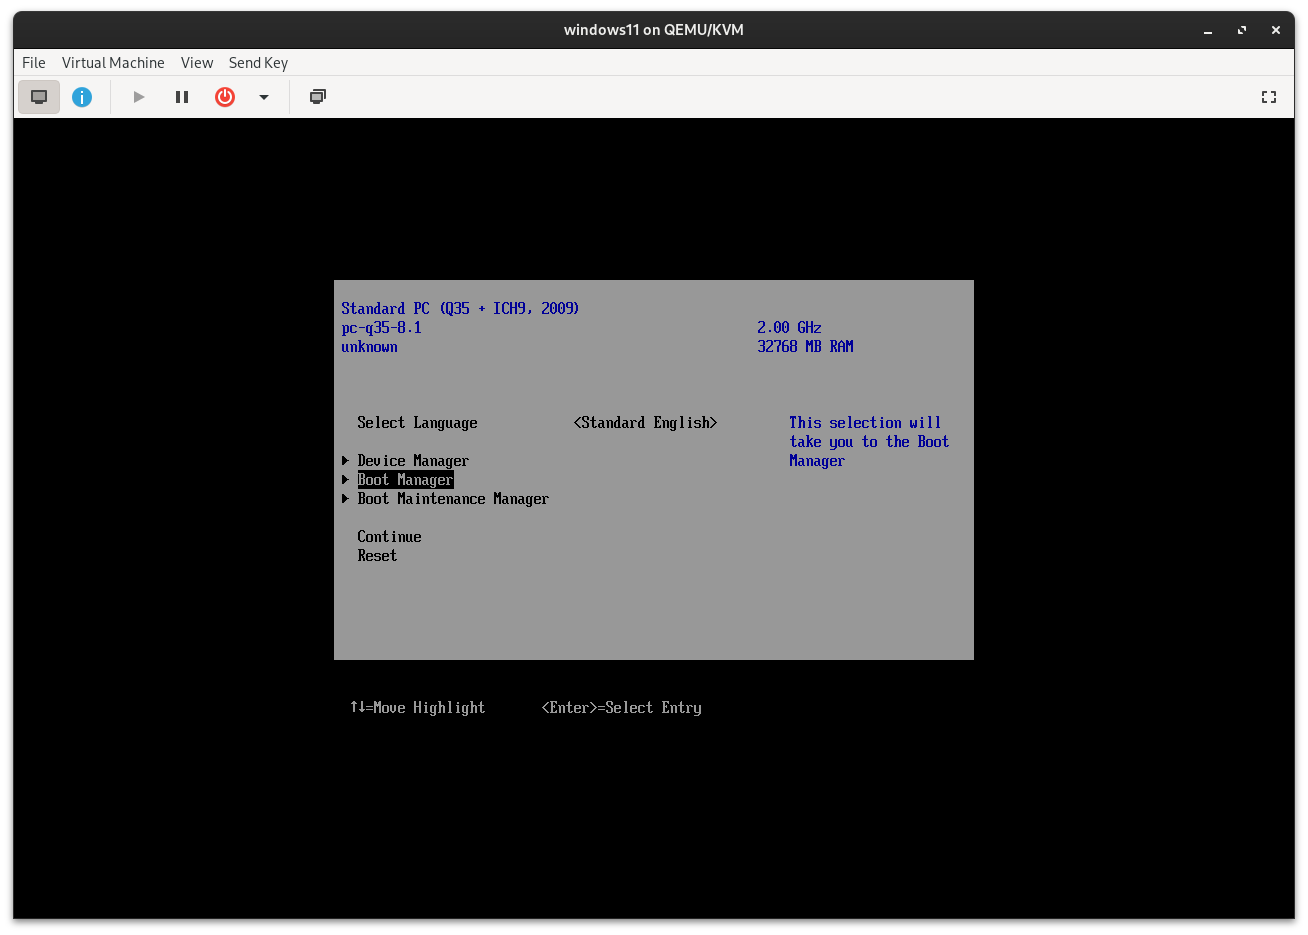
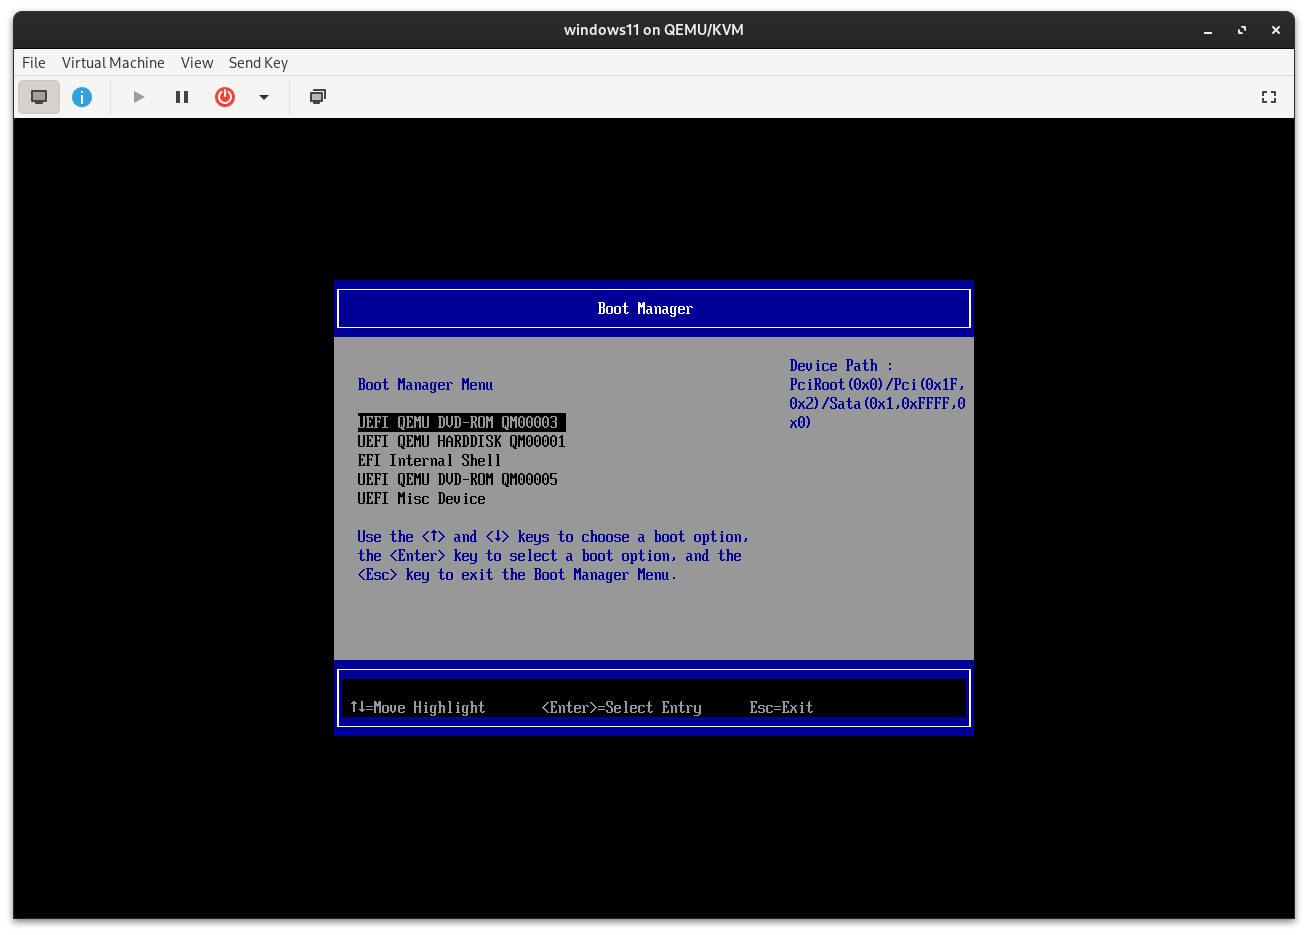
4.1.2 Navigating to Boot Manager
Use the arrow keys to navigate to Boot Manager and select the UEFI DVD-ROM from the list of boot options.
4.1.3 Booting from the Windows 11 ISO
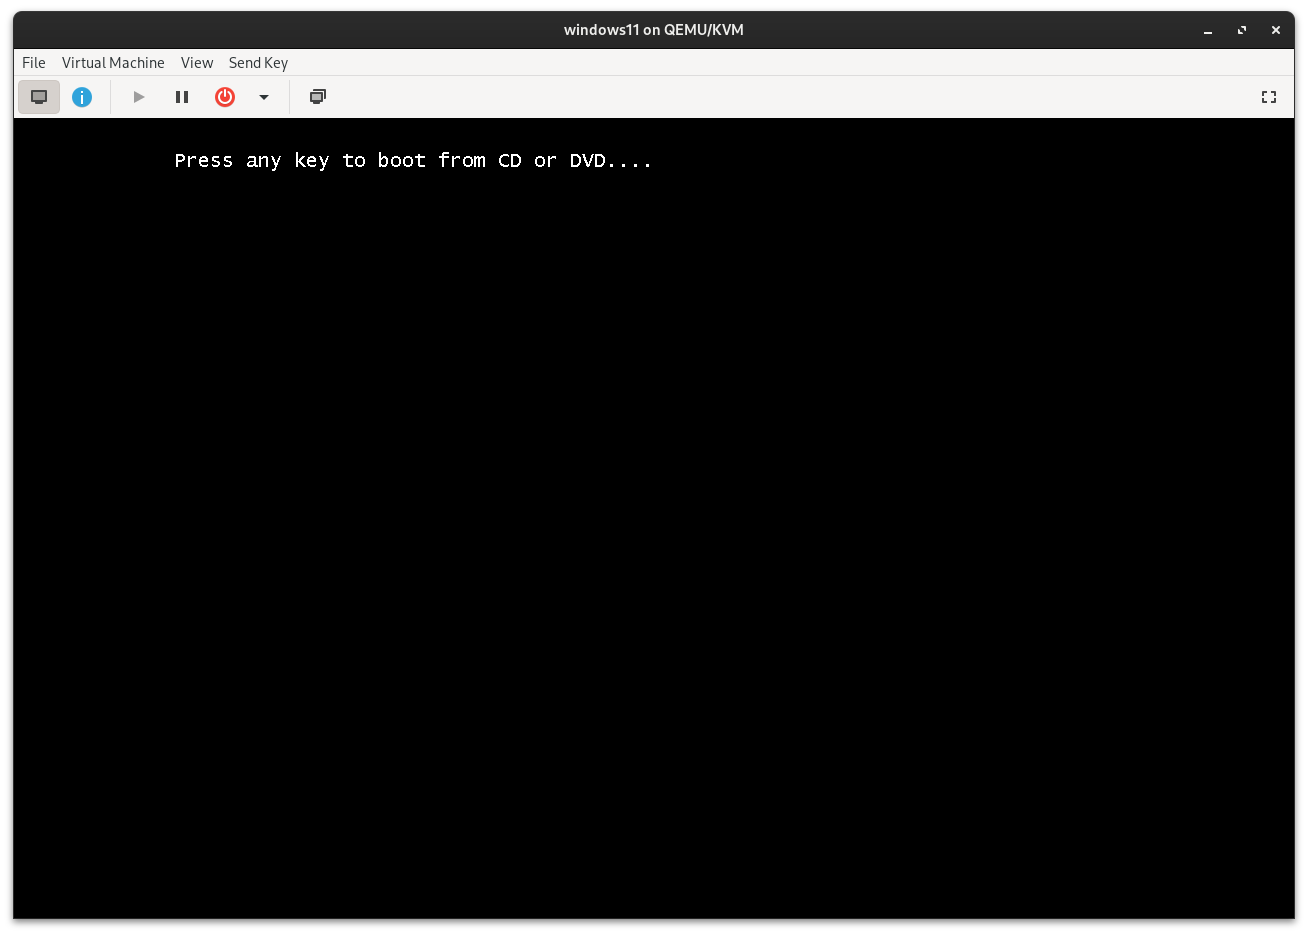
Press any key to initiate the boot process from the Windows 11 ISO.
4.2 Completing Windows Setup
4.2.1 Selecting Language and Settings
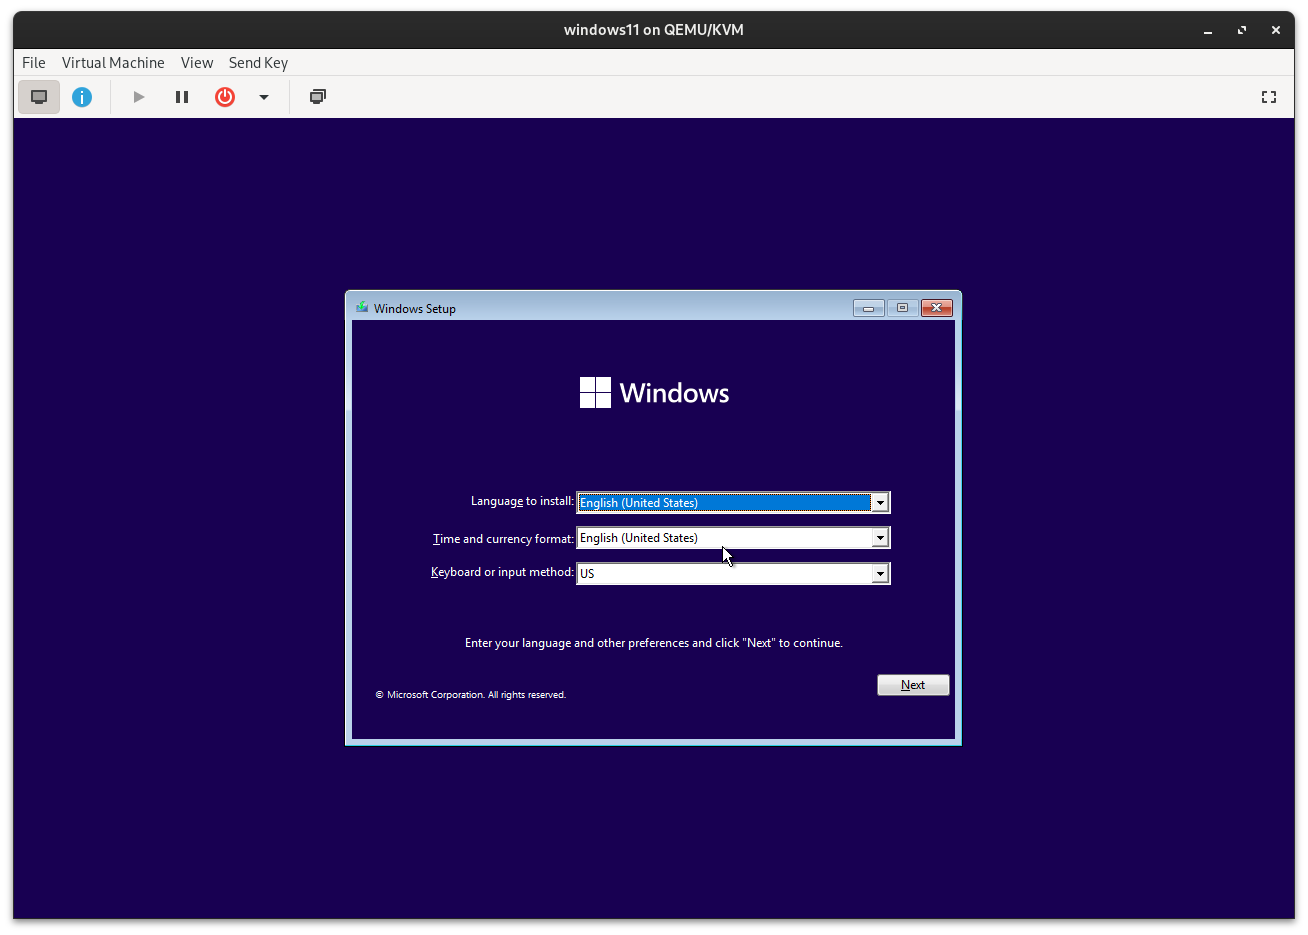
On the Windows setup screen, choose your preferred language, time, and keyboard layout. Click Next.
4.2.2 Installing Windows
Click Install now to start the installation process.
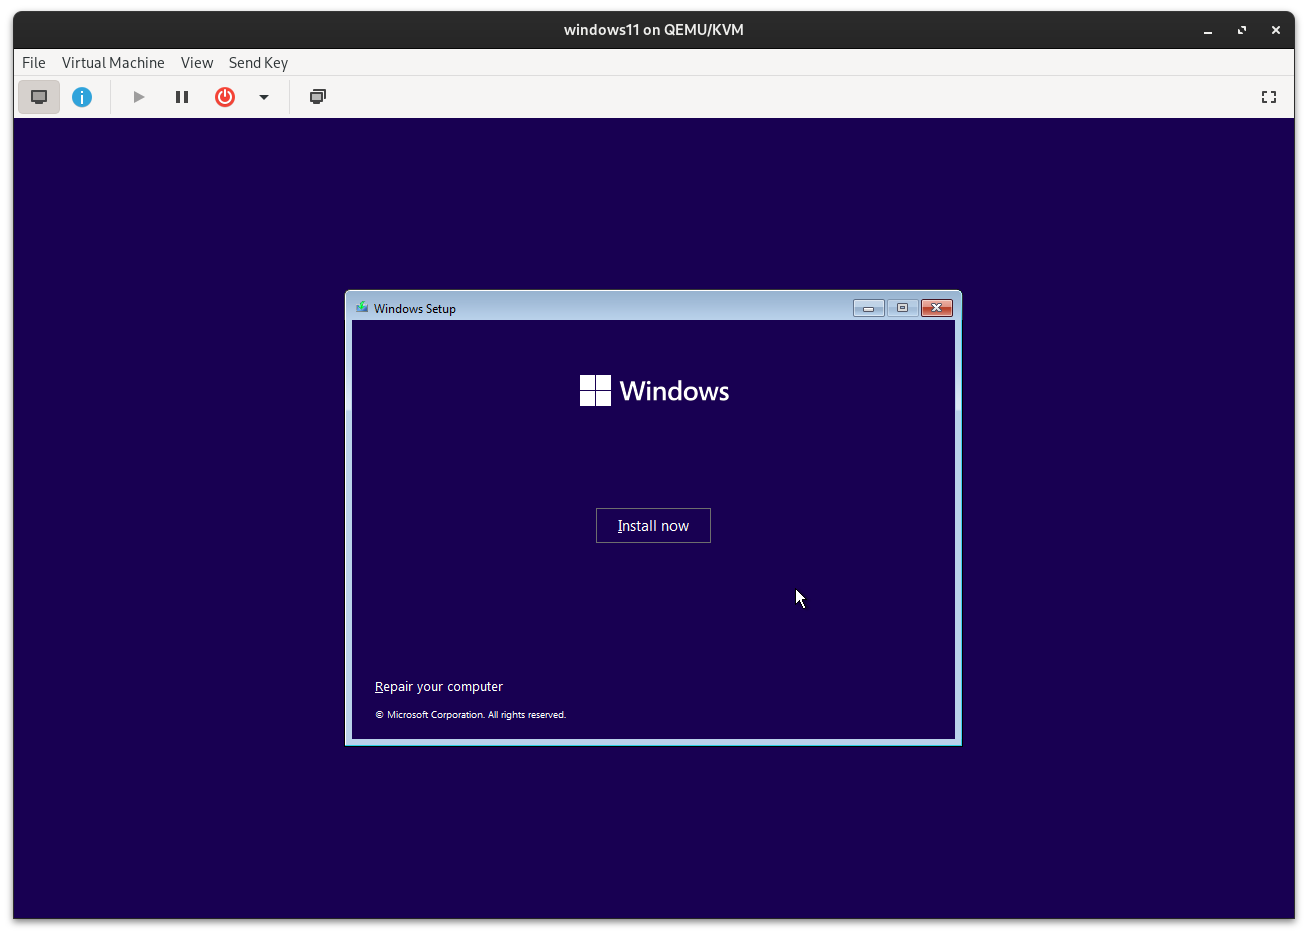
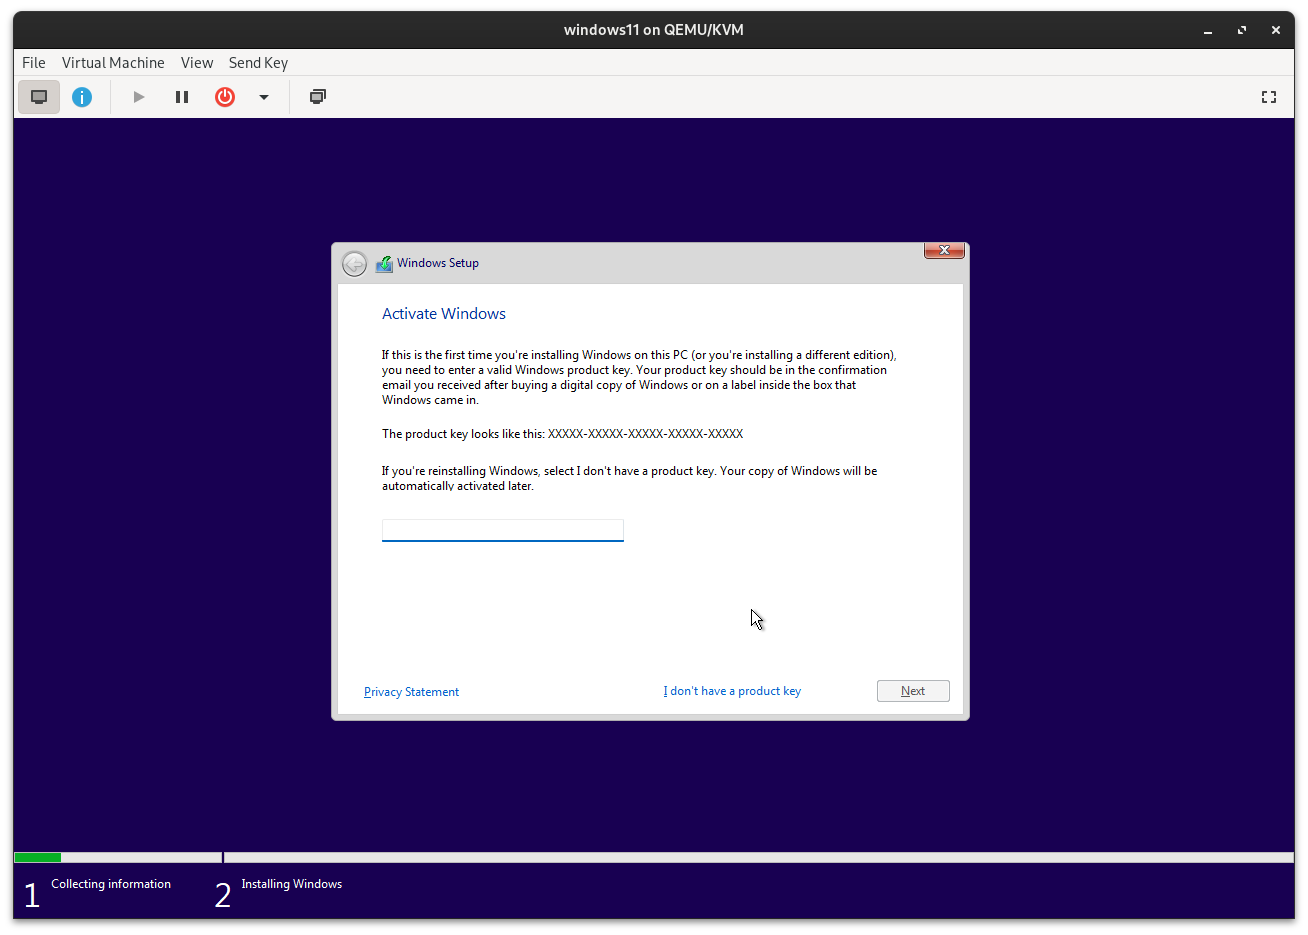
4.2.3 Skipping Product Key
When prompted for a product key, click I Don't have the product key.
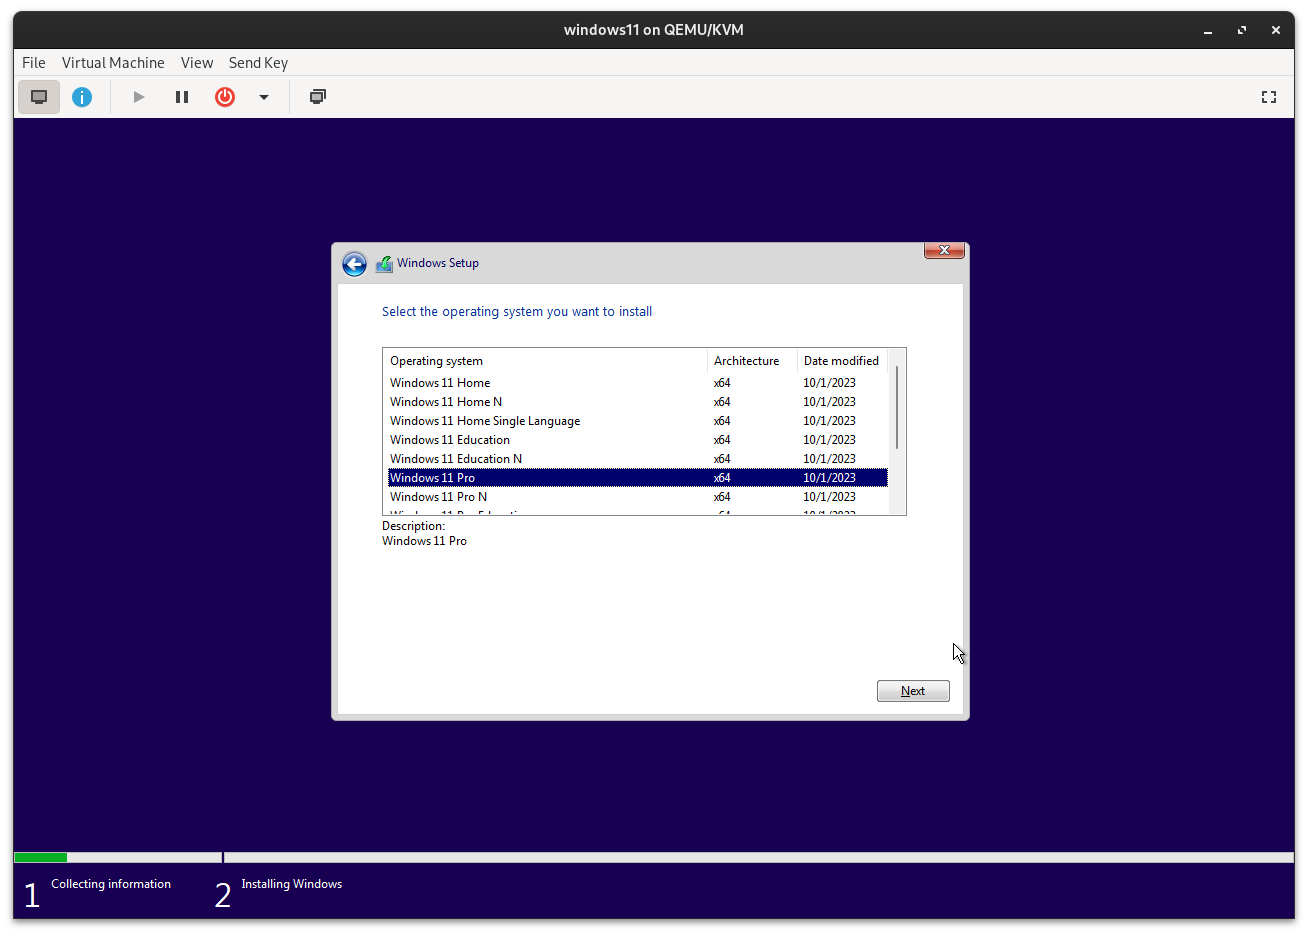
4.2.4 Selecting Edition
Choose Windows 11 Pro as the edition and click Next.
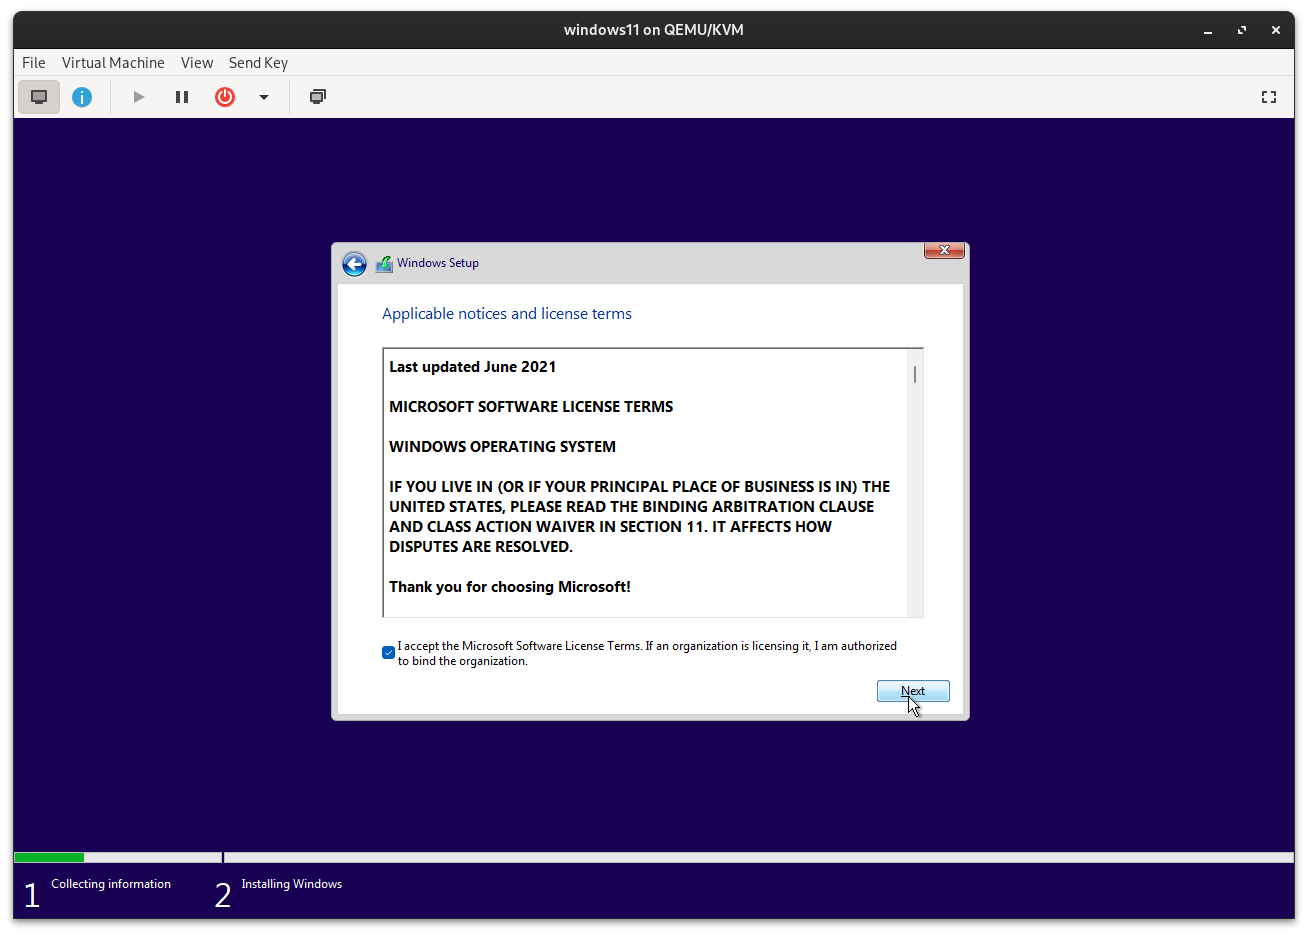
4.2.5 Accepting License Terms
Accept the license terms to proceed with the installation.
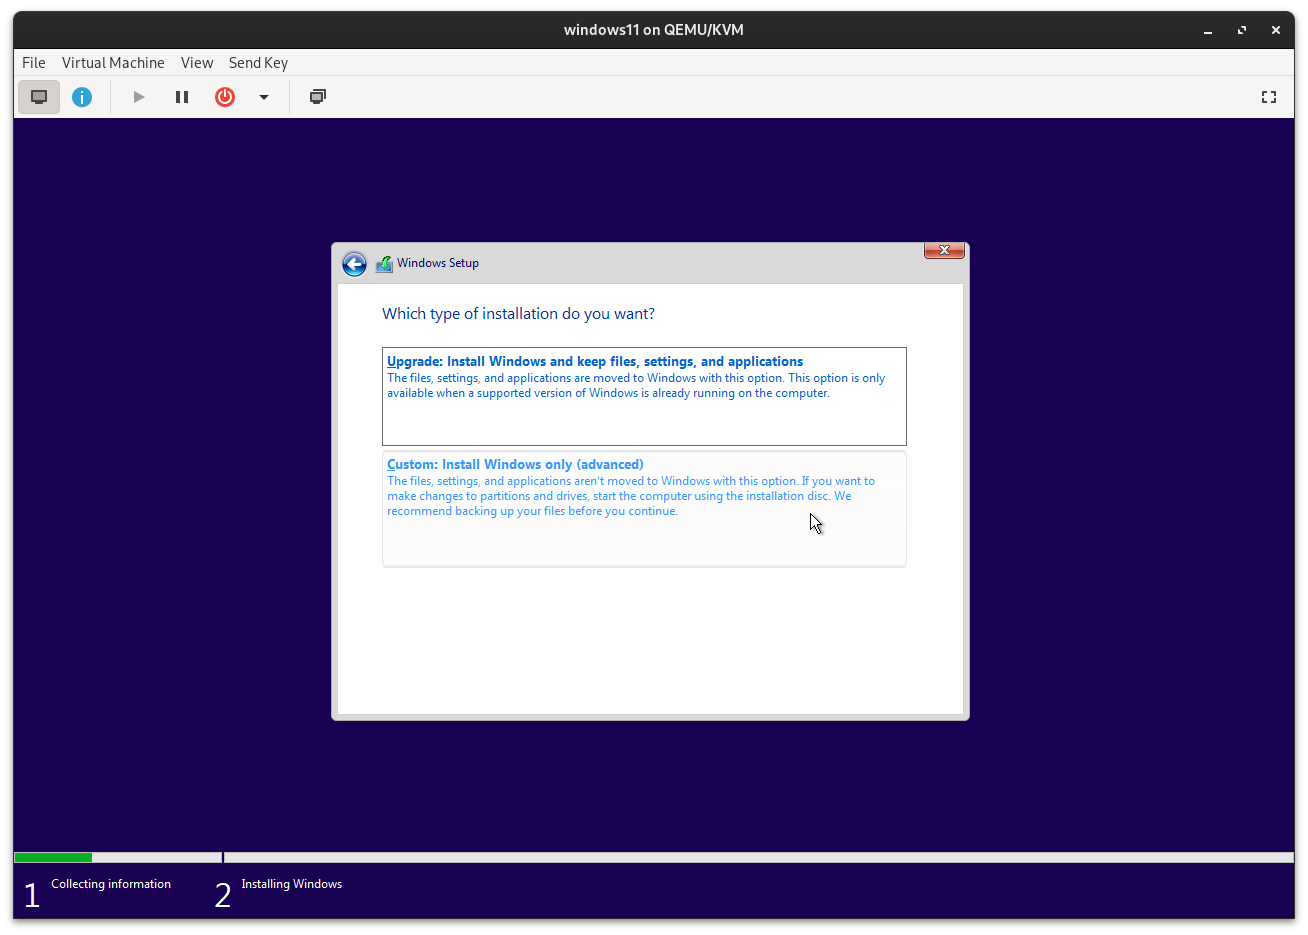
4.2.6 Choosing Installation Type
Select Custom: Install Windows only (advanced) for a clean installation.
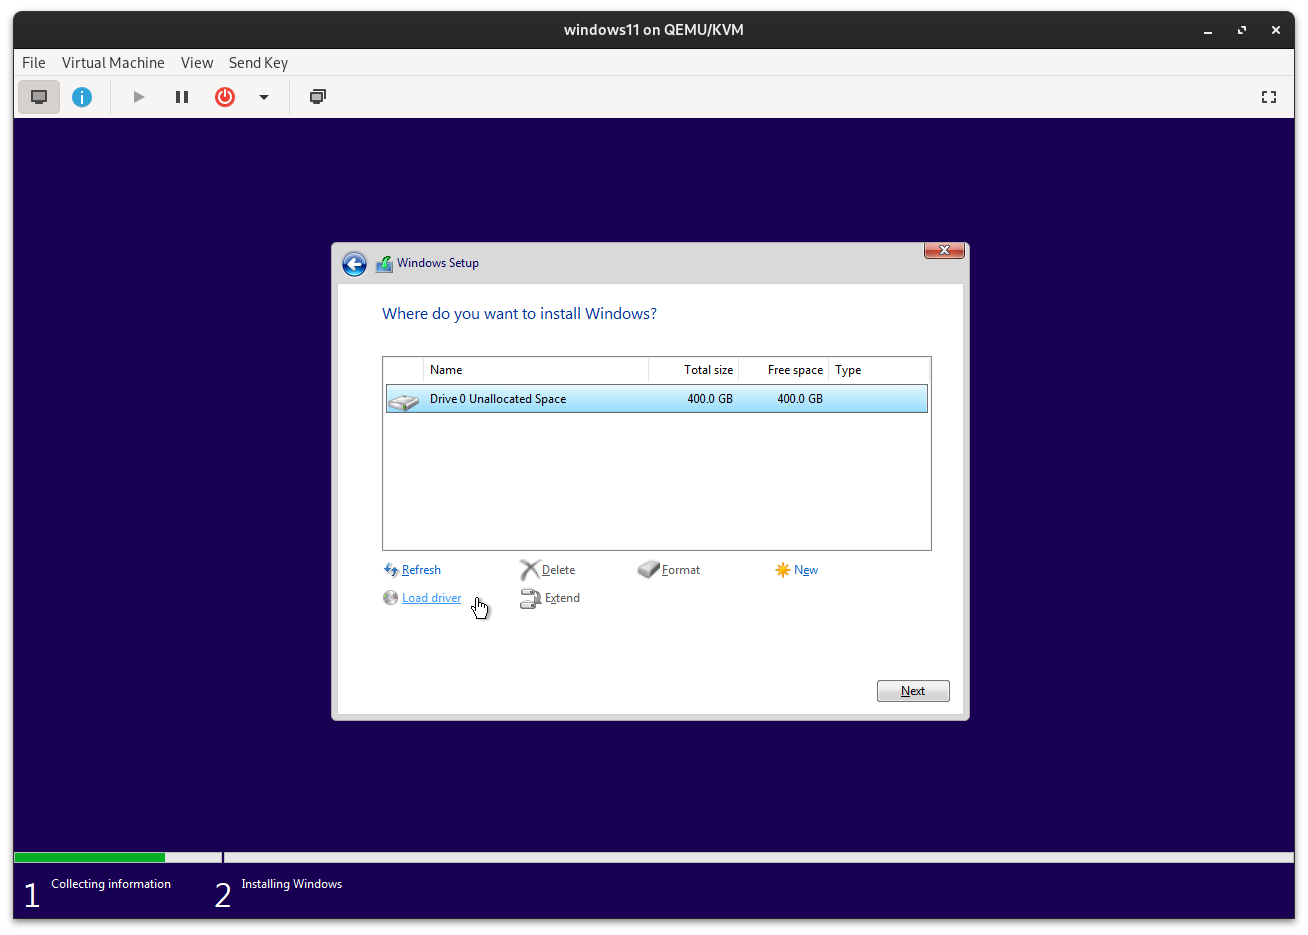
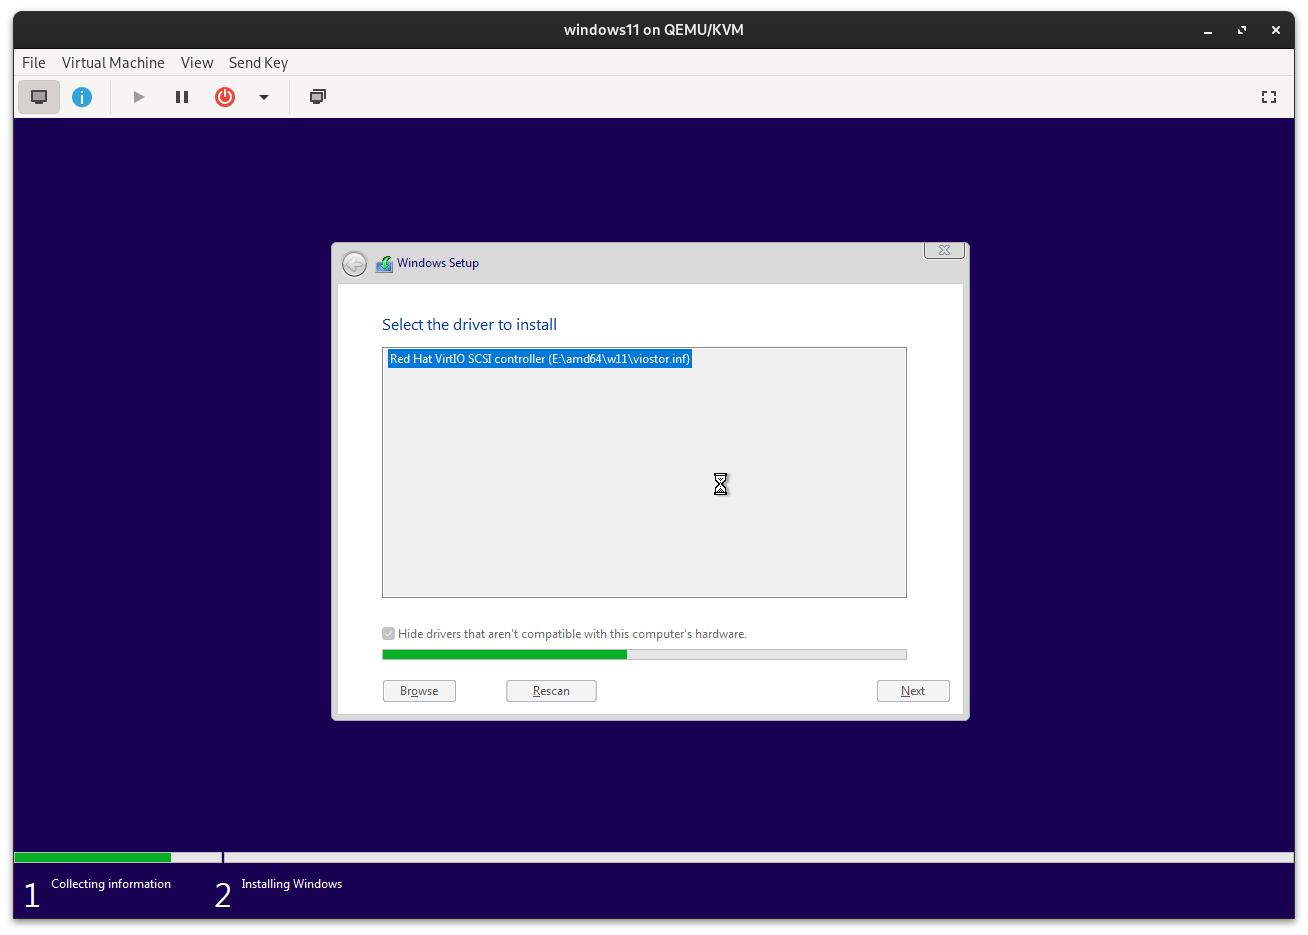
4.2.7 Loading VirtIO Driver
To install the required drivers, click Load driver, then Browse.
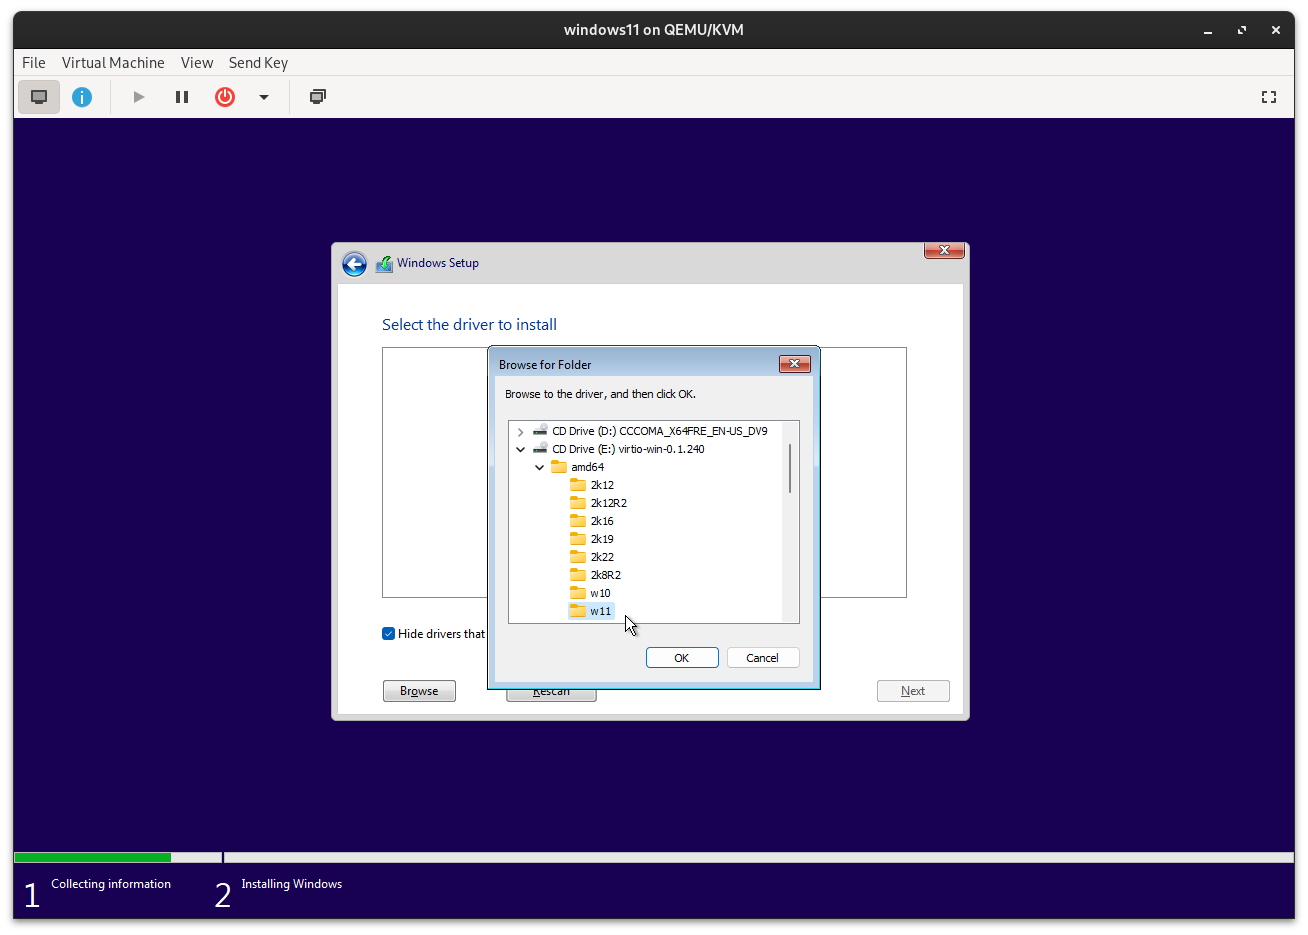
Navigate to E:\amd64\w11, click OK.
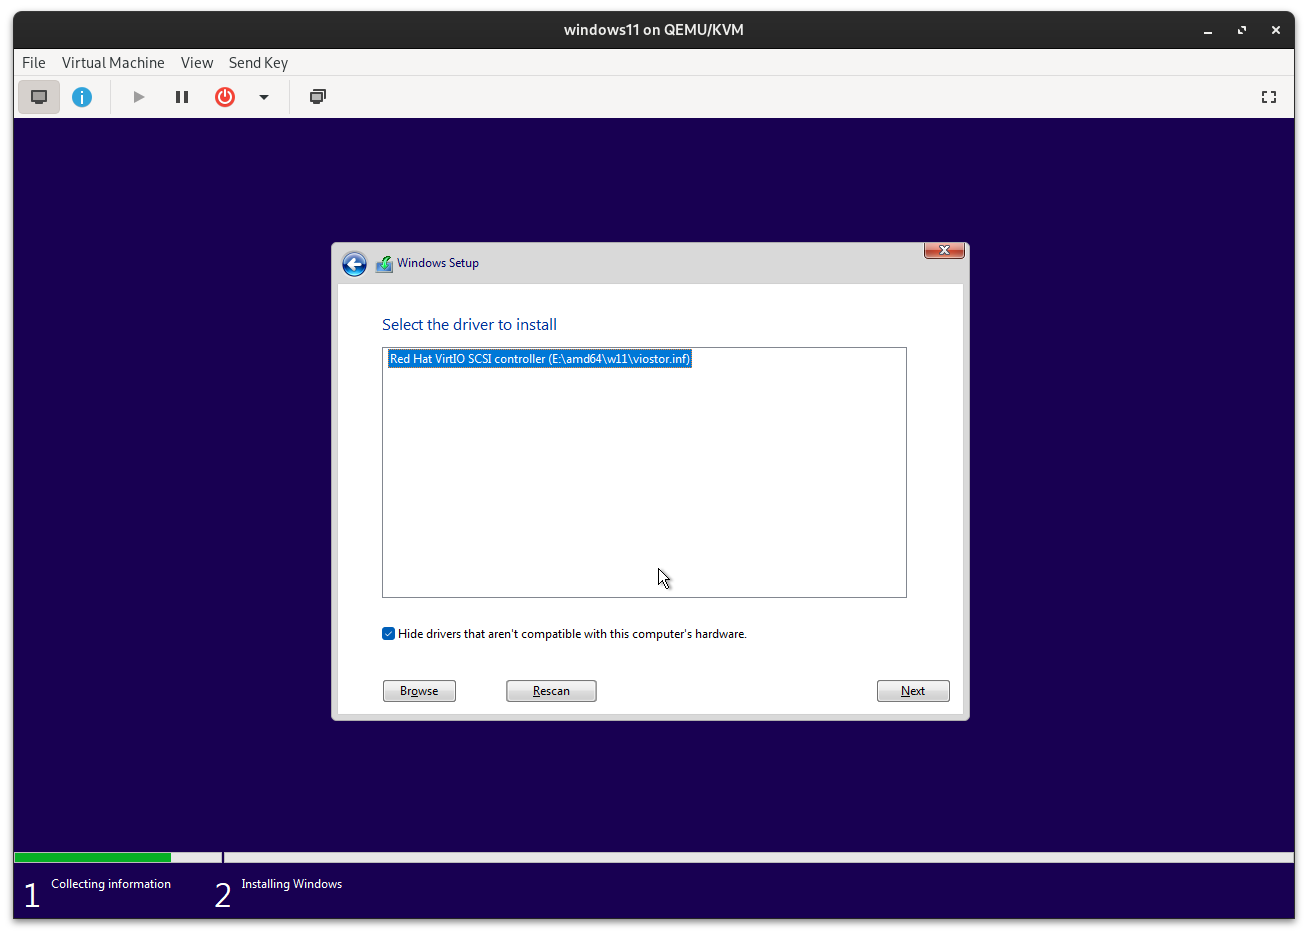
select the REDHAT result. Click Next.
will take a while, just wait.
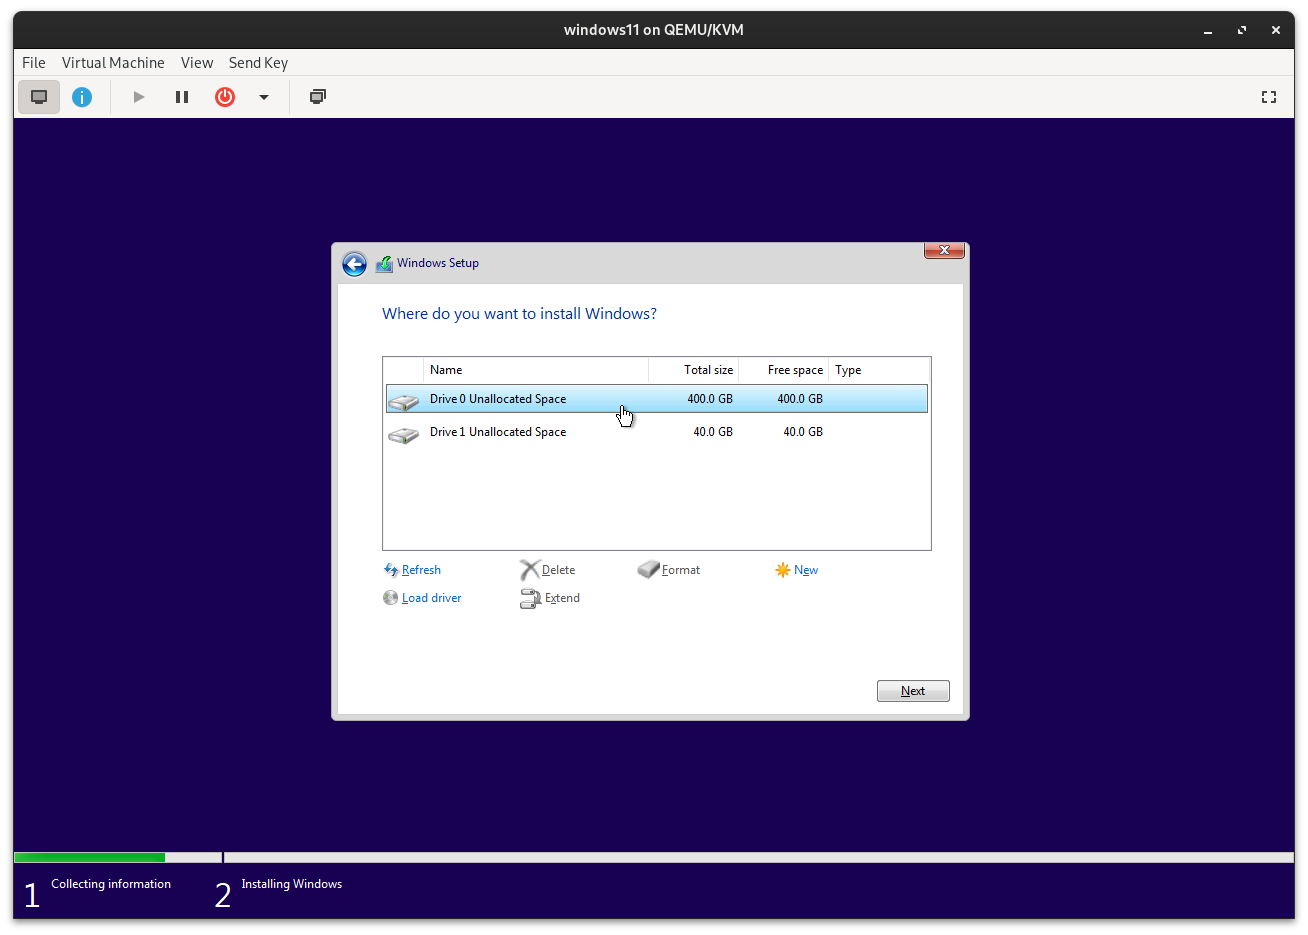
4.2.8 Selecting Installation Disk
Choose the disk where you want to install Windows (e.g: 400GB) and continue with the installation.
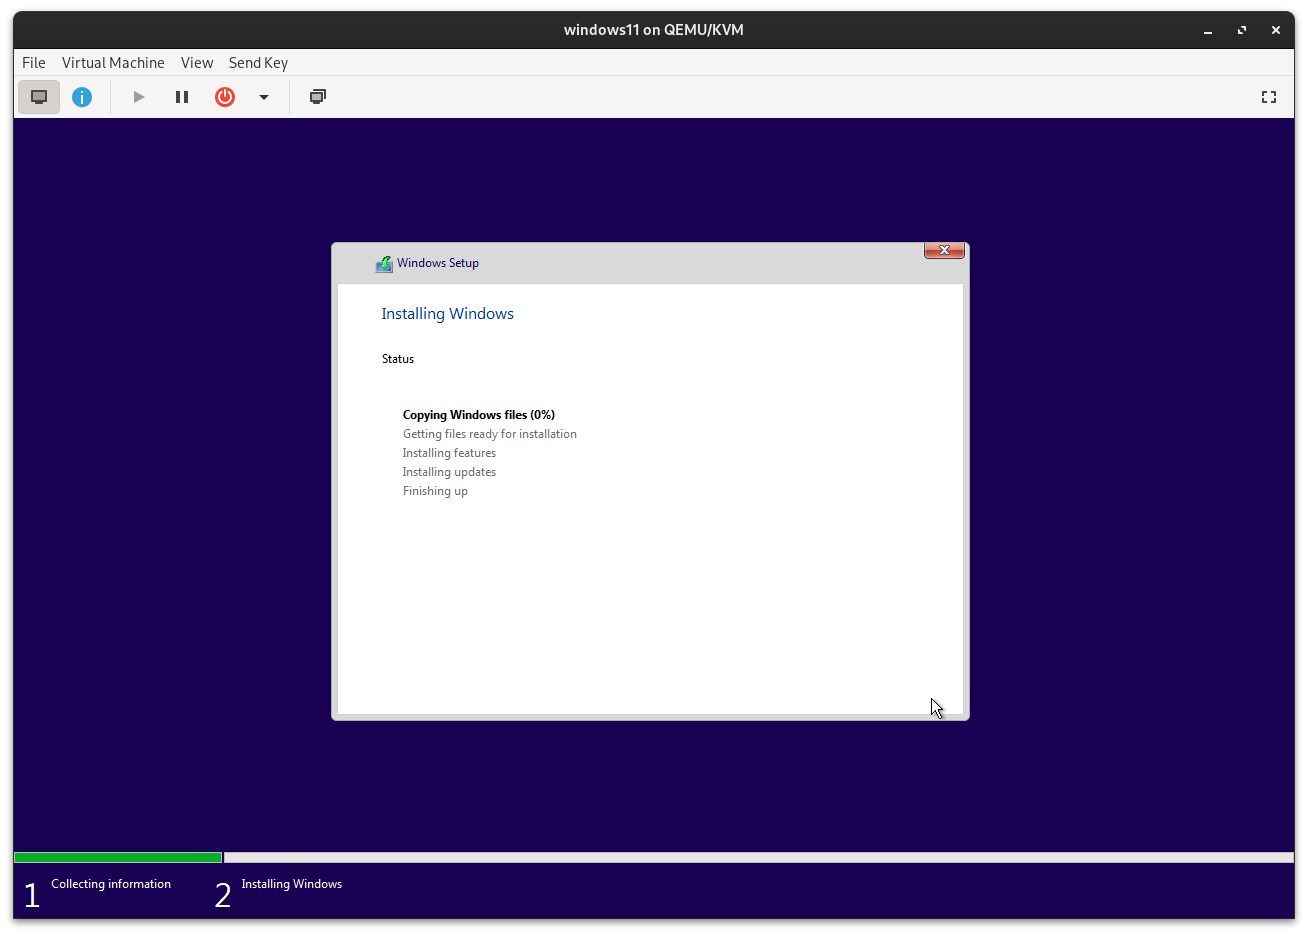
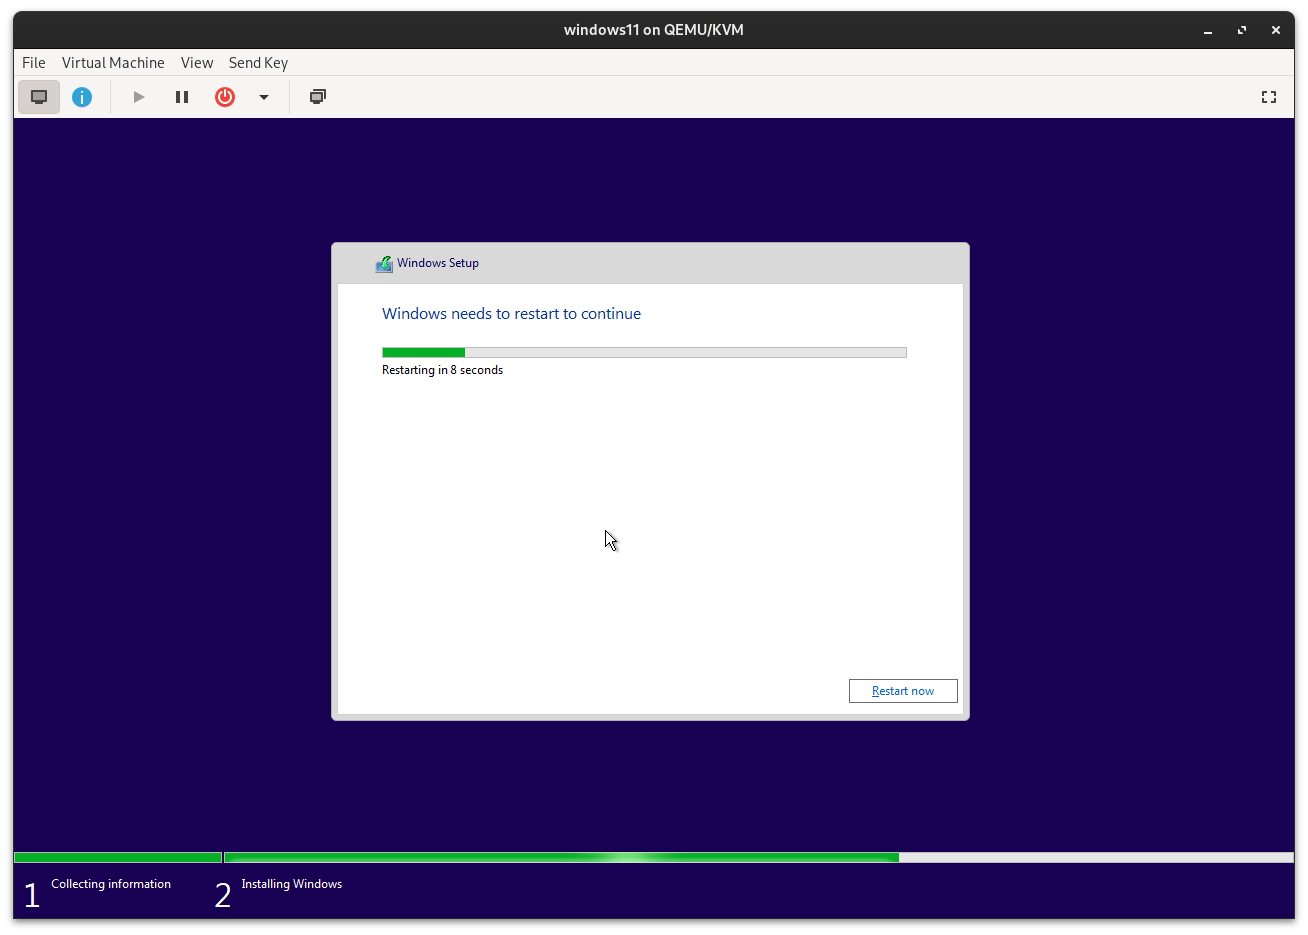
4.2.9 Rebooting During Installation
The installation process will reboot several times. During these reboots, ignore any Press any key prompts.
4.3 Bypassing Network Requirements
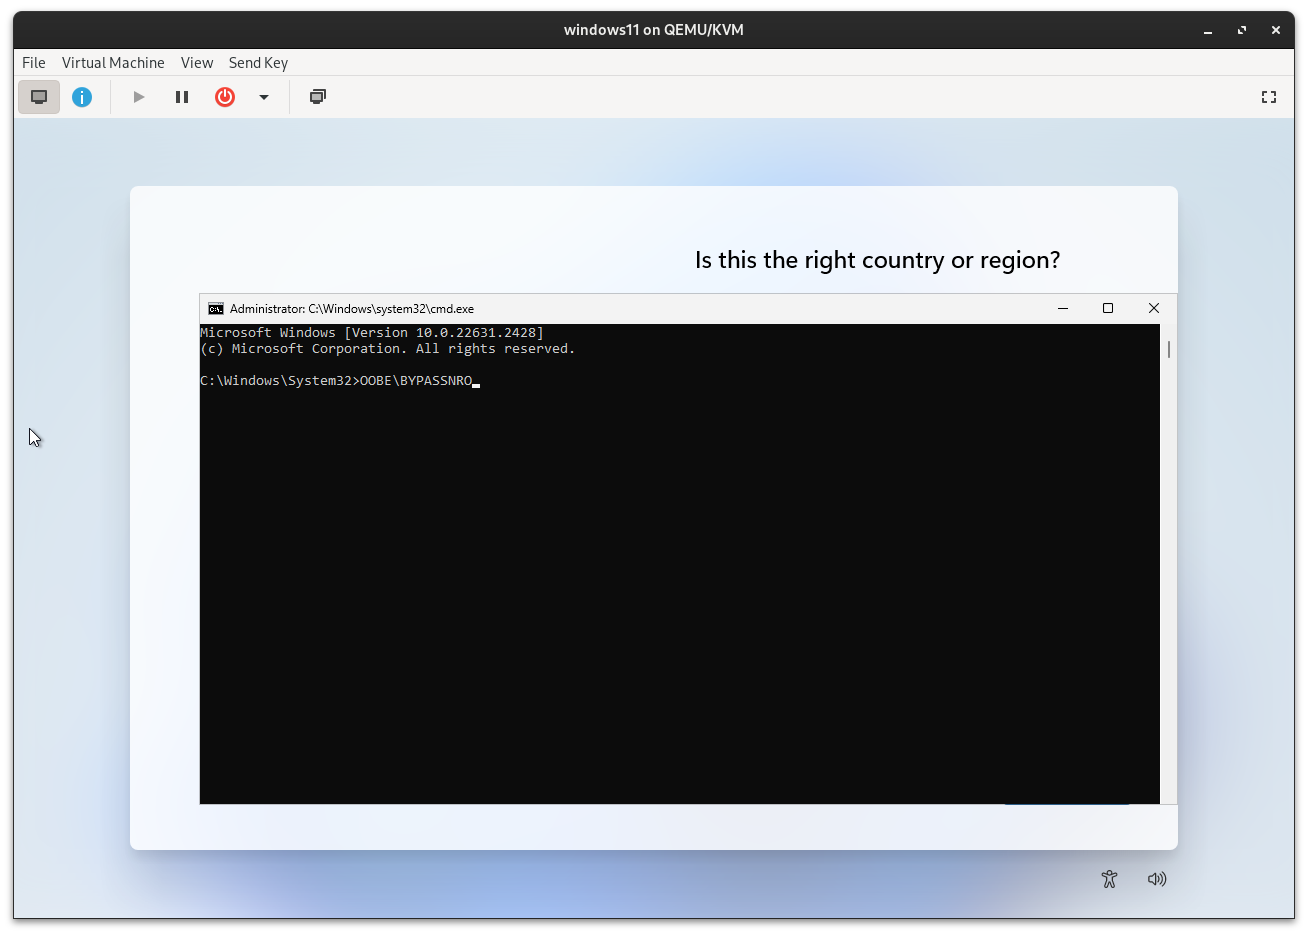
When you reach the Hi screen, press Shift + F10 to open the Command Prompt. In the Command Prompt window, type:
OOBE\BYPASSNRO
The system will automatically reboot after executing this command.
5. Post-Installation Configuration
Now just install the window in the normal way. Don't worry too much about it being different.
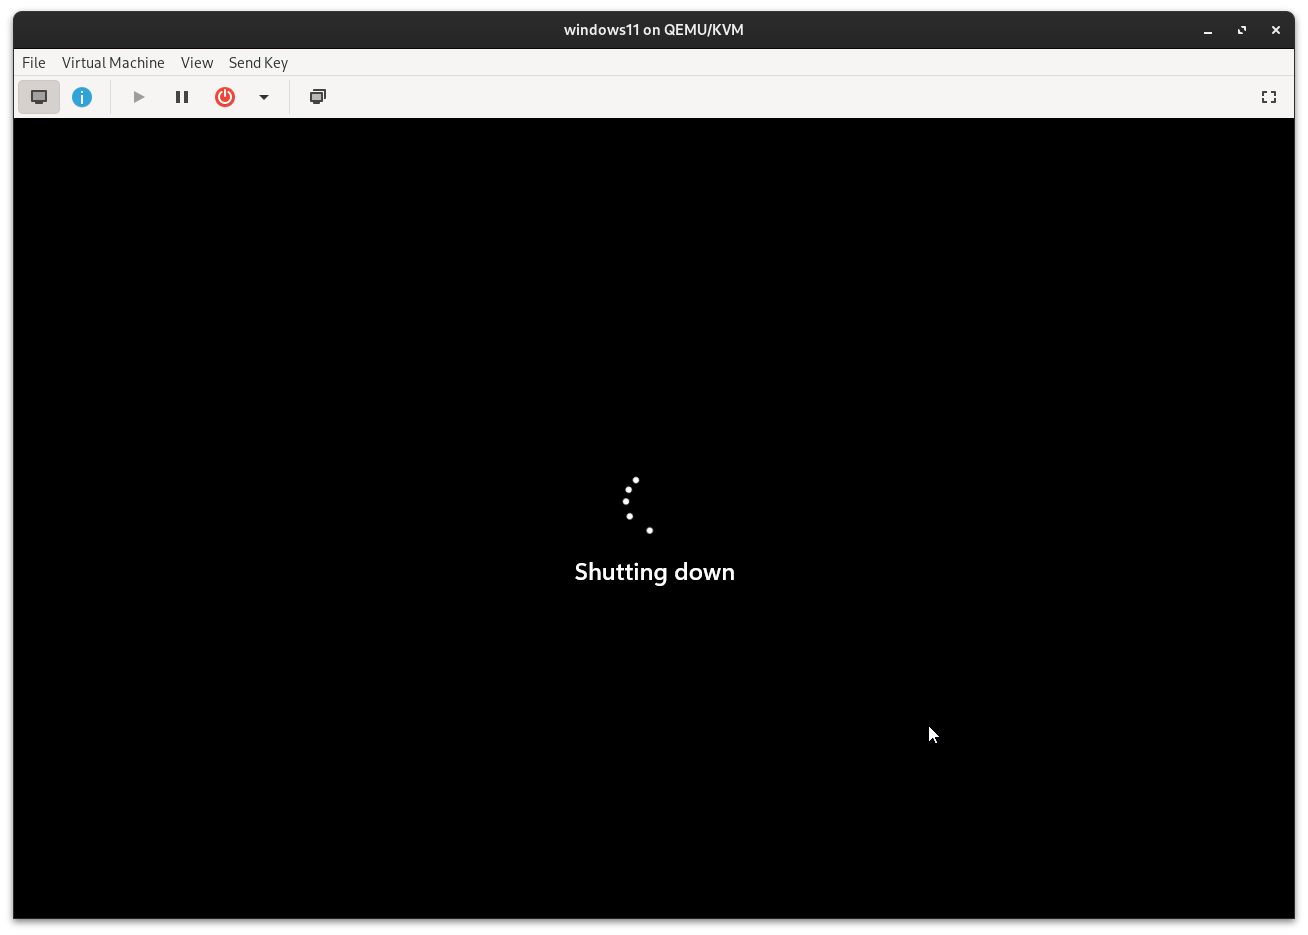
5.1 Power Off the System
After completing the Windows 11 installation, you should power off the VM. This is done by using the Power off option from the VM’s menu.
5.2 Adding GPU and GPU-Audio Devices
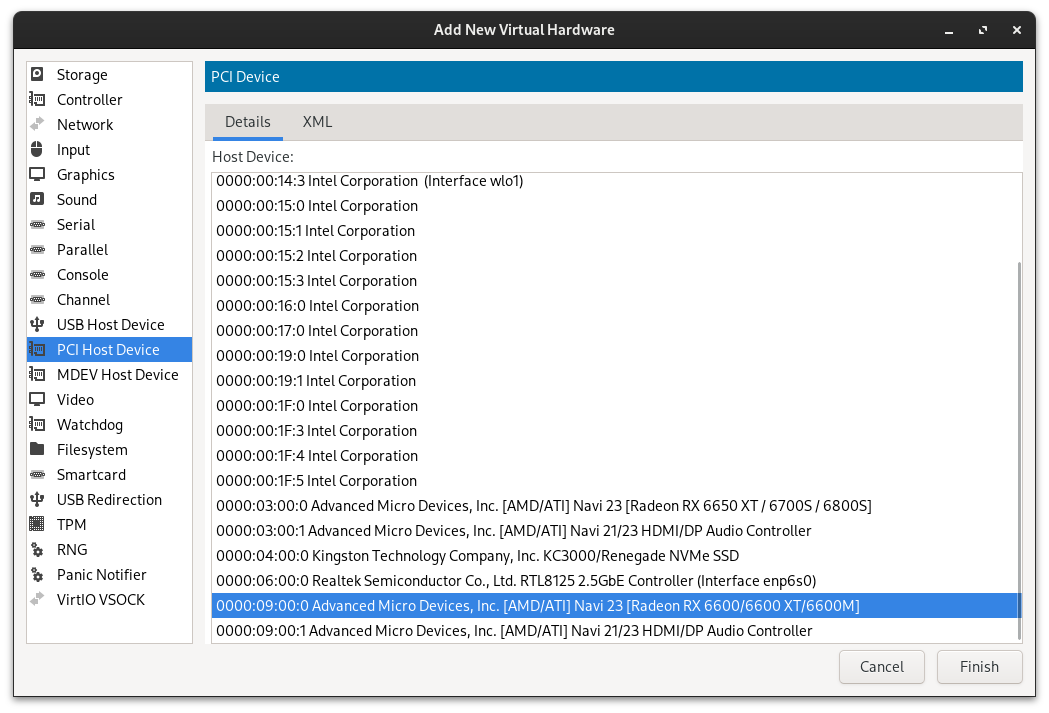
5.2.1 Adding the GPU
Add your GPU to the VM configuration. This involves specifying the GPU as a passthrough device in the VM settings.
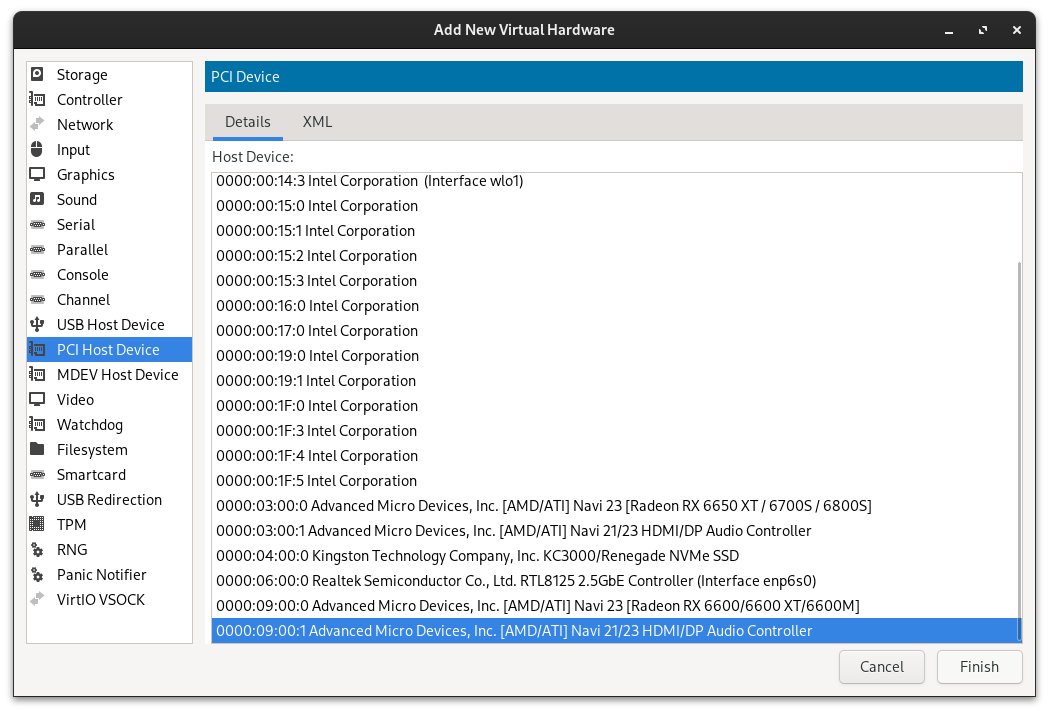
5.3.2 Adding GPU-Audio
Similarly, add your GPU-Audio device. This step ensures that audio functionalities from the GPU are also included in the VM setup.
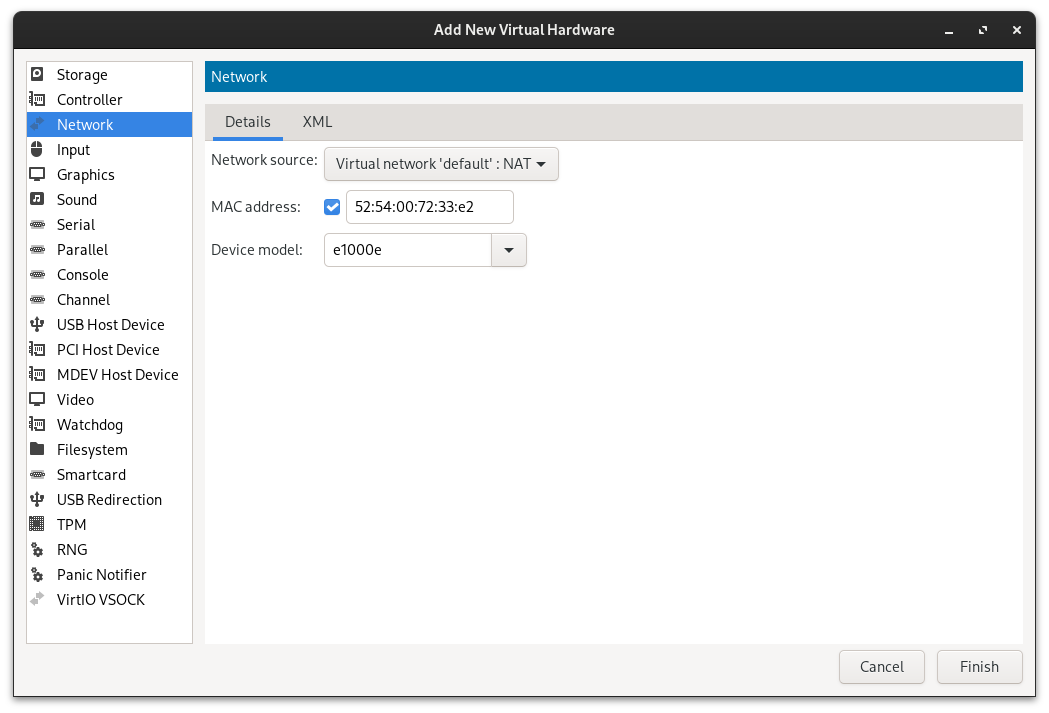
5.4 Reconnecting the Network Interface Card (NIC)
Since, previously we removed the NIC to avoid Microsoft account sign-in requirements during installation, reconnect it now. This step will restore network connectivity for the VM.
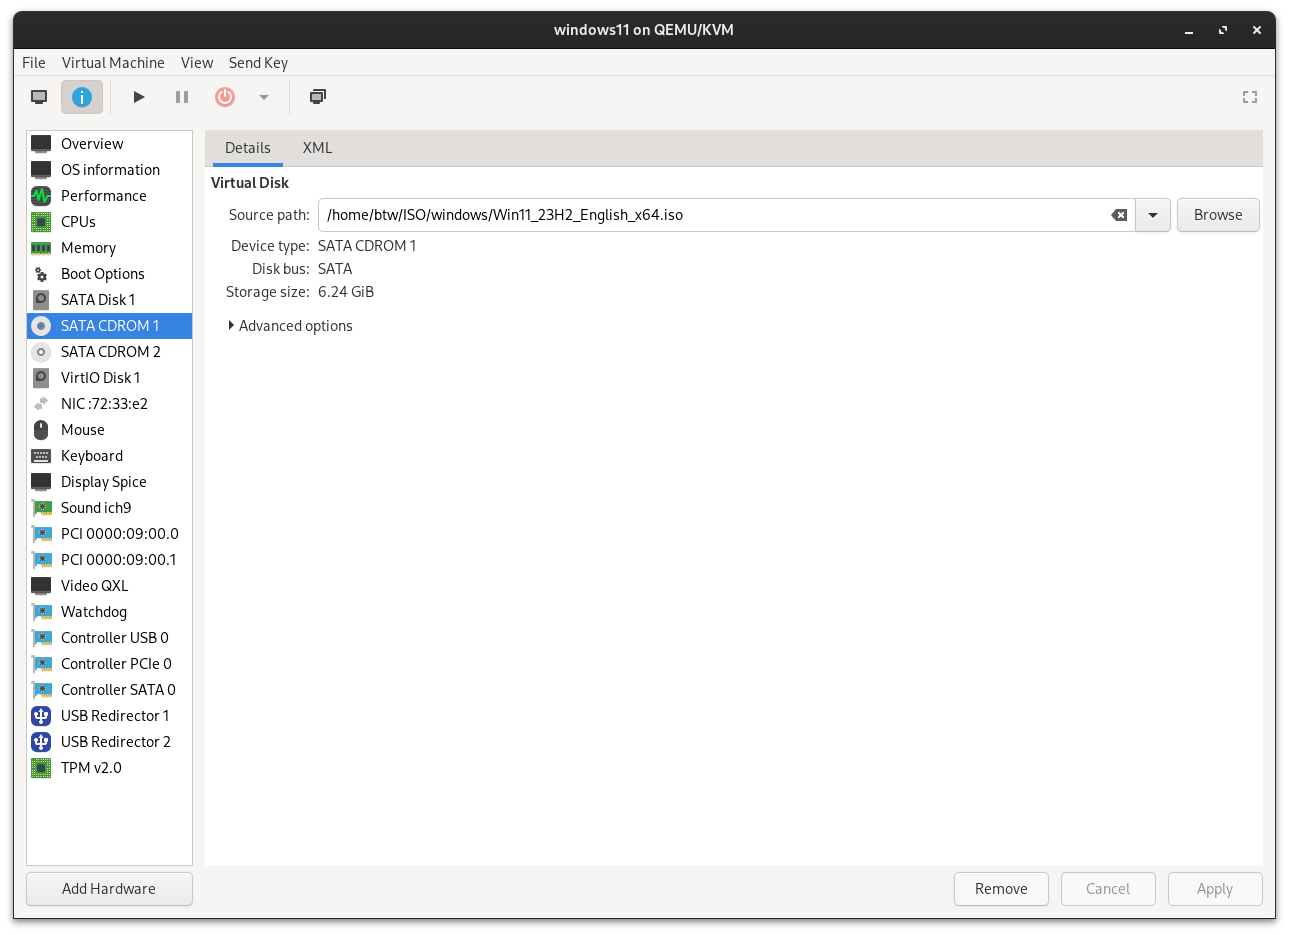
5.5 Removing the Windows 11 ISO
Finally, remove the Windows 11 ISO from the VM’s virtual drives to complete the setup. This ensures that the VM will not boot from the ISO again.
6. Final Configuration and Updates
6.1 Updating Windows 11
You need to ensure your Windows 11 system is up to date.
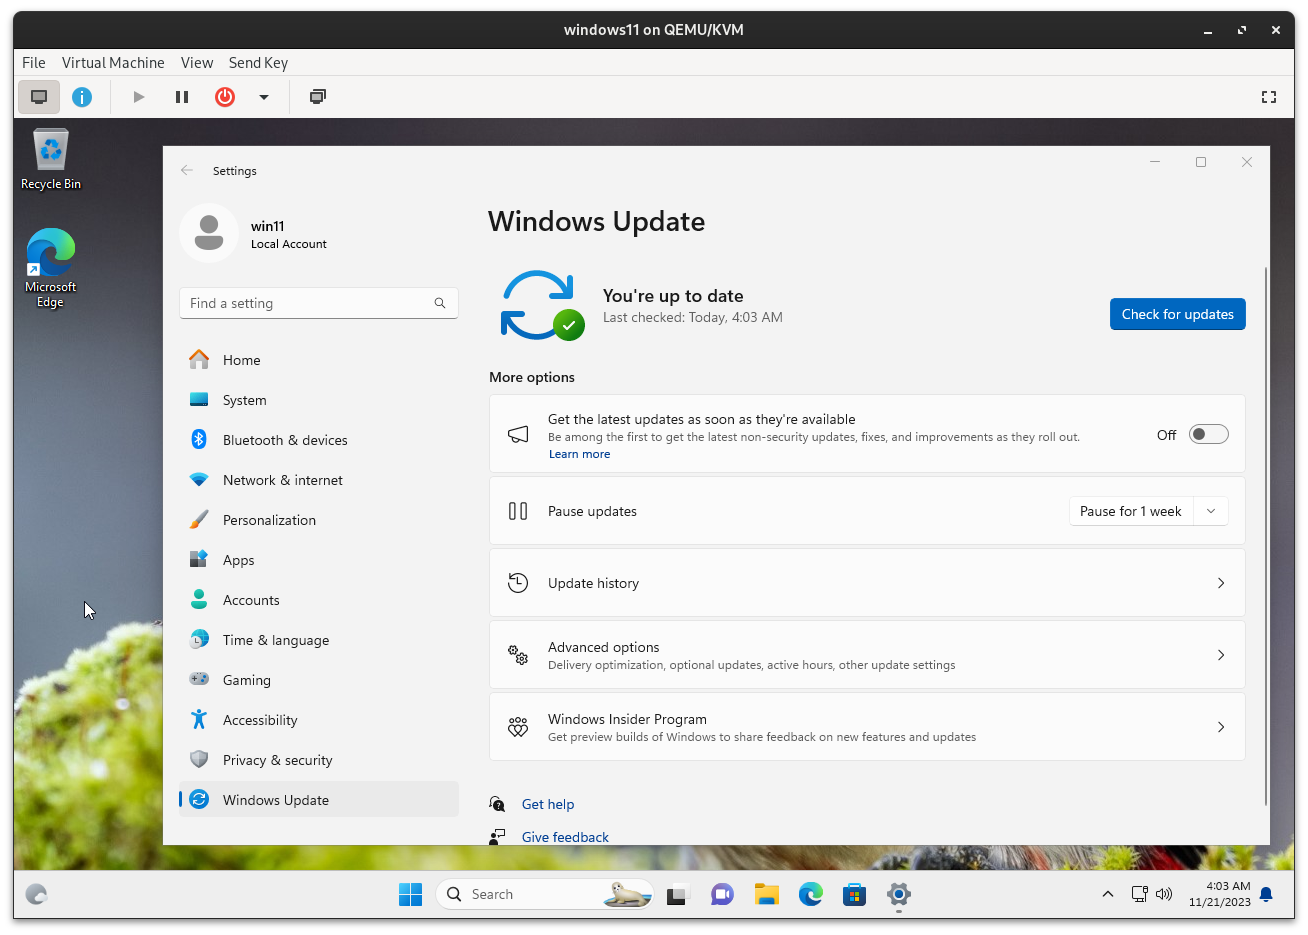
6.1.1 Checking for Updates
Power on your VM and navigate to the Windows Update settings to check for updates.
6.1.2 Handling Update Errors
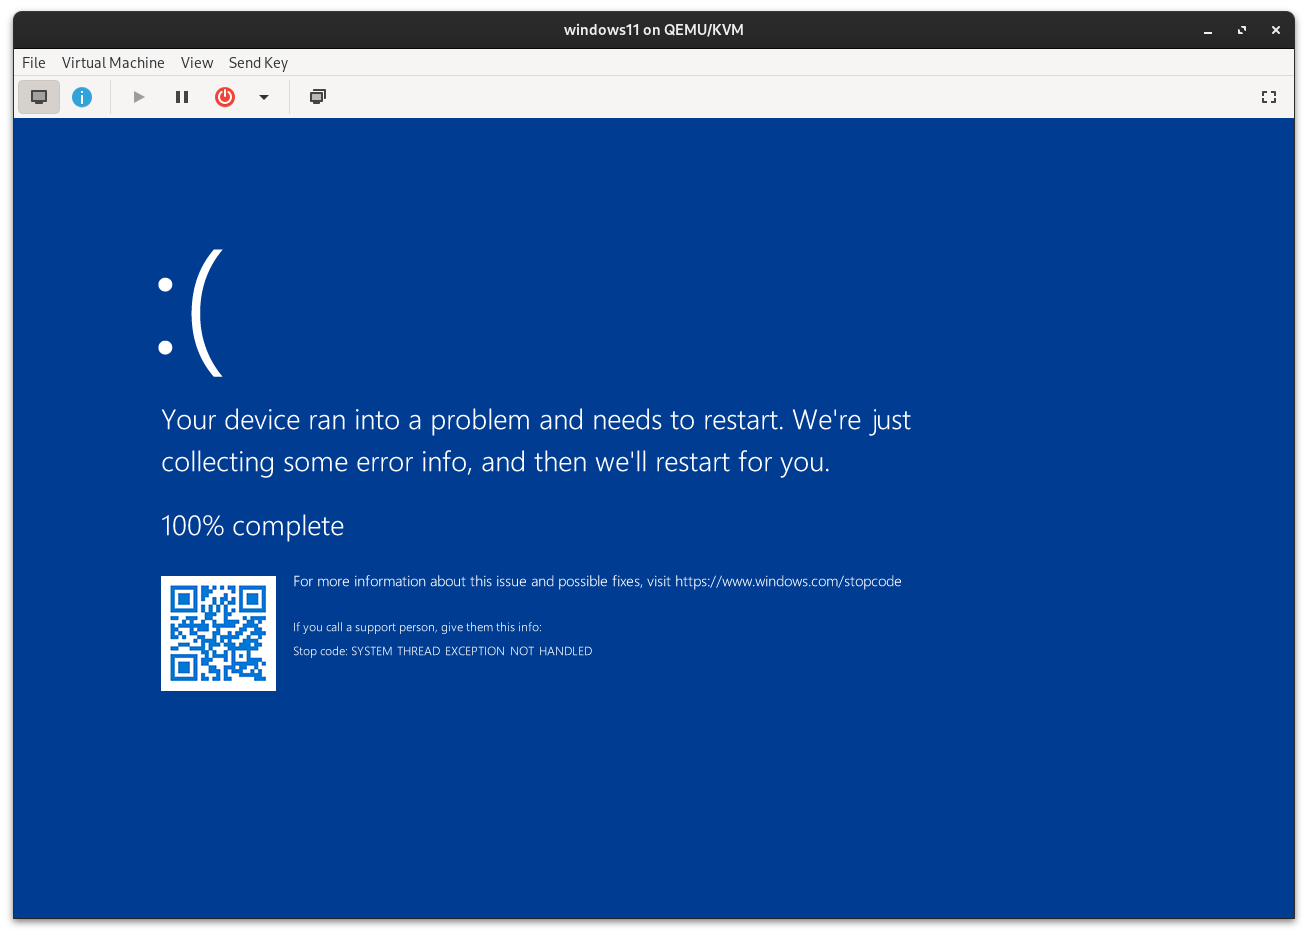
If you encounter any update errors, allow the system to reboot automatically as it may resolve the issue.
That's windows problem, don't worry too much. just force-reboot.

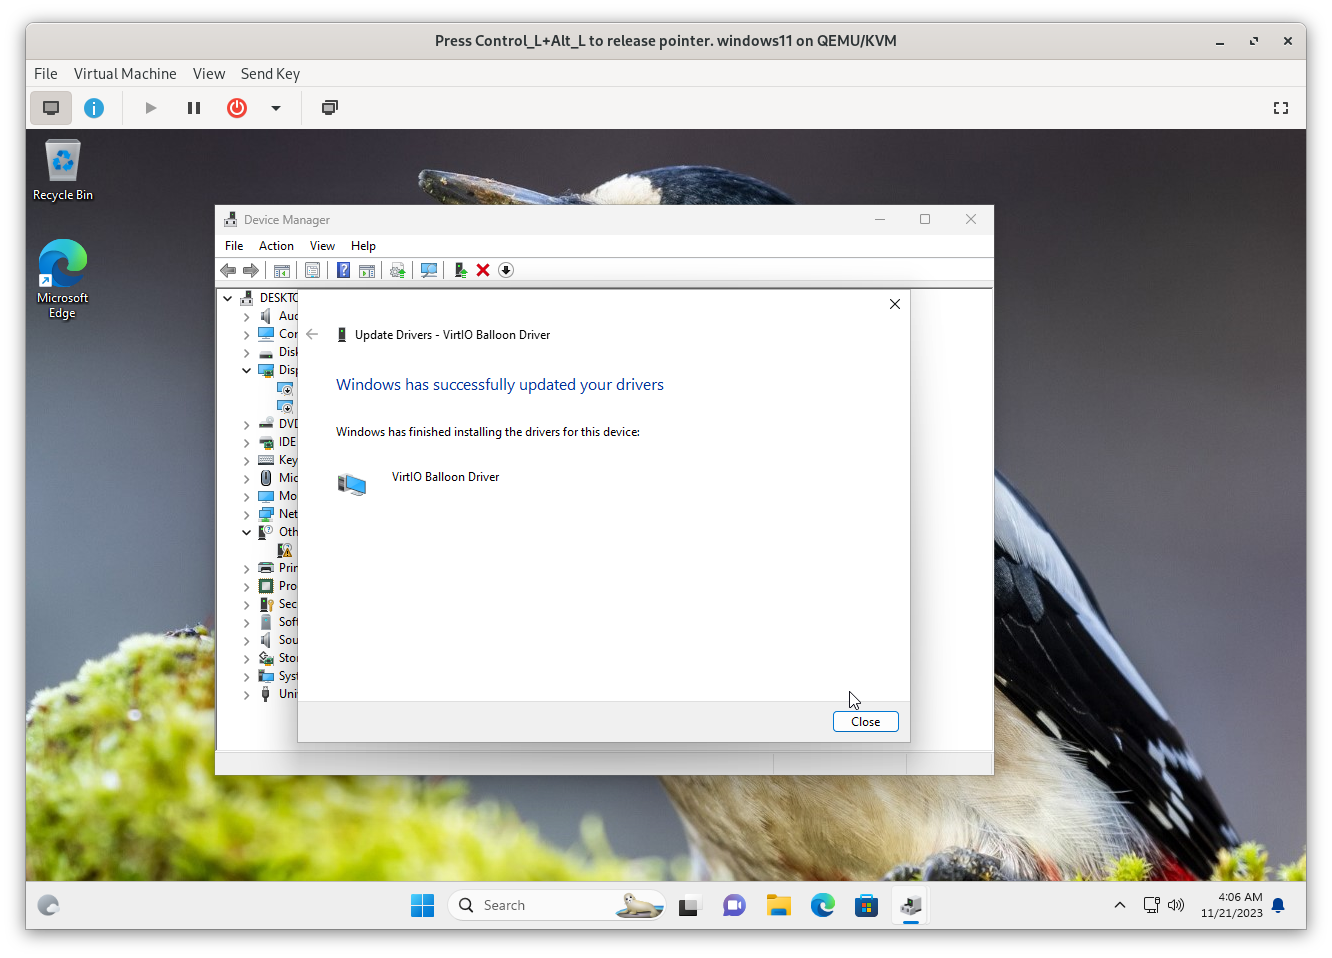
6.2 Installing VirtIO Drivers
To ensure optimal performance and functionality, you need to install VirtIO drivers.
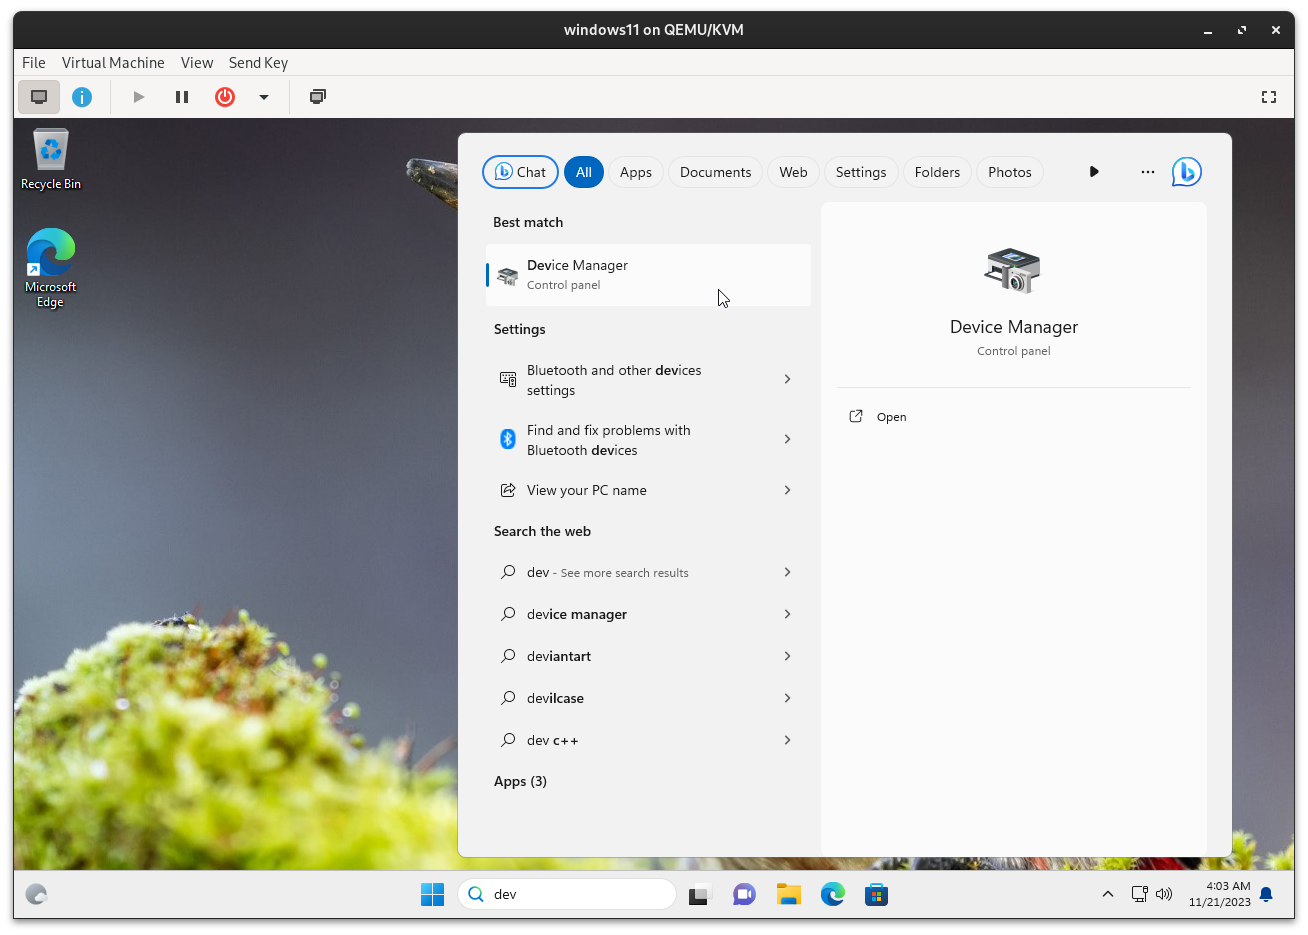
6.2.1 Opening Device Manager
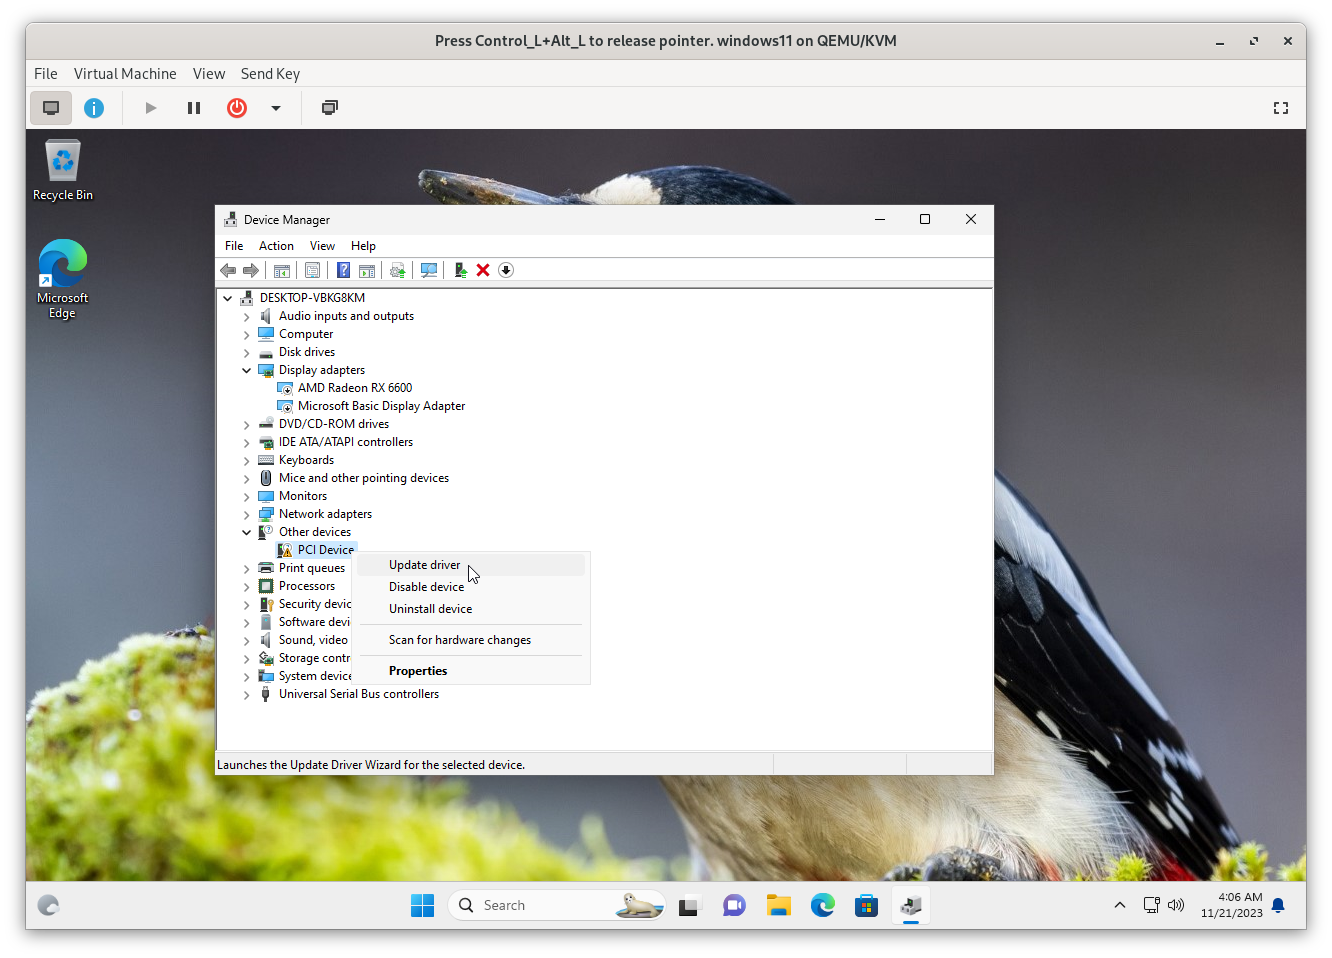
Open Device Manager to begin the process of updating drivers.
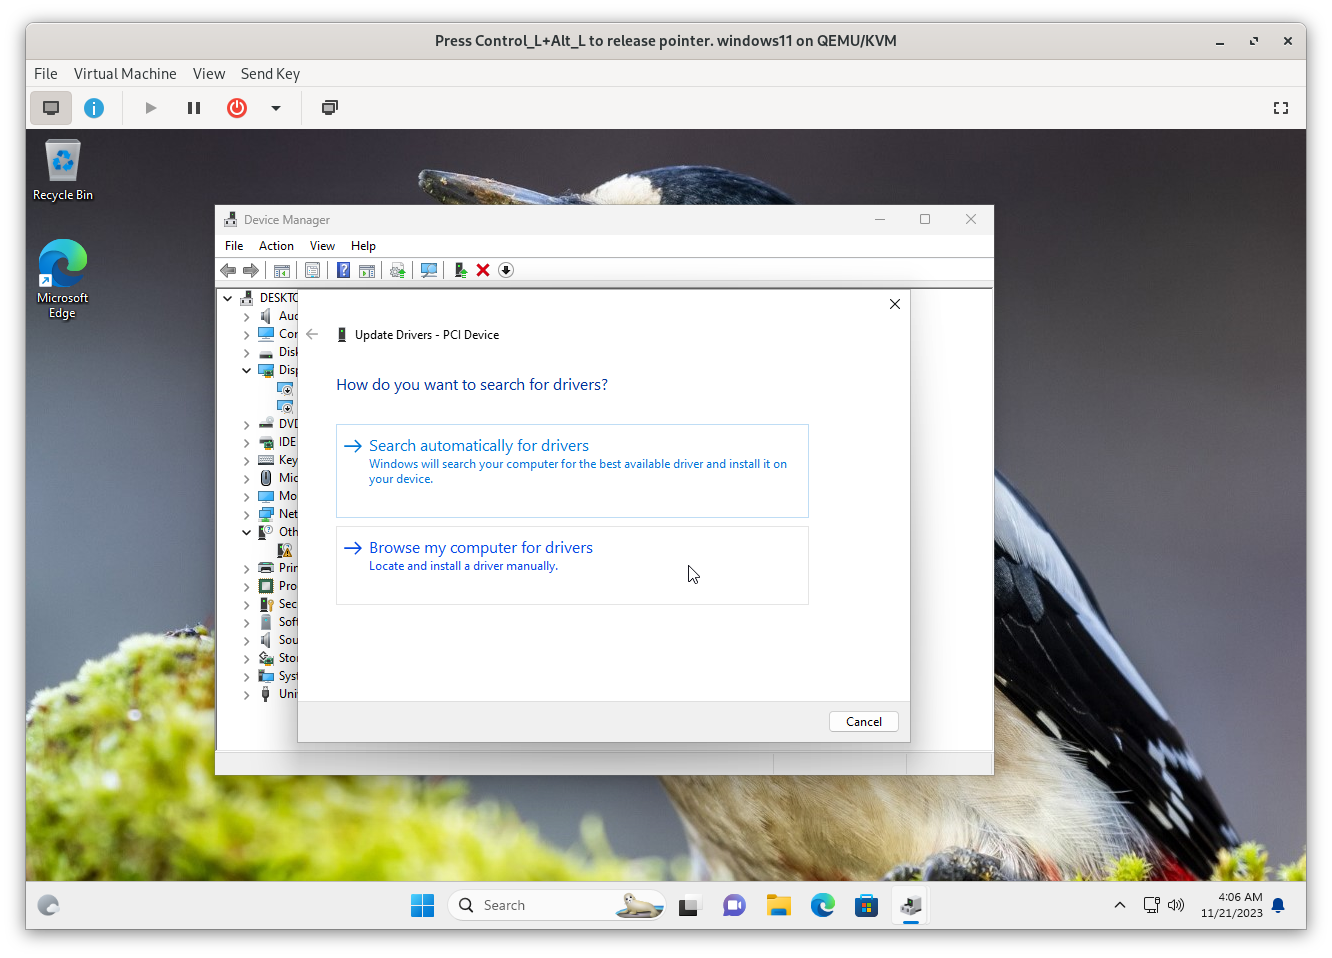
6.2.2 Updating PCI Devices Driver
Update the driver for PCI Devices by selecting the appropriate option in Device Manager.
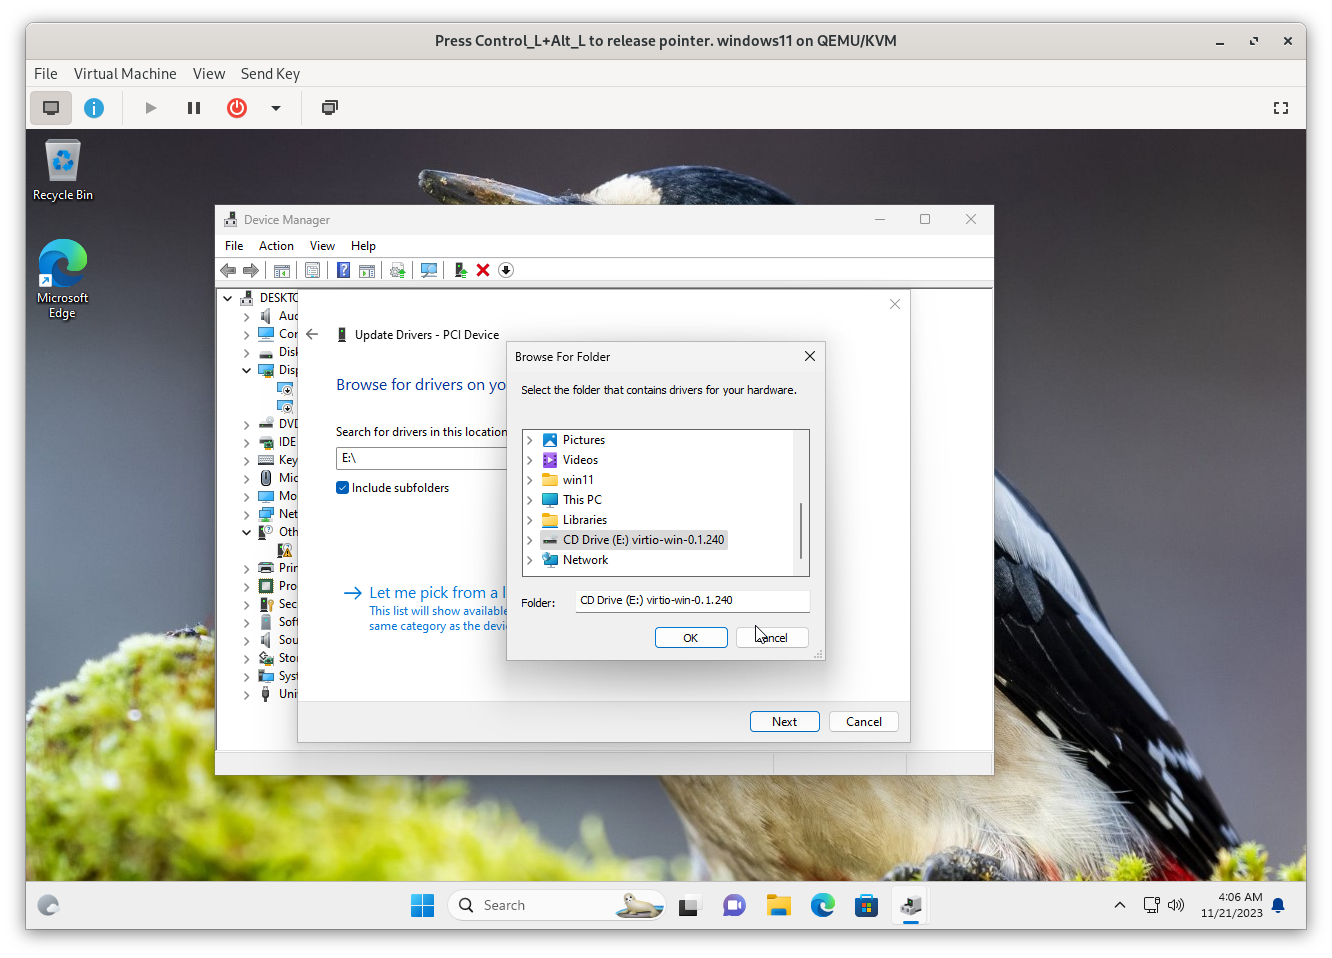
6.2.3 Browsing for the VirtIO ISO
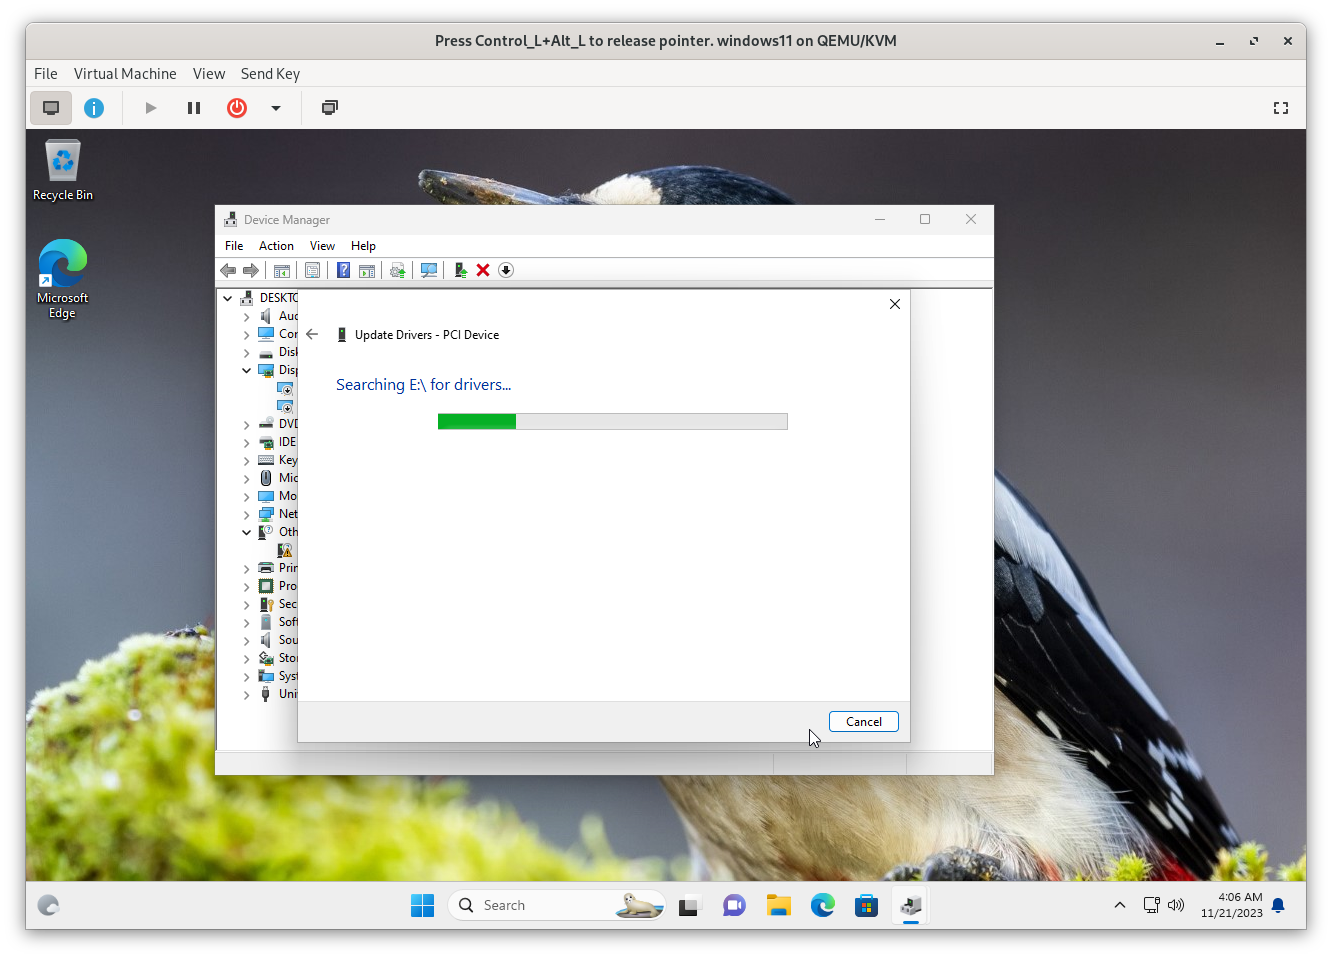
Browse to the location of the VirtIO ISO on E:\ to locate the necessary drivers.
6.3 Installing VirtIO Driver gt
6.3.1 Launching the Installer
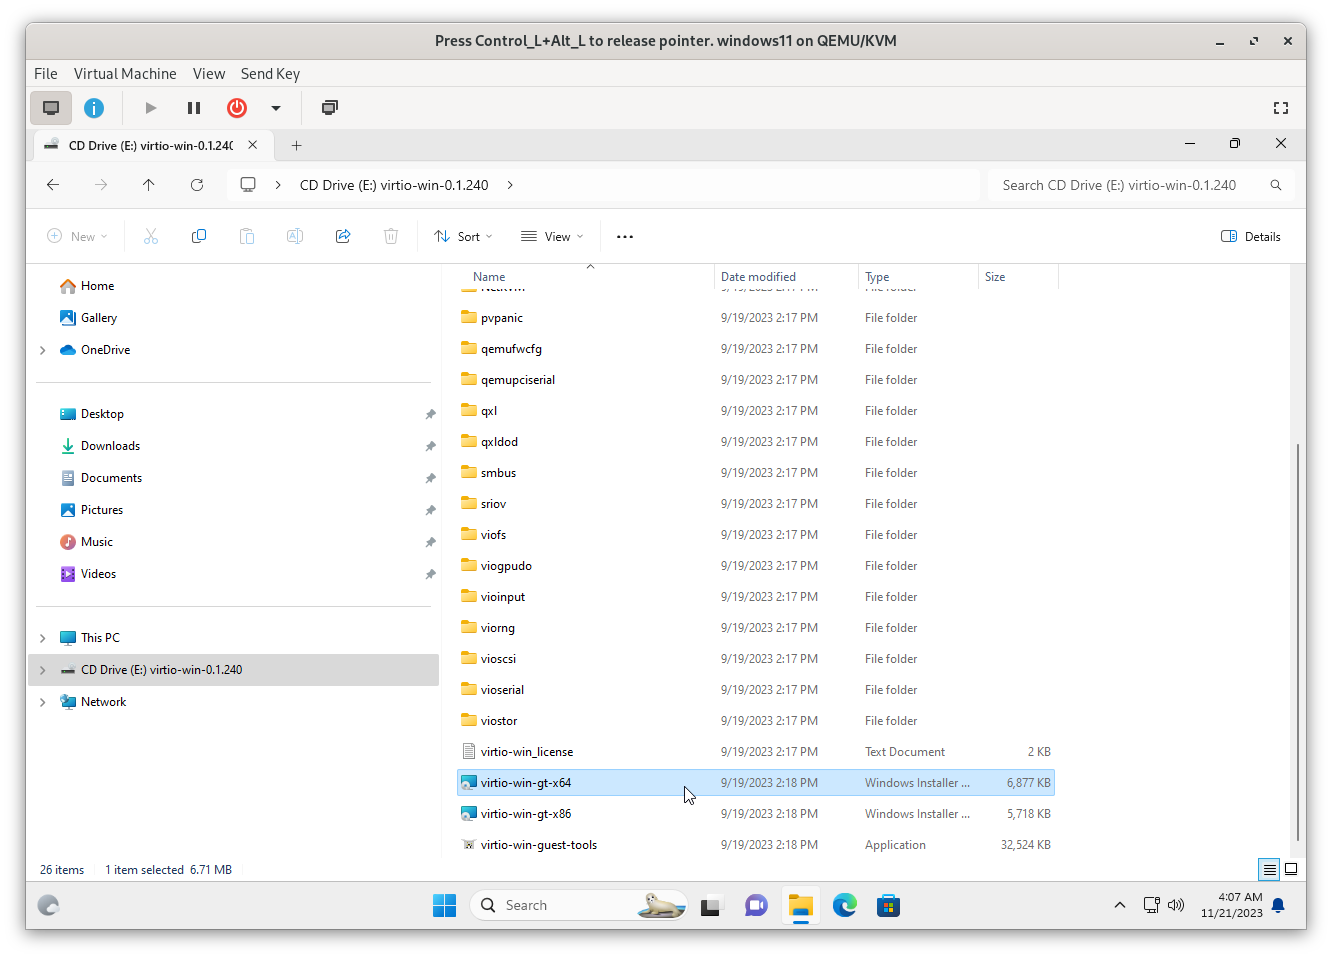
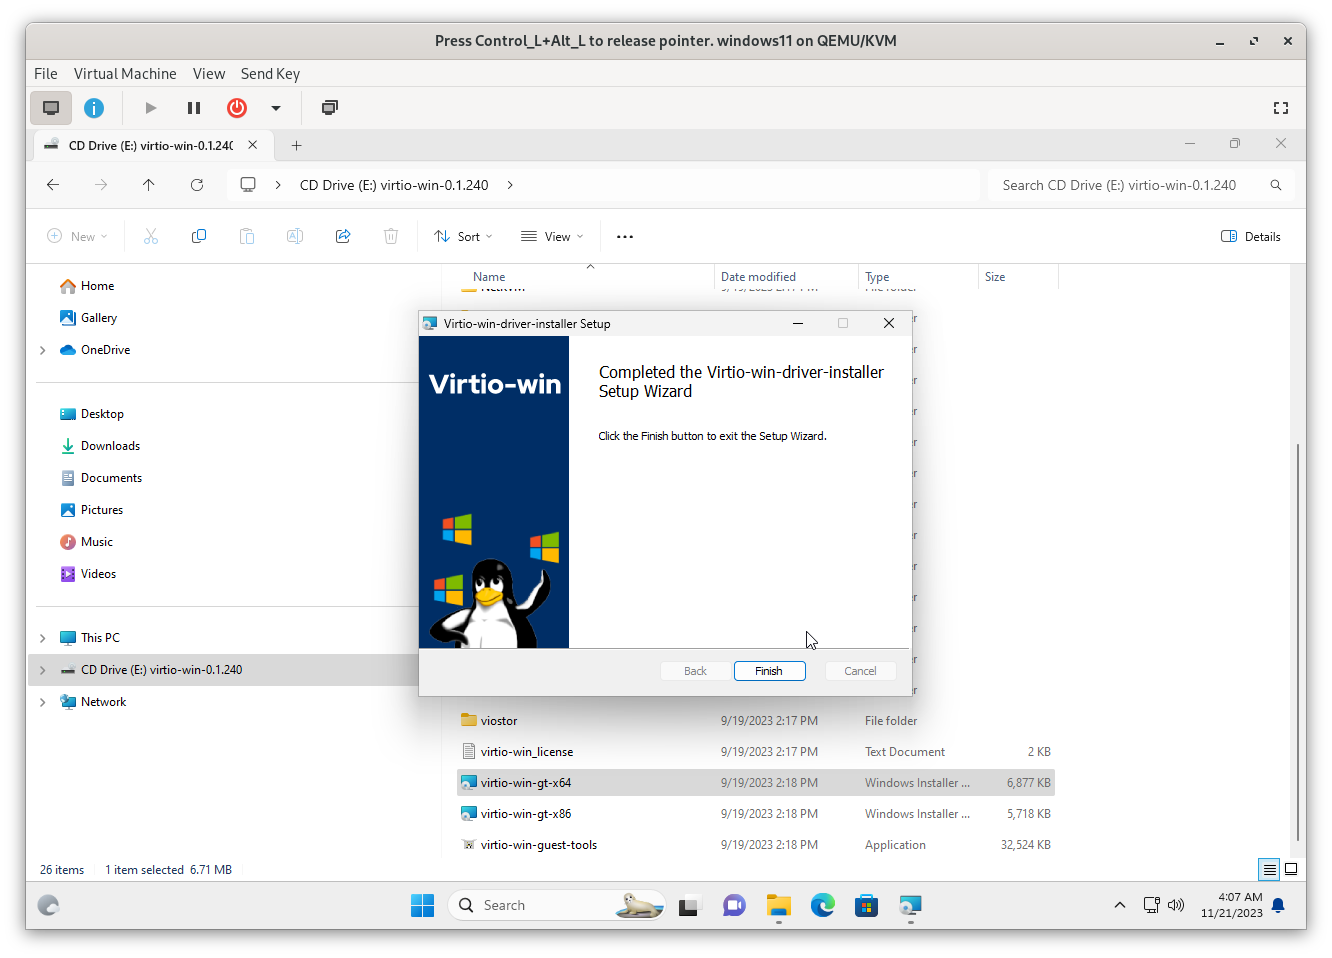
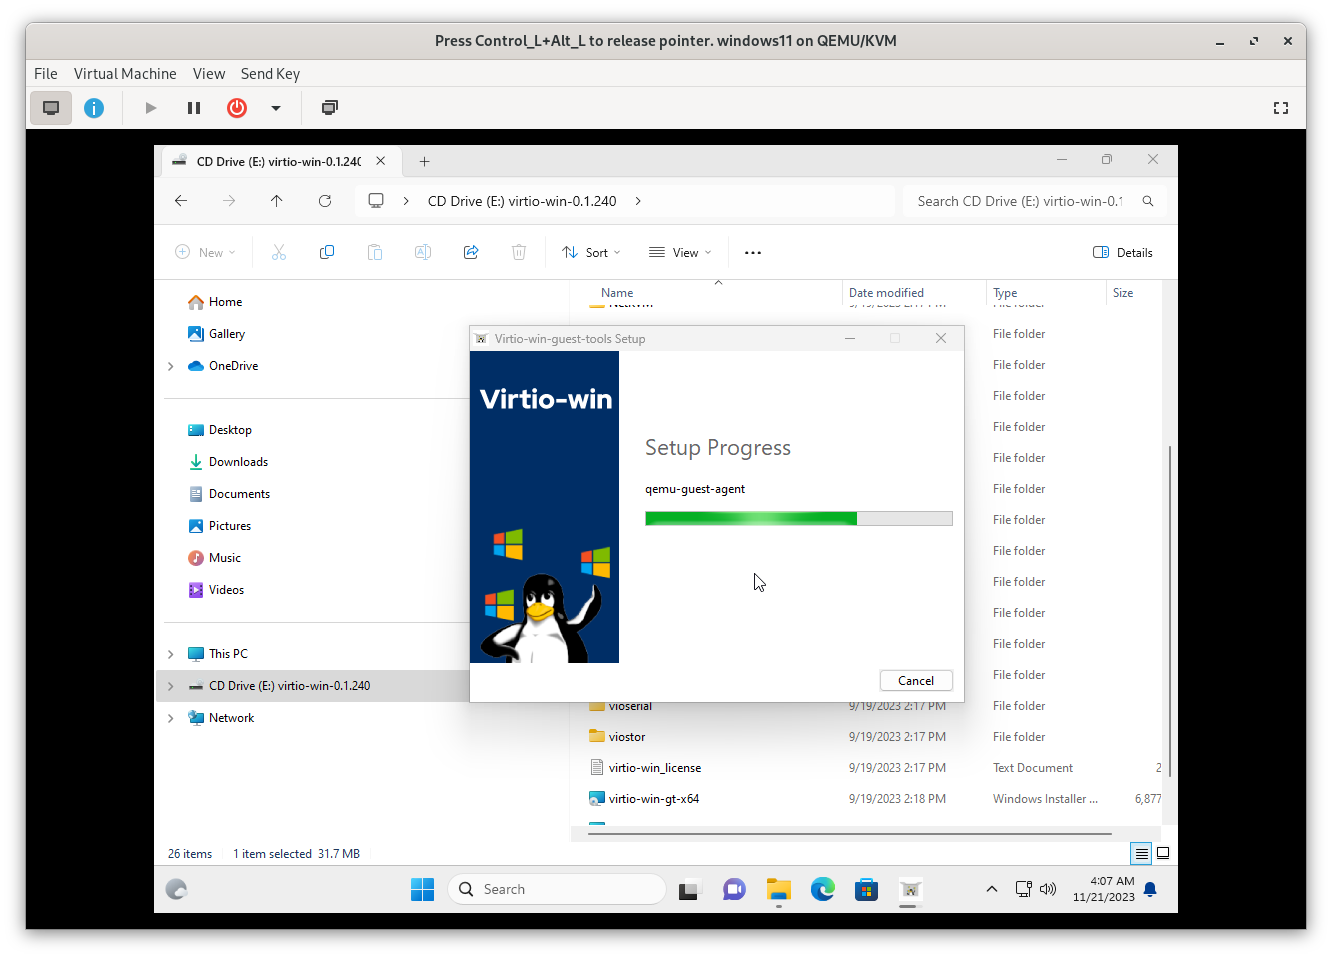
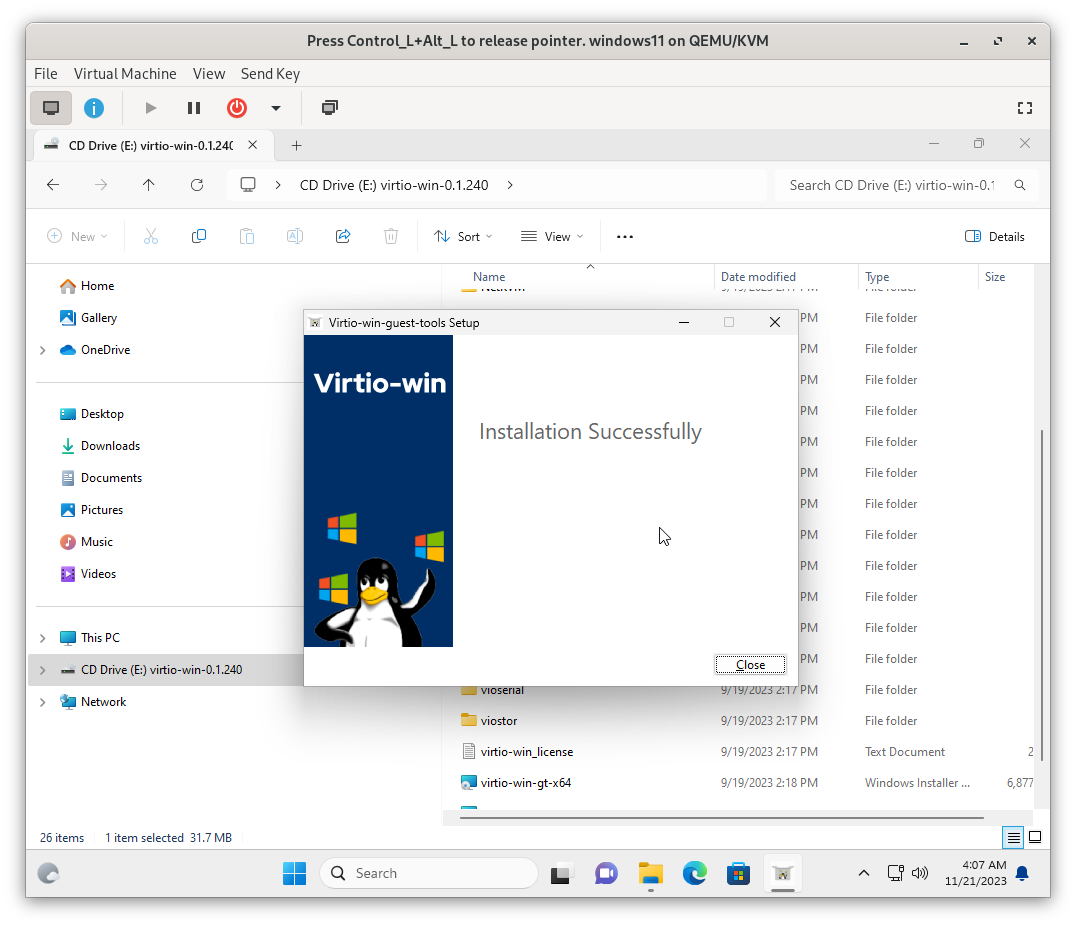
Open Explorer, navigate to the VirtIO folder, and start the installation of virtio-win-gt-x64.msi.
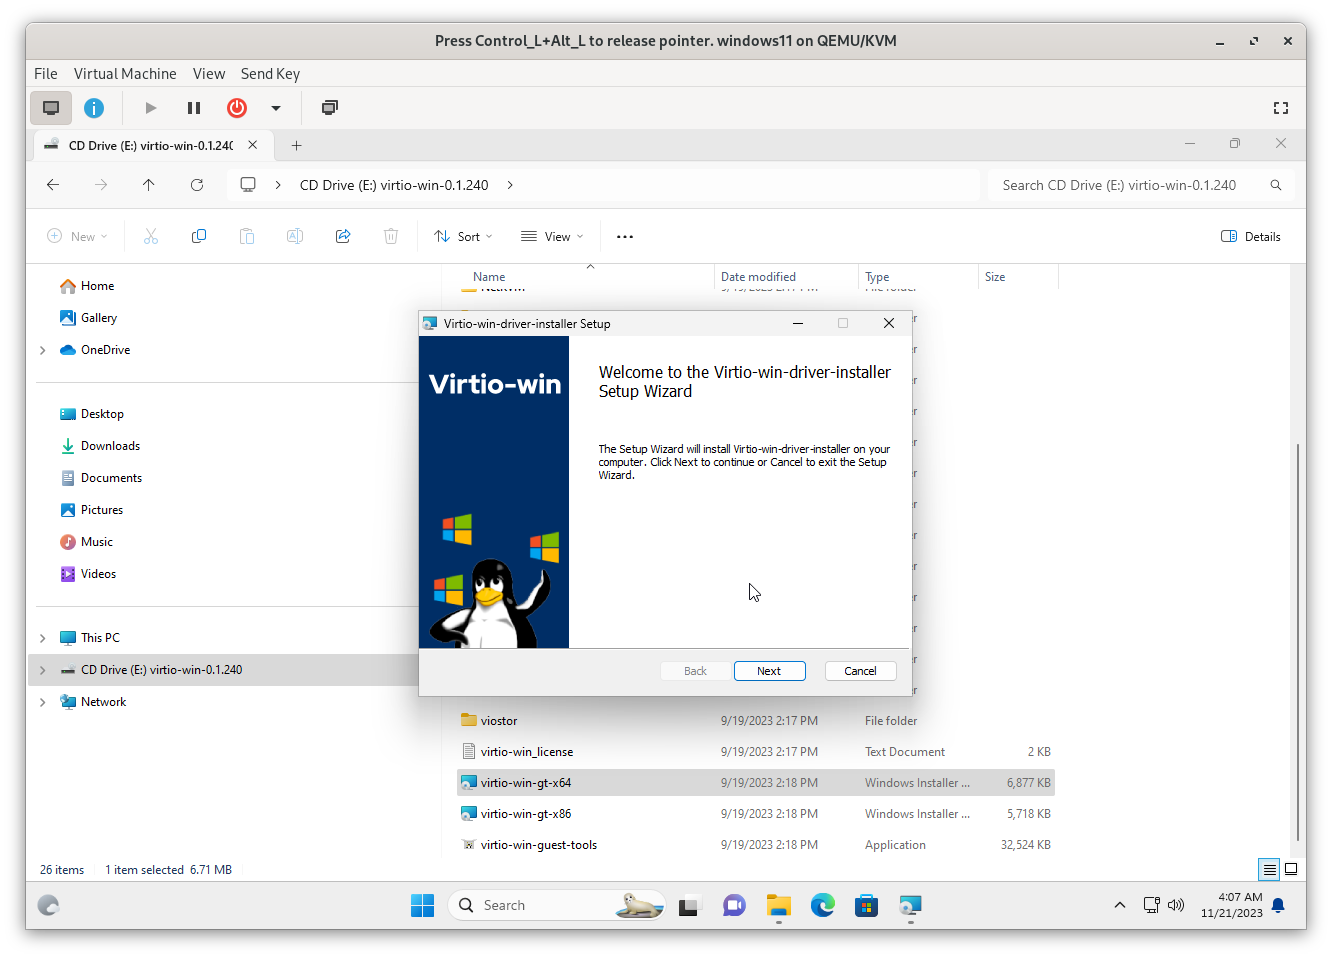
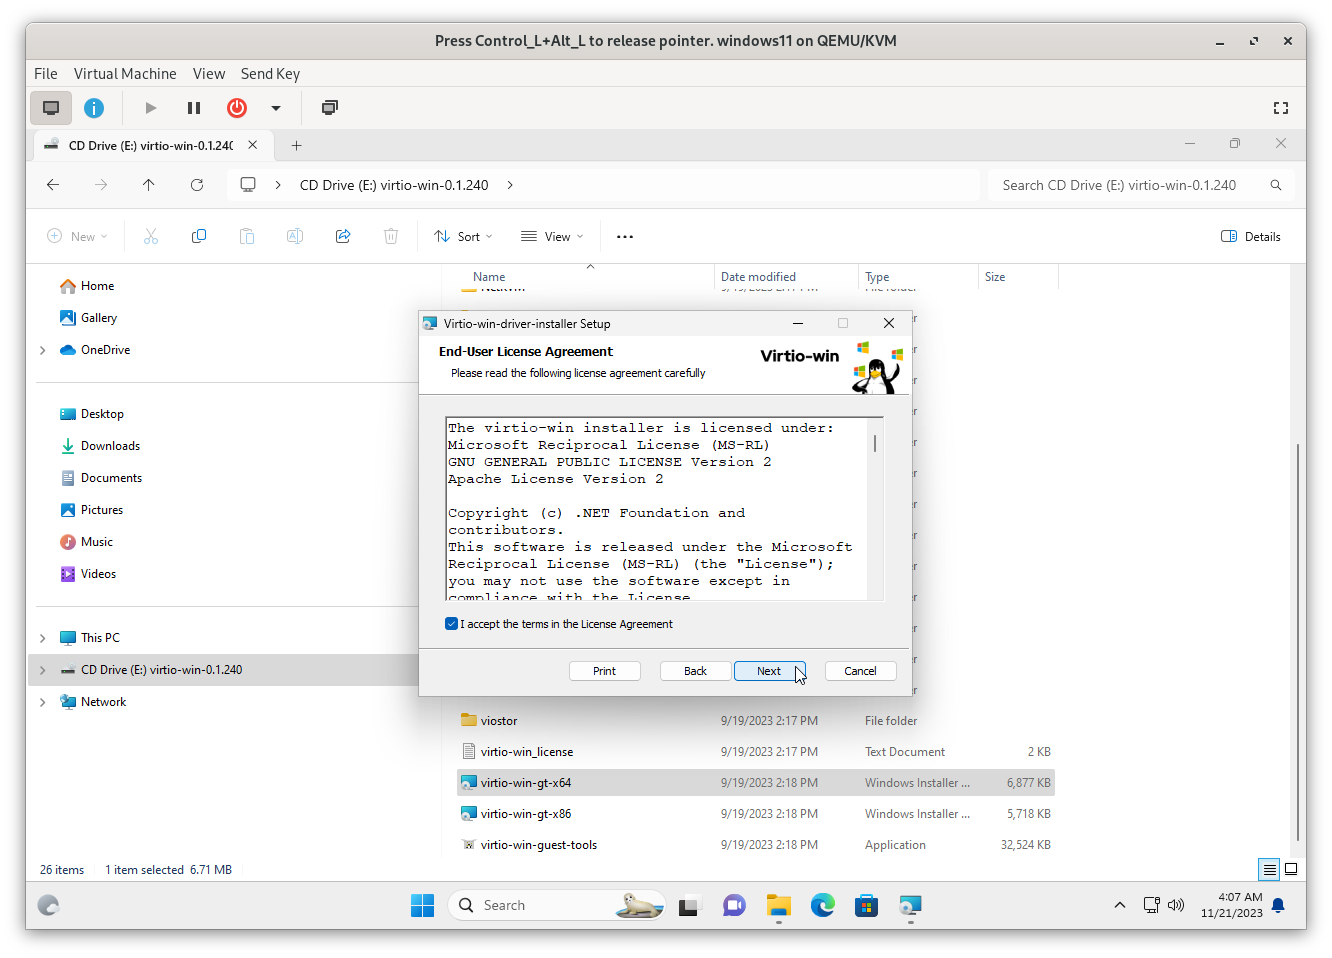
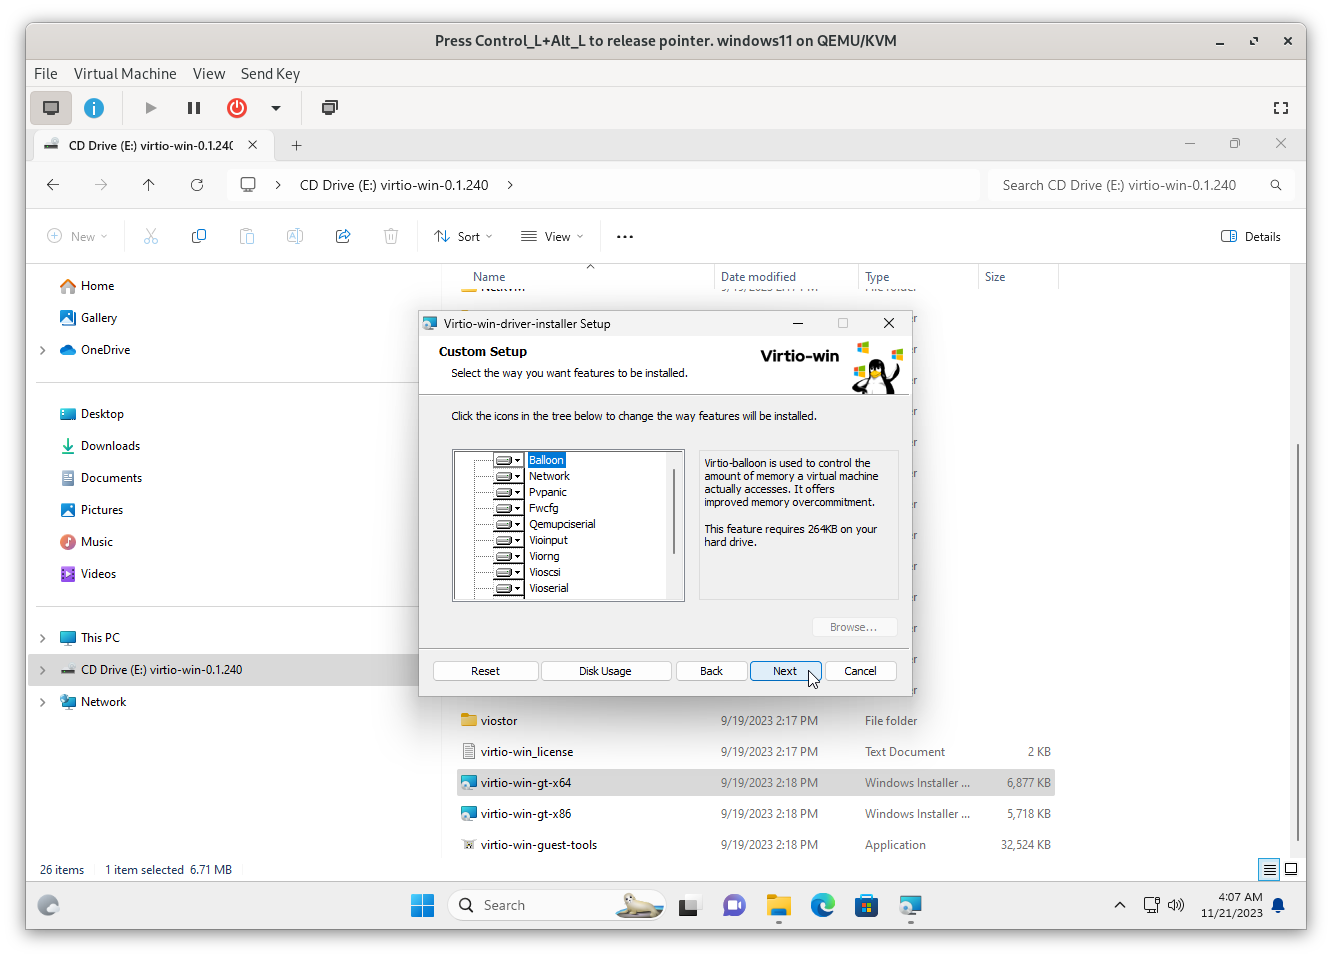
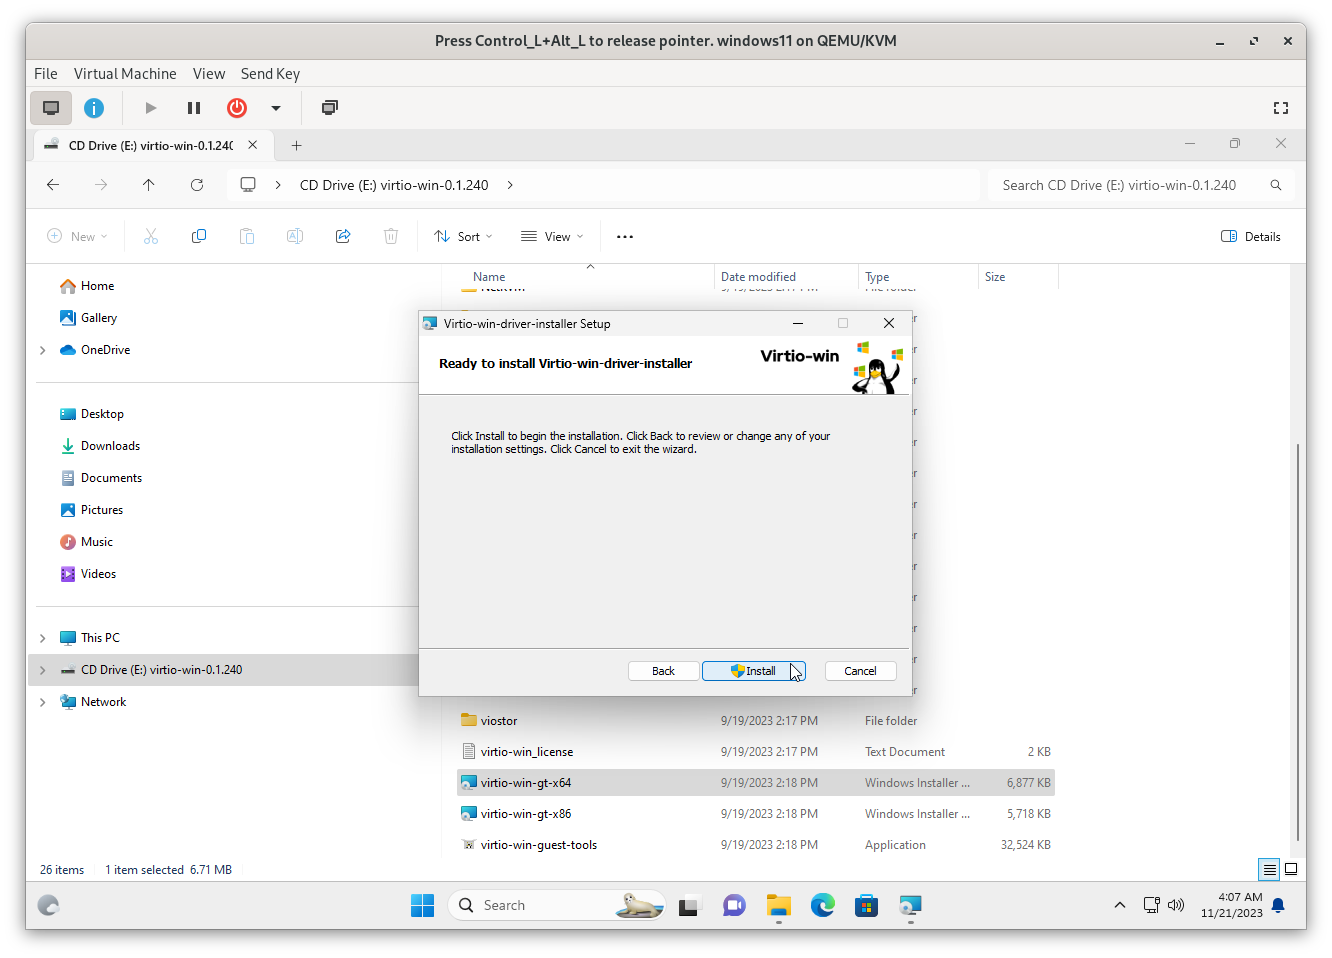
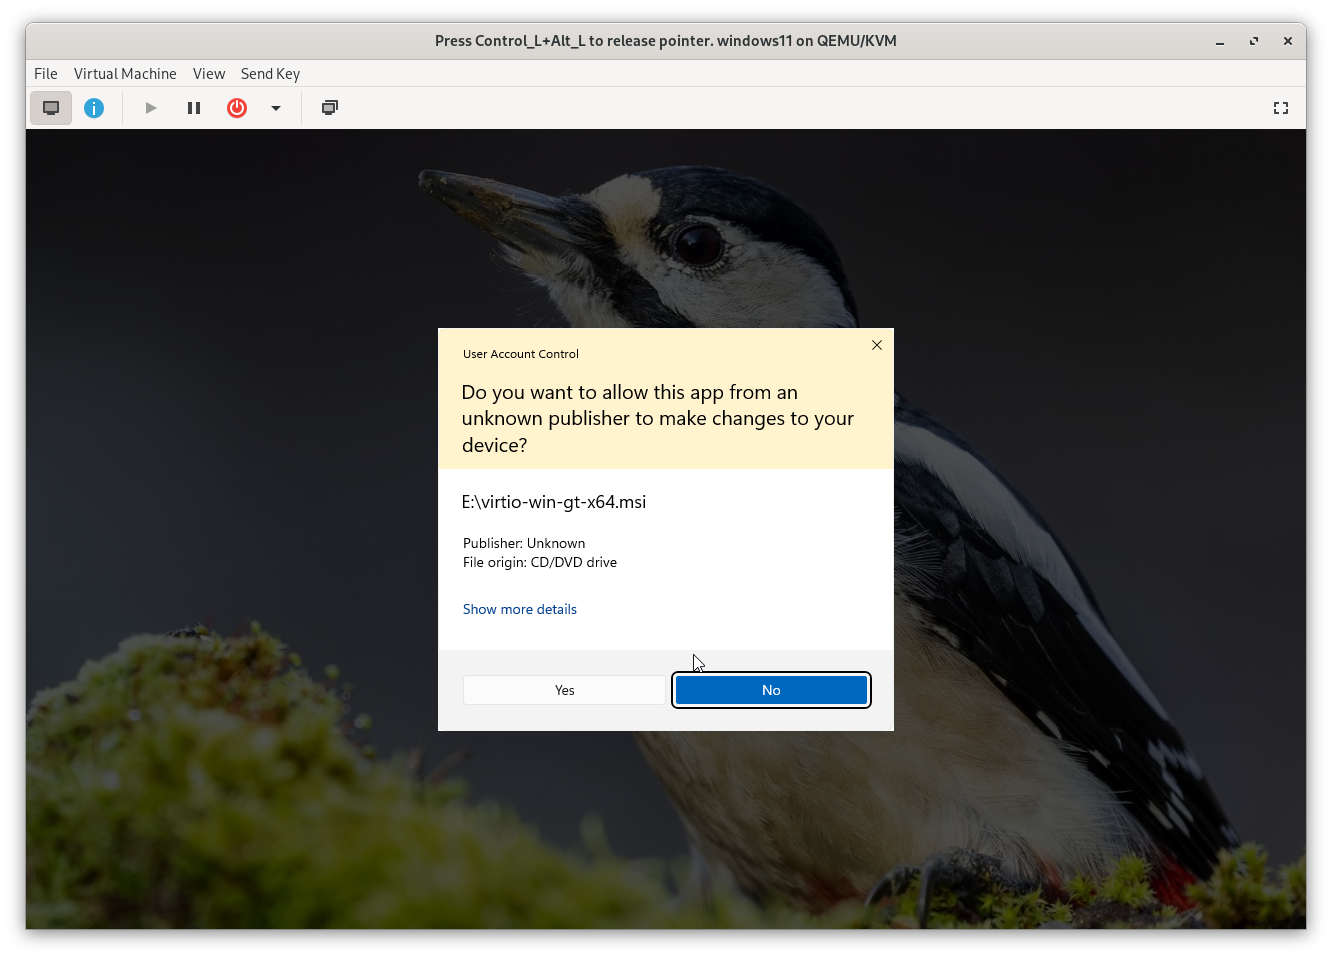
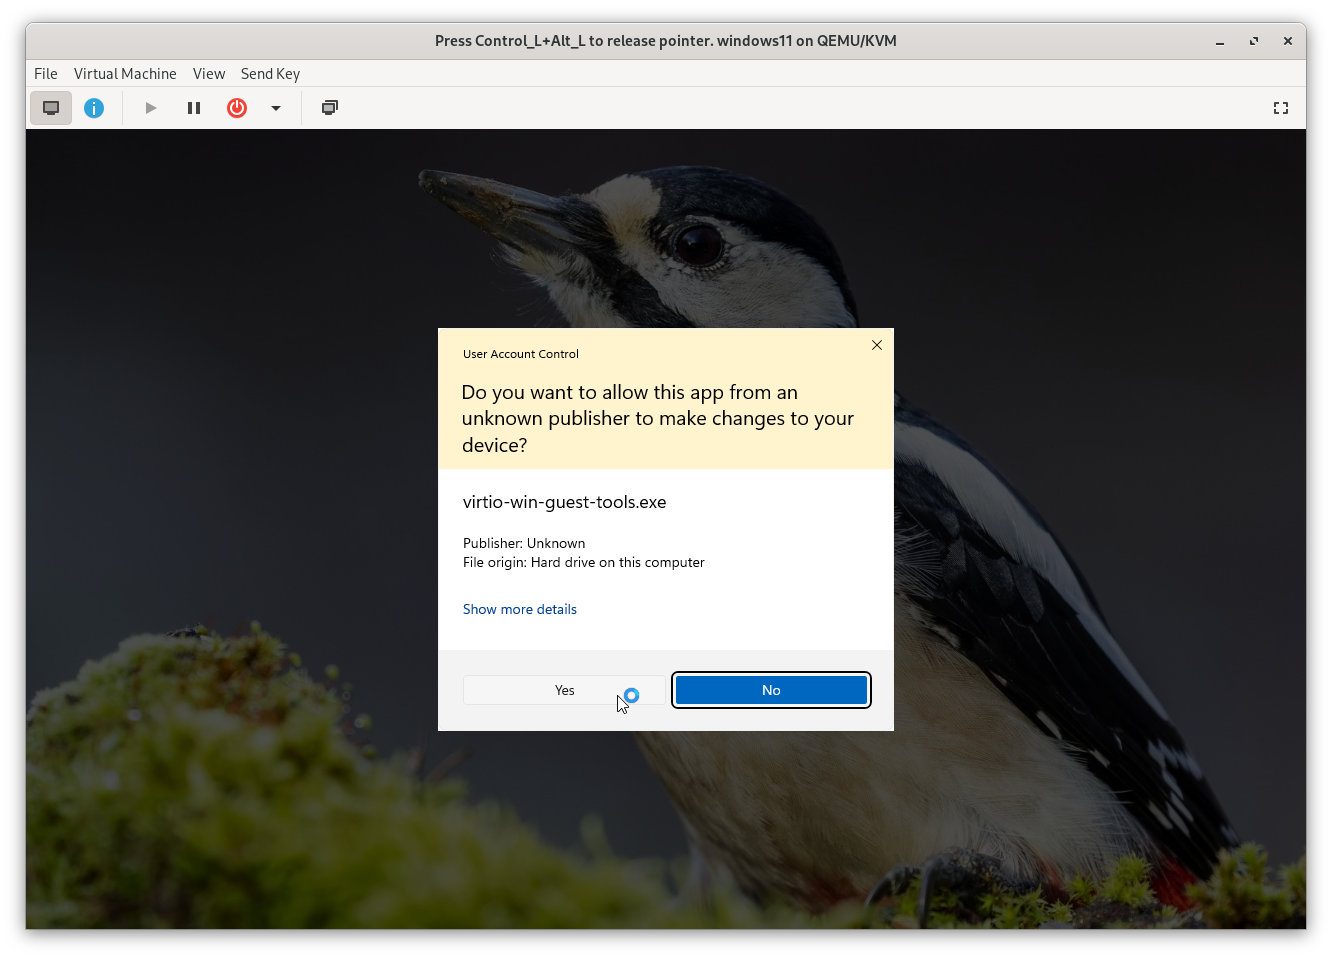
Grant any necessary superuser permissions to complete the installation.
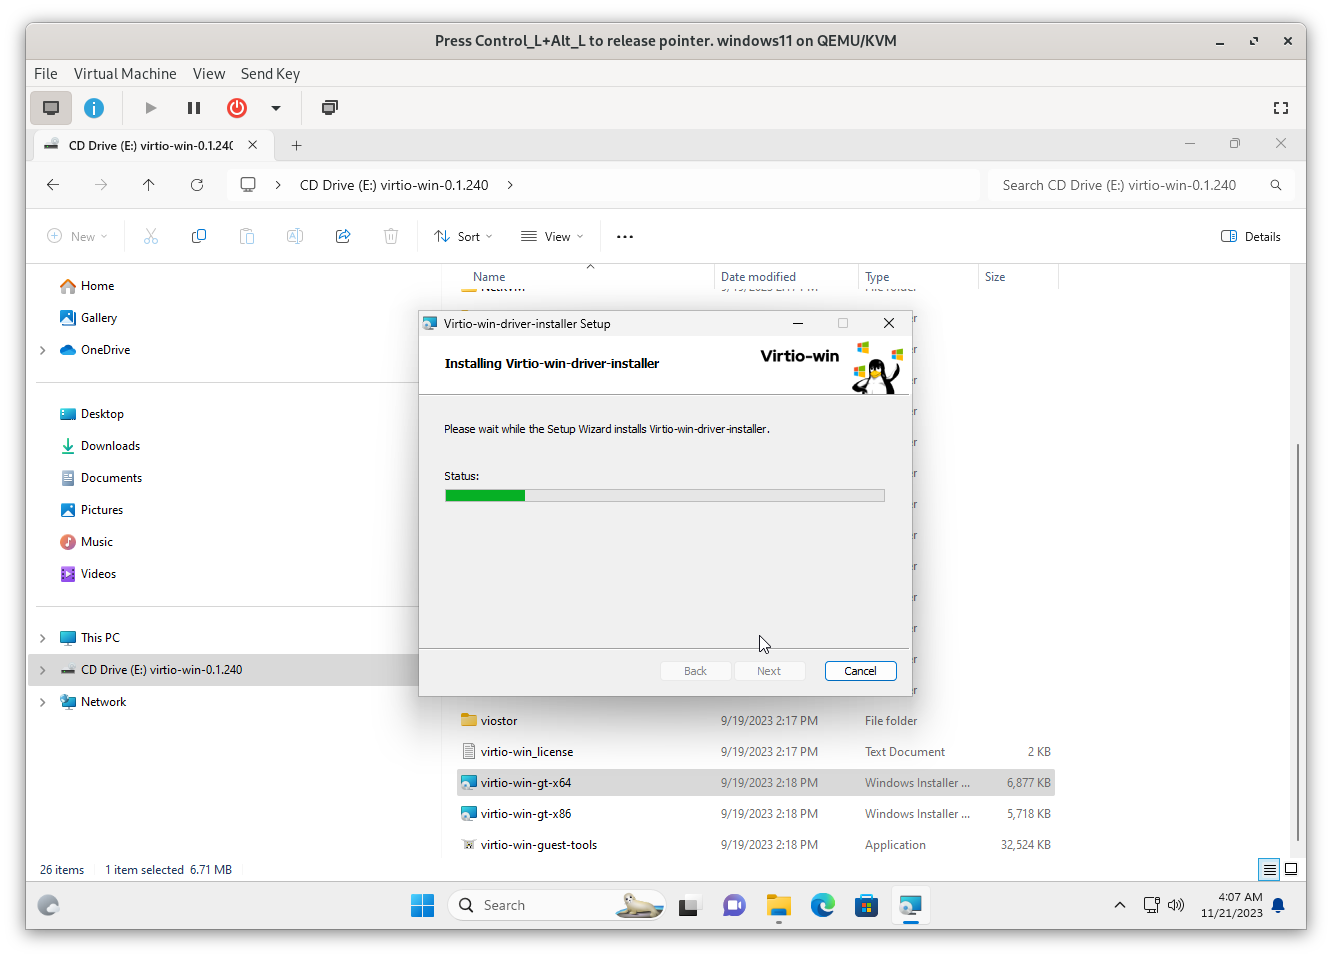
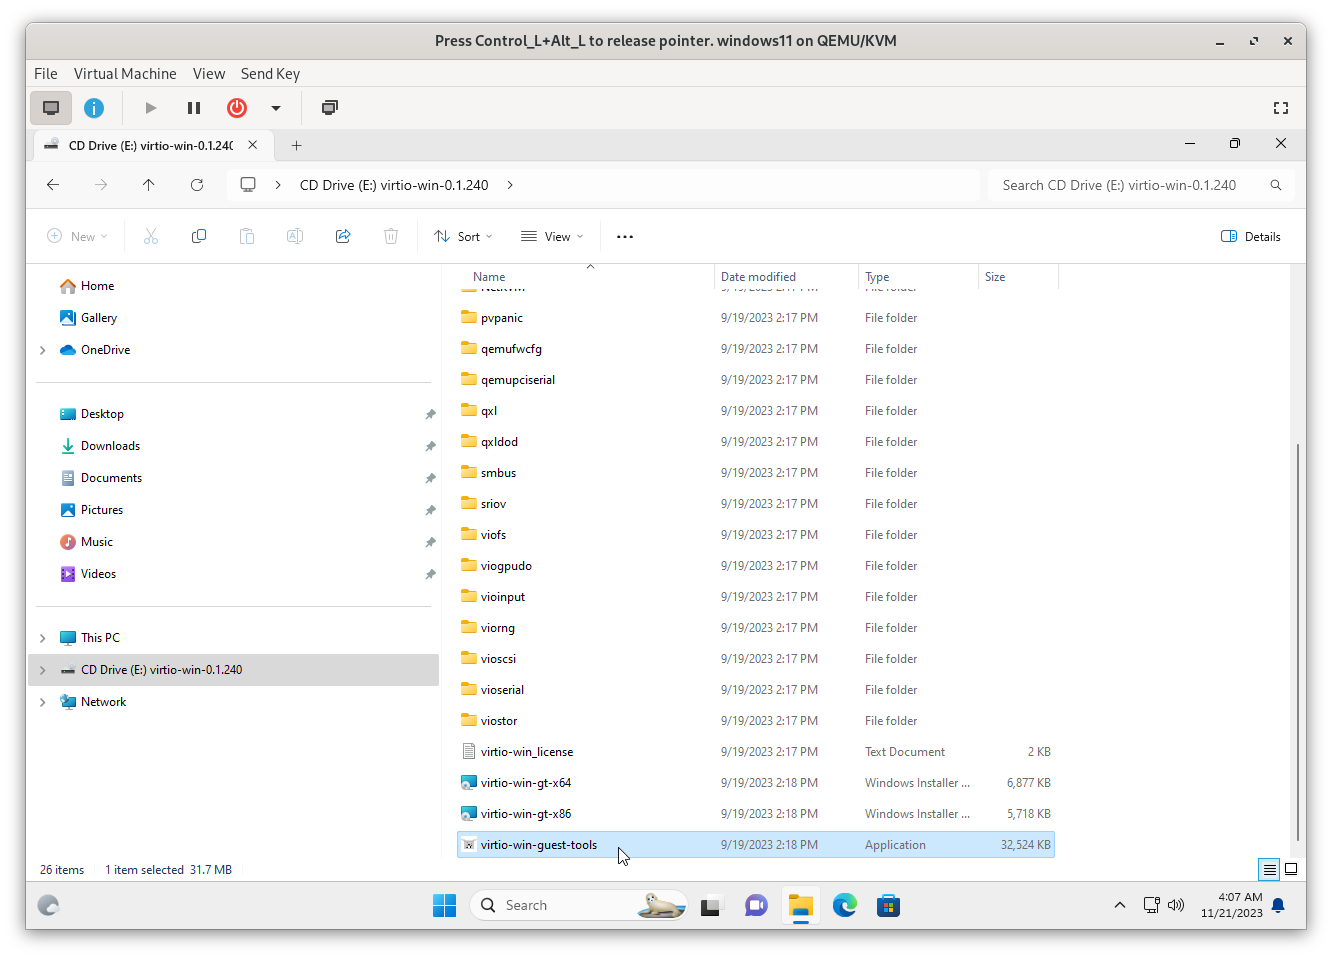
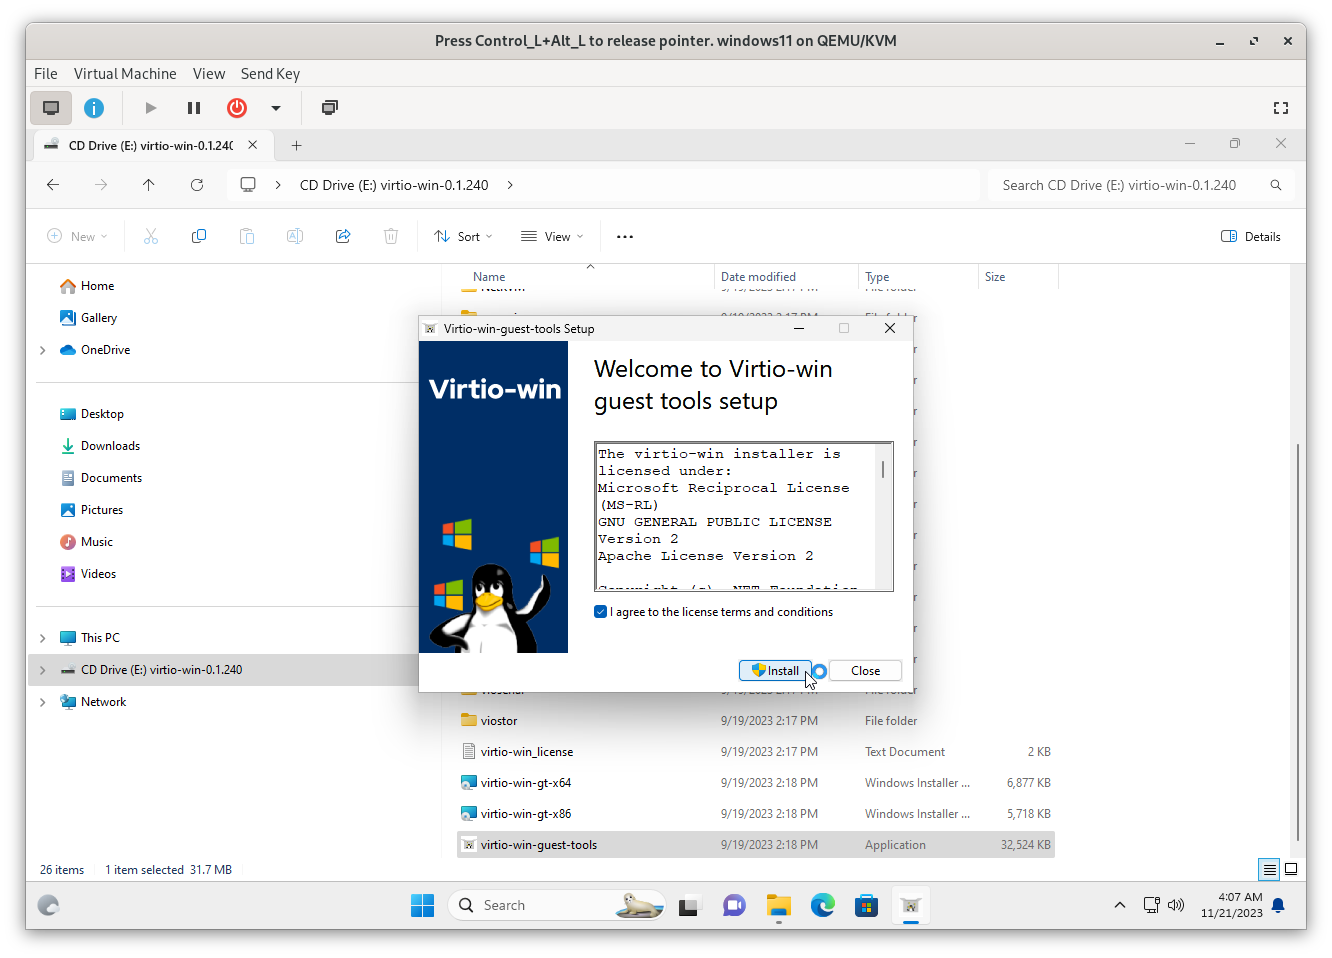
6.3.2 Installing Guest Tools
Finally, install the guest tools to enhance the VM’s performance and integration.
7. Enabling and Installing GPU Drivers
7.1 Enabling AMD GPU
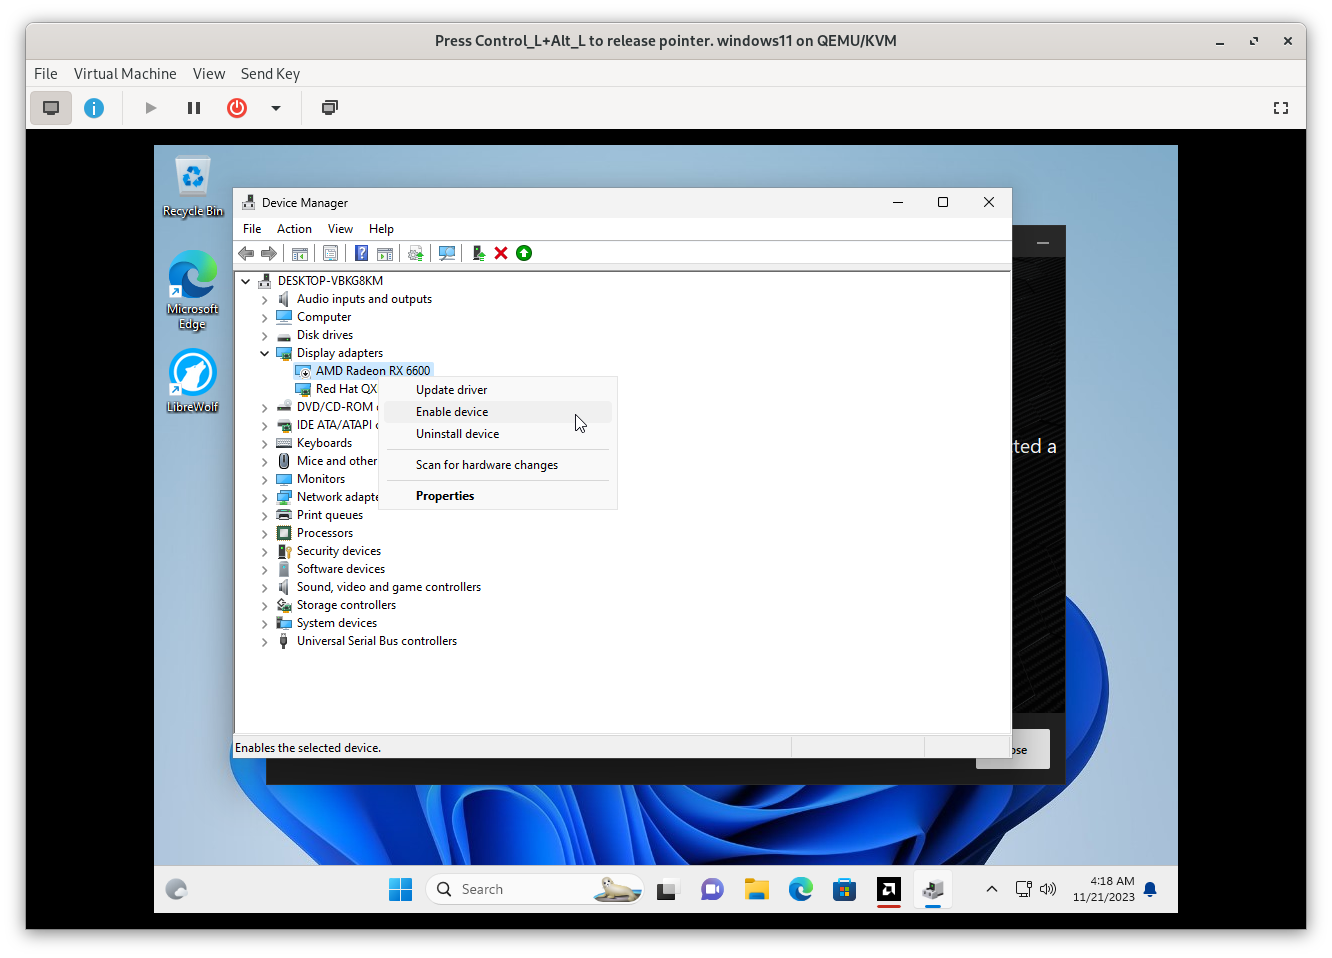
For windows 11, you need to manually enable the GPU utilize it for your VM.
7.1.1 Accessing Device Manager
Back to the Device Manager on your Windows 11 VM.
7.1.2 Enabling the GPU
Locate your GPU under the Display adapters section, right-click it, and select Enable to activate the GPU.
7.2 Installing GPU Drivers
To ensure your GPU functions correctly, you need to install the appropriate drivers, Since it's windows LOL
Visit your GPU manufacturer’s website (AMD, Nvidia, or Intel) to download the latest drivers for your GPU.
9. Conclusion
Congratulations! You have successfully set up Windows 11 on a QEMU/KVM virtual machine, including configuring a virtual TPM and GPU. Explore and enjoy the features of Windows 11